The Best Homemade Cake Pop Recipe
Recipe
If there’s one dessert that combines fun, flavor, and downright cuteness into bite-sized perfection, it’s these homemade cake pops. Trust me, once you try them, you’ll wonder why you ever bothered with store-bought versions.
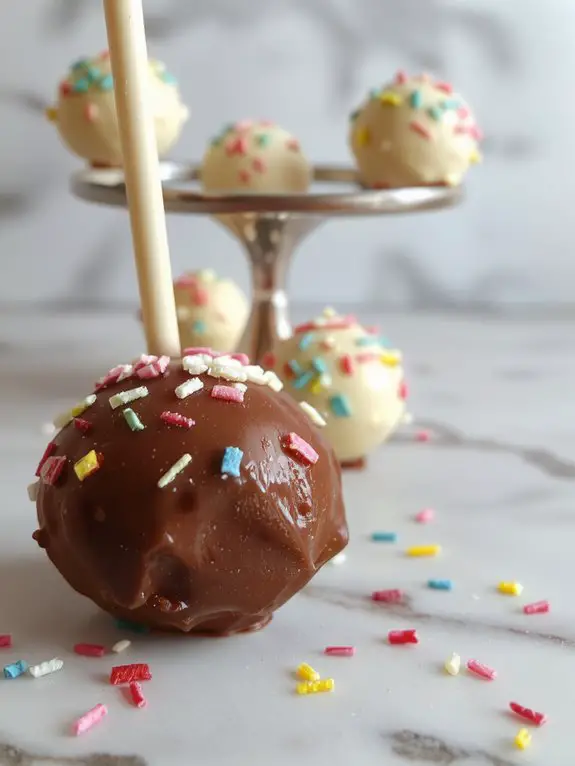
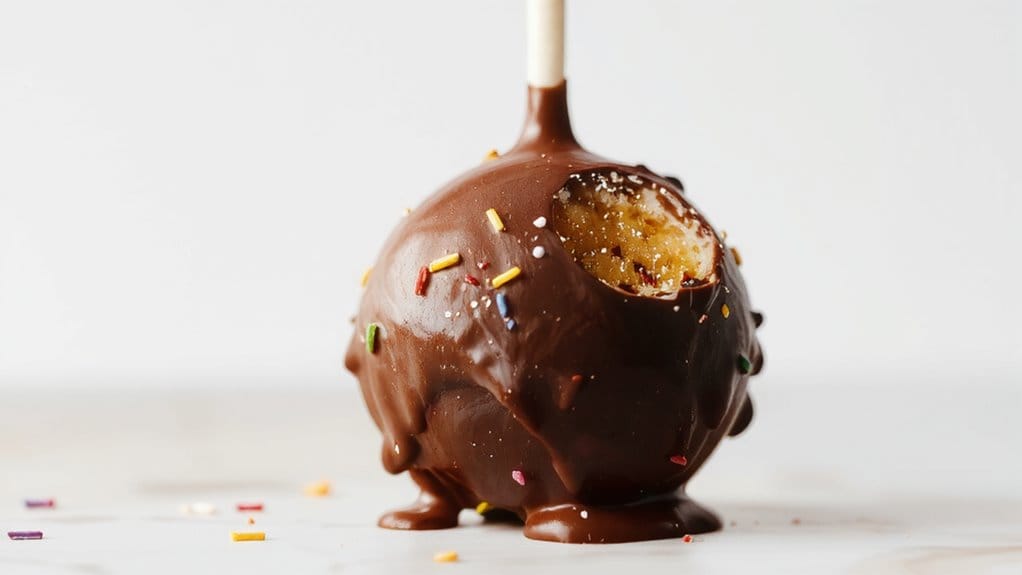
Made with moist cake, rich frosting, and a smooth chocolate coating, these little treats are a crowd-pleaser every single time. The secret? Using freshly baked cake (no box mix shortcuts!) and a creamy frosting that binds it all together without making it too dense.
Imagine biting into a tender, melt-in-your-mouth cake center, wrapped in a glossy chocolate shell—pure bliss. Plus, they’re ridiculously customizable, so you can go wild with sprinkles, drizzles, or whatever makes your sweet tooth sing.
Whether it’s for a party, a gift, or just because, these cake pops are foolproof and absolutely addictive. Let’s get rolling!
Ingredients
The secret to perfect cake pops lies in the ingredients you choose. Using high-quality components guarantees a smooth texture and rich flavor, while substitutions can help tailor the recipe to your pantry. Here’s what you’ll need, broken down into essentials and optional tweaks:
For the Cake:
- Baked Cake (any flavor) – Day-old cake works best; it’s drier and easier to crumble.
- Oil or Butter – Keeps the cake moist; oil is my go-to for a soft texture.
- Eggs – Essential for structure; skip if using a box mix.
- Vanilla Extract – A splash adds depth; almond extract works as a flavorful swap.
For the Binding:
- Cream Cheese or Buttercream Frosting – Cream cheese creates a tangy balance, while buttercream is sweeter.
- Powdered Sugar – Adds sweetness to homemade frosting; adjust to taste.
For the Coating:
- Candy Melts or Chocolate Chips – Candy melts set smoother, but chocolate chips work in a pinch (add a bit of coconut oil for shine).
- Sprinkles or Decorations – Optional but fun; edible glitter or crushed nuts add flair.
Pro Tips:
- Use room-temperature ingredients for smoother mixing.
- Freshly grated citrus zest can elevate the flavor if your cake is lemon or orange-based.
- Chill the cake balls before dipping to prevent cracking.
With these basics, you’re ready to create bakery-worthy cake pops at home!
How to Make the Best Vanilla Chocolate Cake Pop

– Prepare your ingredients and tools: Confirm all ingredients are measured and ready. Have your cake pop sticks, melted chocolate, and any decorations within reach. This makes the process smoother and faster.
– Bake the cake first: Bake your vanilla cake according to your favorite recipe or a box mix. Let it cool completely. A cooled cake crumbles more evenly, making it easier to form into balls.
– Crumble the cake: Using your hands or a food processor, Crumble the cake into fine crumbs. The texture should resemble wet sand. Avoid big chunks, as they can make rolling harder.
– Mix with frosting: Add 2-3 tablespoons of frosting to the cake crumbs and mix until the mixture holds together when pressed. Start with less frosting—you can always add more if needed. Overdoing it can make the pops too soft.
– Roll into balls: Scoop out tablespoon-sized portions and roll them into smooth, compact balls. Use the palms of your hands for even pressure. Aim for uniform sizes so they cook evenly.
– Chill the balls: Place the cake balls on a baking sheet lined with parchment paper and refrigerate for at least 30 minutes. Chilling firms them up, making them easier to dip without falling apart.
– Melt the chocolate: Use a microwave or double boiler to melt your chocolate. Stir frequently to avoid burning.
For a smoother consistency, add a teaspoon of coconut oil or shortening.
– Insert the sticks: Dip the tip of each cake pop stick into the melted chocolate, then insert it halfway into a cake ball. This helps secure the stick. Let the chocolate set for a few minutes.
– Dip the pops: Fully dip each cake pop into the melted chocolate, gently tapping off excess. Rotate the pop to confirm even coverage. Work quickly but carefully to avoid cracking.
– Decorate immediately: Before the chocolate sets, add sprinkles, drizzle, or other decorations. This is your chance to get creative!
– Let them set: Place the finished cake pops upright in a styrofoam block or cake pop stand. Allow the chocolate to harden completely before serving or packaging.
– Store properly: Keep cake pops in an airtight container at room temperature for up to 3 days or refrigerate for up to a week. Bring them to room temperature before serving for the best texture.
Nutrition
Understanding the nutritional content of homemade cake pops can help you enjoy them as part of a balanced diet. Here’s a breakdown of the approximate values per serving:
| Calories | Total Fat | Saturated Fat | Cholesterol | Sodium | Total Carbs | Dietary Fiber | Sugars | Protein |
|---|---|---|---|---|---|---|---|---|
| 150 | 7g | 4g | 25mg | 120mg | 20g | 0.5g | 15g | 2g |
Chef Tips
When making cake pops, I always recommend chilling the cake before shaping it—this helps prevent crumbling.
Use melted candy melts for coating, as they’re smoother and dry faster than frosting mixes.
Dip your sticks in coating before inserting them for better adhesion.
Roll pops evenly to avoid cracks.
Work quickly when dipping to prevent overheating, and let them set on parchment paper for a clean finish.
Frequently Asked Questions
Can I Use Gluten-Free Flour for Cake Pops?
Yes, I can use gluten-free flour for cake pops. I’ll substitute it 1:1 for regular flour, make sure the texture’s right, and double-check other ingredients to avoid gluten. It works great with the right recipe adjustments.
How Long Do Cake Pops Stay Fresh?
I’ve found cake pops stay fresh for about 1-2 days at room temperature. If I store them in the fridge, they last up to a week. I always keep them in an airtight container to maintain freshness.
Can Cake Pops Be Frozen for Later Use?
Yes, cake pops can be frozen for later use. I wrap them tightly in plastic wrap and store them in an airtight container or freezer bag. They’ll stay good for up to six months if frozen properly.
What’s the Best Way to Store Cake Pops?
I store cake pops by placing them in an airtight container, making sure they don’t touch each other, and keeping them in the fridge. If I plan to save them longer, I freeze them individually wrapped.
How Do I Prevent Cake Pops From Falling off the Stick?
I dip the tip of each stick in melted candy coating before inserting it into the cake ball—that secures it. Then I chill them until firm so they don’t slide off when I dip them completely.