The Best Homemade Cherry Pie Recipe
Recipe
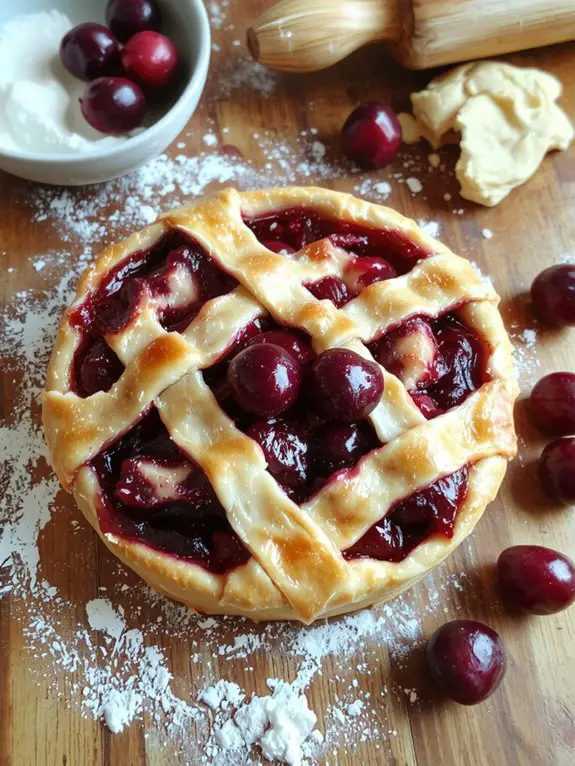
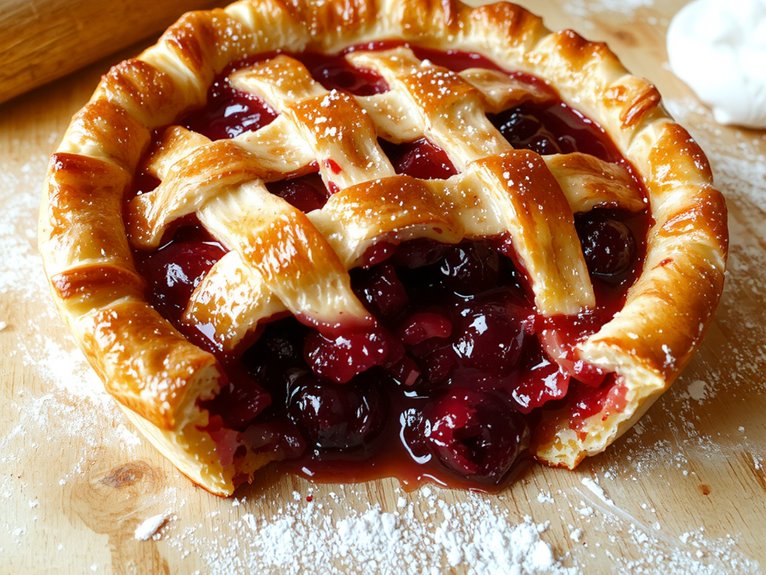
There’s something undeniably magical about a homemade cherry pie—it’s the kind of dessert that feels like a warm hug and a celebration all at once. This recipe? It’s the real deal. I’ve made it countless times, and I can confidently say it’s the best cherry pie you’ll ever bake.
What sets it apart? It’s all about the balance: sweet-tart cherries baked into a flaky, buttery crust that shatters with every bite. Fresh cherries are the star here, but if you’re in a pinch, high-quality jarred cherries work wonders too.
The secret is in the filling—just the right amount of sugar and a hint of almond extract to deepen the flavor without overpowering. And that crust? It’s foolproof, rolling out like a dream and browning to golden perfection.
Trust me, when you pull this pie out of the oven and the aroma fills your kitchen, you’ll know it was worth every step. Whether it’s for a holiday, a special occasion, or just because, this pie is sure to make you a legend in your own kitchen. Let’s get baking!
Ingredients
Start with the basics and elevate your cherry pie with the right ingredients. Fresh, high-quality components make all the difference, and a few insider tips will guarantee your pie is bakery-level delicious. Here’s what you’ll need:
- Fresh cherries: Opt for sweet Bing or tart Montmorency cherries for the best flavor. Frozen cherries work in a pinch, but fresh cherries give that vibrant, juicy bite.
- Granulated sugar: Balances the tartness of the cherries. Adjust to taste if using sweeter or tarter cherry varieties.
- Cornstarch: The secret to a perfectly thickened filling. For a gluten-free option, tapioca starch works just as well.
- Lemon juice: A splash brightens the flavor and enhances the cherries’ natural taste. Freshly squeezed is best!
- Salt: A pinch to elevate all the flavors—don’t skip it.
- Vanilla extract: Adds a warm, aromatic depth to the filling. Use pure vanilla extract for the best results.
For the crust:
- All-purpose flour: The foundation of a flaky, tender crust.
- Unsalted butter: Cold butter is non-negotiable for achieving those buttery, flaky layers.
- Ice water: Keeps the dough cold and easy to handle.
- Sugar: A touch for a hint of sweetness in the crust.
- Salt: Balances the flavors and enhances the crust’s richness.
Pro tip: For extra flair, brush the crust with an egg wash (1 egg + 1 tbsp water) before baking for a golden, glossy finish.
A sprinkle of turbinado sugar adds a delightful crunch.
How to Make the Best Classic Cherry Pie Recipe
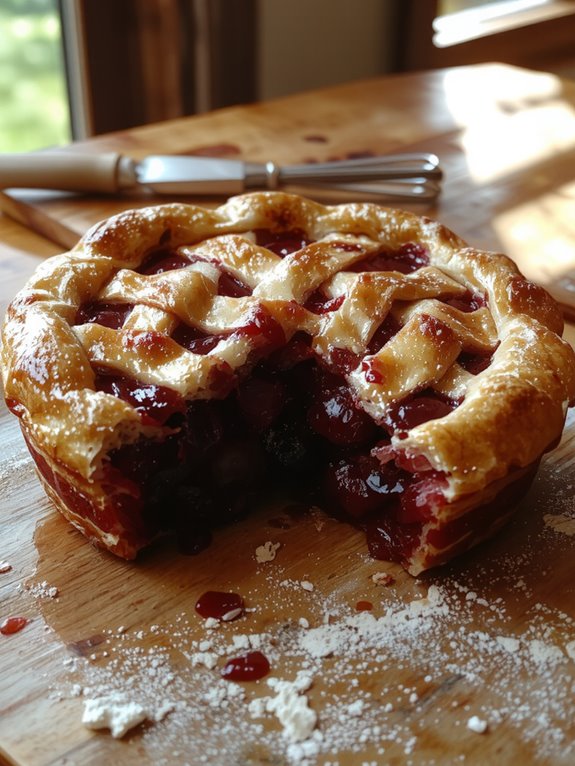
– Prepare the crust: Start by making your pie dough. Combine flour, sugar, and salt in a large bowl. Cut in cold butter until the mixture resembles coarse crumbs. Gradually add ice water, mixing just until the dough comes together.
Pro Tip: Handle the dough as little as possible to keep it tender. Divide the dough in half, shape into discs, wrap in plastic, and chill for at least 1 hour.
Timing Tip: You can make the dough a day ahead if needed.
– Roll out the dough: On a lightly floured surface, roll one dough disc into a circle about 12 inches in diameter. Carefully transfer it to a 9-inch pie dish, gently pressing it into the edges. Trim any excess dough, leaving a 1-inch overhang.
Chill the crust while you prepare the filling.
Watch Out: Avoid stretching the dough when transferring it to the dish, as it can shrink during baking.
– Make the filling: In a large bowl, combine fresh or frozen pitted cherries, sugar, cornstarch, lemon juice, and almond extract. Stir gently until the cherries are evenly coated.
Let the mixture sit for 10 minutes to draw out the juices.
Why This Matters: The cornstarch thickens the juices as the pie bakes, creating a glossy, sliceable filling.
– Assemble the pie: Roll out the second dough disc and cut it into strips for a lattice top or leave it whole for a solid top. Fill the chilled crust with the cherry mixture. Arrange the top crust over the filling, sealing and crimping the edges.
Pro Tip: Brush the top crust with a beaten egg and sprinkle with sugar for a golden, crisp finish.
– Bake the pie: Preheat your oven to 375°F (190°C). Place the pie on a baking sheet to catch any drips. Bake for 50–60 minutes, or until the crust is golden brown and the filling is bubbling.
Visual Cue: The filling should be thick and glossy when the pie is done. If the crust browns too quickly, cover it with foil.
– Cool and serve: Let the pie cool completely on a wire rack for at least 2 hours. This allows the filling to set so it slices neatly.
Serve with vanilla ice cream or whipped cream for a classic treat.
Flexibility: You can store leftovers at room temperature for up to 2 days or refrigerate for longer freshness.
Nutrition
This homemade cherry pie recipe offers a delightful balance of sweetness and tartness. Below is the nutritional information per serving.
| Nutrient | Amount per Serving |
|---|---|
| Calories | 320 kcal |
| Total Fat | 12 g |
| Saturated Fat | 5 g |
| Cholesterol | 15 mg |
| Sodium | 220 mg |
| Total Carbohydrates | 50 g |
| Dietary Fiber | 2 g |
| Sugars | 25 g |
| Protein | 3 g |
Chef Tips
When I make a cherry pie, I always guarantee the cherries are as fresh as possible, as they bring out the best flavor and texture.
I chill the dough before rolling it to prevent shrinkage.
A sprinkle of sugar on the crust before baking adds crunch.
For a glossy finish, I brush the top with egg wash.
Let the pie cool completely to set the filling.
Frequently Asked Questions
What Type of Cherries Work Best for Pie?
I’d use tart cherries like Montmorency for pie because they balance sweetness and tanginess better. Sweet cherries can work, but I’d add lemon juice or reduce sugar to avoid an overly sweet filling.
Can I Use Frozen Cherries Instead of Fresh?
Yes, I can use frozen cherries instead of fresh. They’re convenient and work well, but I’ll thaw and drain them first to avoid extra moisture. They might taste slightly softer but still make a delicious pie.
How Do I Prevent a Soggy Pie Crust?
I always blind bake my crust first to firm it up, then I toss my cherries in a bit of cornstarch to soak up extra juice. It’s never failed me—keeps my crust crisp and delicious every time.
Can I Make the Pie Crust Ahead of Time?
Yes, you can make the pie crust ahead of time! I usually prepare mine a day or two in advance, wrap it tightly in plastic, and refrigerate it. You can even freeze it for up to a month—just thaw before rolling.
How Long Should I Let the Pie Cool Before Serving?
I’d let the pie cool for at least 2 hours before serving; this gives the filling time to set so it won’t run when sliced. Patience makes all the difference for that perfect, clean cut!