The Best Homemade Chicken Katsu Recipe
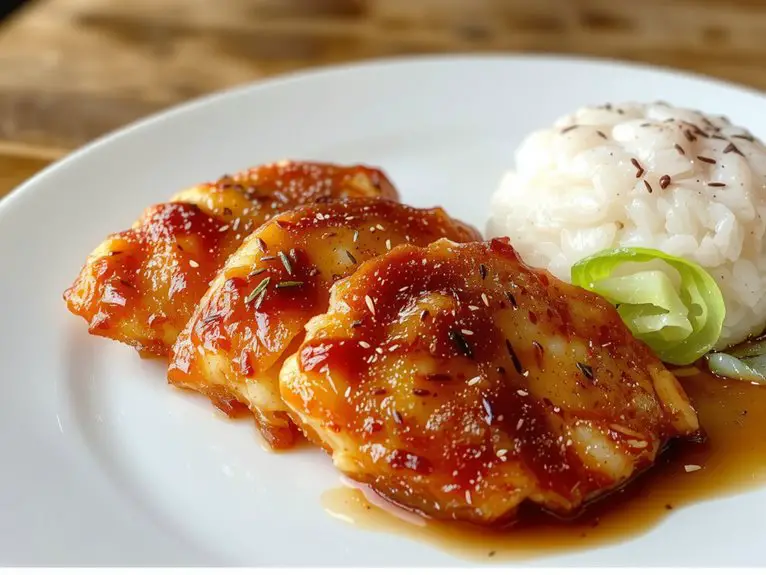
Recipe
Crispy, golden, and impossibly juicy—this homemade Chicken Katsu is the kind of dish that’ll have everyone at the table begging for seconds. Forget takeout; once you try this version, with its perfectly crunchy panko crust and tender, flavorful chicken, you’ll never look back.
The secret? A simple buttermilk soak that keeps the meat extra succulent, plus a foolproof frying method for that irresistible crunch. Envision this: a bite so satisfying, the crisp coating gives way to juicy, seasoned chicken, all balanced with a tangy-sweet tonkatsu sauce.
Whether you’re a katsu newbie or a longtime fan, this recipe is a game-changer—easy enough for weeknights but impressive enough for guests. Trust me, your taste buds are in for a treat.
Ingredients
For the ultimate homemade chicken katsu, sourcing the right ingredients is key to achieving that perfect crispy exterior and tender, juicy interior. I always recommend using fresh, high-quality ingredients for the best results, but I also know flexibility is important—so I’ve included some smart swaps where possible. Here’s what you’ll need:
- Chicken Breasts: Thinly sliced or pounded to about ¼-inch thickness for even cooking. Chicken thighs can be used for a juicier bite.
- Panko Breadcrumbs: Non-negotiable for that signature crunch. Avoid regular breadcrumbs—they won’t give you the same texture.
- Flour: All-purpose works perfectly to help the egg coating adhere.
- Eggs: Beaten well—this is the glue that holds everything together.
- Neutral Oil: Use something with a high smoke point like vegetable, canola, or peanut oil for frying. Skip olive oil—it’s not ideal for this recipe.
- Salt and Pepper: Essential seasoning for the chicken. Freshly ground pepper adds a little extra depth.
- Optional Extras: Garlic powder or paprika can be mixed into the flour for added flavor.
Pro Tip: For extra crispy katsu, toast the panko breadcrumbs in a dry pan until golden before breading—it’s a game-changer!
How to Make the Best Crispy Chicken Katsu Recipe
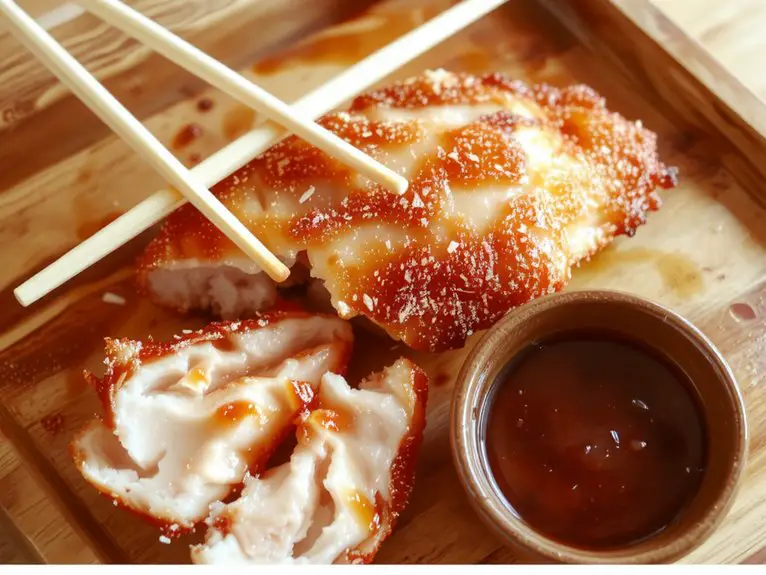
- Prepare the chicken: Start by pounding the chicken breasts to an even thickness (about ½ inch). This guarantees even cooking and a tender bite. If you don’t have a meat mallet, use a rolling pin or the bottom of a heavy pan.
- Set up your breading station: Use three shallow bowls—one for flour, one for beaten eggs, and one for panko breadcrumbs. Season each with salt and pepper. For extra flavor, mix a pinch of garlic powder or paprika into the flour.
- Coat the chicken: Dredge each piece in flour (shake off excess), dip in egg (let excess drip off), then press firmly into the panko to coat.
*Pro tip*: Let the breaded chicken rest for 5 minutes—this helps the coating stick better during frying.
– Heat the oil: Use a neutral oil like vegetable or canola, and heat it to 350°F (175°C) in a deep skillet.
No thermometer? Test by dropping a panko crumb—it should sizzle immediately.
*Watch out*: Too hot, and the coating burns; too cool, and the chicken absorbs excess oil.
– Fry to golden perfection: Cook the chicken in batches, 3–4 minutes per side, until deep golden brown. Drain on a wire rack (not paper towels—this keeps the crust crisp).
*Visual cue*: The chicken should sound crunchy when tapped.
– Rest before slicing: Let the katsu rest for 2–3 minutes. This keeps the juices inside and prevents a soggy crust. Serve with tonkatsu sauce or a squeeze of lemon.
*Flexibility*: For a lighter version, bake at 400°F (200°C) for 20 minutes, flipping halfway.
Nutrition
Nutritional information can vary based on serving size and ingredients used. Here’s an approximate breakdown per serving:
| Nutrient | Amount |
|---|---|
| Calories | 450 kcal |
| Protein | 25 g |
| Fat | 20 g |
| Carbohydrates | 35 g |
| Fiber | 2 g |
| Sugar | 3 g |
Chef Tips
While cooking chicken katsu, I’ve found that pounding the chicken breasts to an even thickness guarantees they cook evenly and stay tender.
Always season the flour, egg, and panko separately for maximum flavor.
Let the breaded chicken rest 5 minutes before frying—it helps the coating stick.
Use neutral oil at 350°F for a crisp, golden crust.
Drain on a rack to keep it crunchy.
Frequently Asked Questions
What Is the Origin of Chicken Katsu?
I’d say chicken katsu originated in Japan, inspired by Western breaded cutlets. It’s a twist on tonkatsu, traditionally made with pork, but adapted for chicken. I’ve learned it’s a fusion of Japanese and European culinary styles.
Can I Use Pork Instead of Chicken?
Yes, I can use pork instead of chicken; it’s called tonkatsu. I’ll bread and fry it the same way, though pork might take slightly longer to cook. It’s a delicious alternative if I’m in the mood for something different.
How Long Can I Store Leftover Chicken Katsu?
I’d store leftover chicken katsu in the fridge for up to 3 days. If I freeze it, I’d keep it for a month. Just reheat it in the oven to keep it crispy.
What Sides Pair Best With Chicken Katsu?
I love serving chicken katsu with steamed rice and shredded cabbage—it’s classic. A side of miso soup or pickled veggies adds balance. Sometimes I’ll pair it with macaroni salad for a heartier meal.
Is Chicken Katsu Gluten-Free?
I don’t think traditional chicken katsu is gluten-free because it’s coated in panko breadcrumbs, which contain wheat. But you can make it gluten-free by using gluten-free panko or almond flour instead.


