The Best Homemade Chili Recipe
Recipe
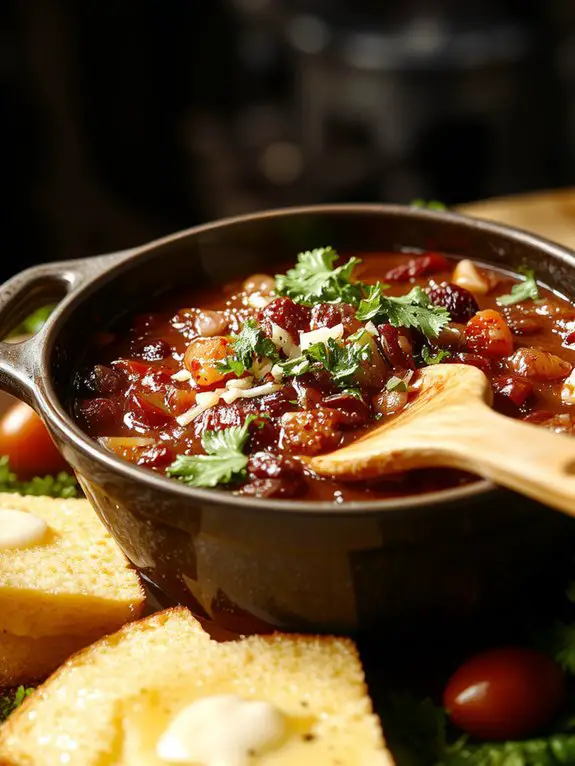
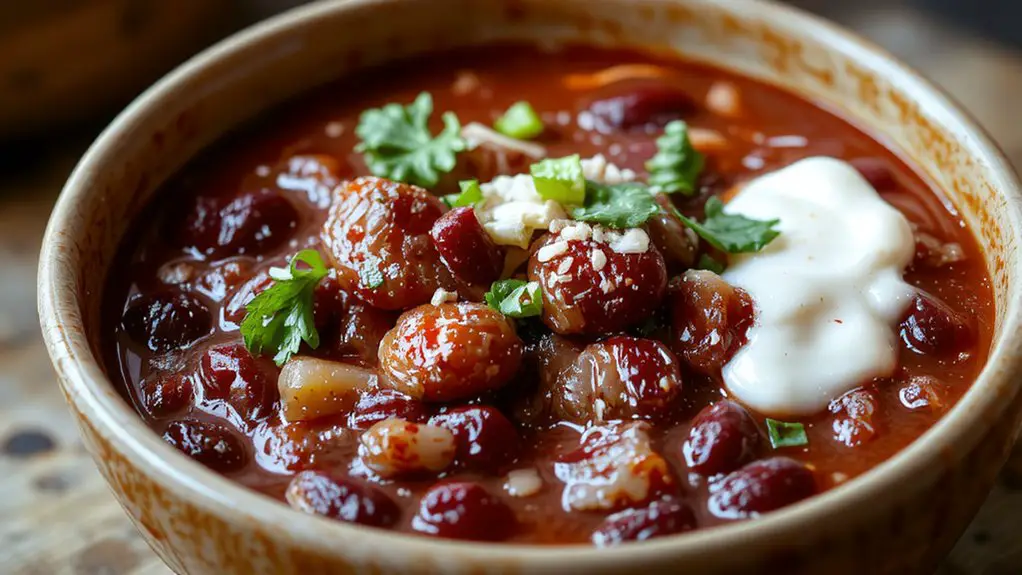
If there’s one recipe that knows how to pack a punch of flavor, warmth, and comfort, it’s this homemade chili. Trust me, I’ve made this version more times than I can count, and it never fails to impress. The secret? A blend of browned ground beef, smoky spices, and a splash of cocoa powder that adds an unexpected depth—yes, cocoa powder!
It’s the kind of chili that simmers low and slow, filling your kitchen with an irresistible aroma that’ll have everyone asking, “When’s dinner?” Each spoonful is hearty and satisfying, with tender beans, juicy tomatoes, and just the right amount of heat.
Whether it’s game day, a chilly evening, or just a craving that needs fixing, this chili is your go-to. Plus, it’s easy to whip up—even if you’re not a kitchen pro. Let’s get cooking and make your taste buds dance!
Ingredients
The secret to a killer homemade chili lies in layering flavors—starting with the right ingredients. Here’s what you’ll need, plus insider tricks to make it unforgettable:
- Ground beef (80/20 blend): The fat content adds richness. For a leaner option, use ground turkey or chicken, but bump up the oil.
- Onion + garlic: Non-negotiable. Sauté until golden for a sweet, savory base.
- Beans (kidney and black): Canned works fine—just rinse them. No beans? Double the meat or add lentils.
- Crushed tomatoes: San Marzano if you can—they’re sweeter and less acidic.
- Beef broth: Homemade or low-sodium. Swap with chicken or veg broth in a pinch.
- Chili powder + cumin: The backbone of flavor. Toasting the spices in oil first? *Chef’s kiss*.
- Cocoa powder or dark chocolate: A tiny bit deepens the flavor (trust me).
- Diced green chiles: Canned or fresh. Skip if you hate heat, but they add a bright kick.
- Cornmeal or masa harina: Thickens the chili subtly. No masa? A splash of beer works too.
Little win: Top with fresh cilantro, sour cream, or shredded cheese—texture and cool contrast are key.
How to Make the Best The Best Chili Recipe
– Prep Ingredients: Chop your onions, garlic, and peppers. This guarantees a smooth cooking process and avoids scrambling mid-recipe.
Pro Tip: Use a sharp knife for clean cuts, and keep a damp cloth nearby to wipe your hands as you work.
– Brown the Meat: Heat a large pot over medium heat and add the ground beef. Break it into small pieces with a wooden spoon as it cooks.
Watch-Out Warning: Don’t overcrowd the pot—brown in batches if needed to avoid steaming the meat. Once browned, drain excess fat and set aside.
– Sauté Vegetables: In the same pot, add a bit of oil and sauté onions, garlic, and peppers until soft and fragrant.
Why This Matters: Cooking the vegetables first builds a flavor foundation for your chili.
Pro Tip: Add a pinch of salt to help draw out moisture and speed up the process.
– Add Spices and Tomatoes: Stir in chili powder, cumin, and paprika, letting them toast for 30 seconds to release their aroma. Then, add crushed tomatoes and tomato paste.
Why This Matters: Toasting spices deepens their flavor profile, giving your chili a robust taste.
– Combine and Simmer: Return the meat to the pot, add beans and broth, and stir well. Bring to a boil, then reduce the heat to low and let it simmer for at least 30 minutes.
Visual Cue: You’ll know it’s ready when the chili thickens slightly and the flavors meld together.
Pro Tip: For even richer flavor, let it simmer for up to an hour, stirring occasionally.
– Taste and Adjust: Before serving, taste your chili and adjust seasoning as needed. Add salt, pepper, or a pinch of sugar if it’s too tangy.
Why This Matters: Balancing flavors at the end guarantees a perfectly seasoned dish.
Pro Tip: Let the chili rest for 10 minutes off the heat before serving—it’ll taste even better.
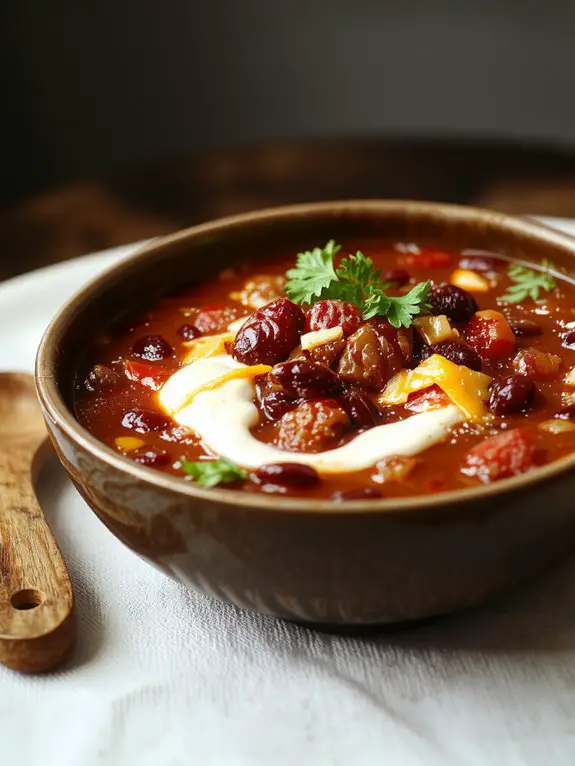
– Serve and Garnish: Ladle into bowls and top with your favorite garnishes like shredded cheese, sour cream, or green onions.
Flexibility: This chili pairs well with cornbread, rice, or tortilla chips for a complete meal.
Nutrition
This chili recipe provides a hearty and nutritious meal. Below is the nutritional information per serving.
Calories: 350
Total Fat: 15g
Saturated Fat: 5g
Cholesterol: 50mg
Sodium: 800mg
Total Carbohydrates: 30g
Dietary Fiber: 8g
Sugars: 6g
Protein: 25g
Chef Tips
While making chili, I’ve found that browning the meat well adds depth of flavor.
Sharp knife skills guarantee even cuts for onions, peppers, and garlic, which enhances texture and cooking consistency.
For flavor balancing, I start with a base of tomatoes, then adjust with spices like cumin, chili powder, and a pinch of sugar to tame acidity.
Simmering slowly melds the flavors for a richer dish.
Frequently Asked Questions
Can I Freeze Leftover Chili?
Yes, I freeze leftover chili all the time! Just let it cool first, then pour it into airtight storage containers, leaving some space for expansion. Follow these freezing tips, and it’ll stay good for months.
How Long Does Chili Last in the Fridge?
I’d say chili lasts 3-4 days in the fridge if stored properly. Follow chili storage tips like sealing it airtight and checking fridge safety guidelines to keep it fresh and safe. Use your senses to check for spoilage.
What’s the Best Substitute for Ground Beef?
I’d use ground turkey or chicken for a leaner option, but if you want vegetarian options, try lentils, black beans, or meat alternatives like textured vegetable protein. They’ll give your chili great texture and flavor.
Can I Make Chili in a Slow Cooker?
Yes, I can make chili in a slow cooker. I’ll use slow cooker tips like layering ingredients and cooking on low for 6-8 hours. Simmering techniques guarantee flavors deepen, and I’ll stir occasionally to prevent sticking.
Is Chili Gluten-Free?
Chili can be gluten-free if I use gluten-free ingredients like fresh meat, beans, and spices. I’d avoid thickening agents with gluten, though. It’s perfect for my gluten-free diet when I double-check labels for hidden gluten.


