The Best Homemade Cupcake Recipe
Recipe
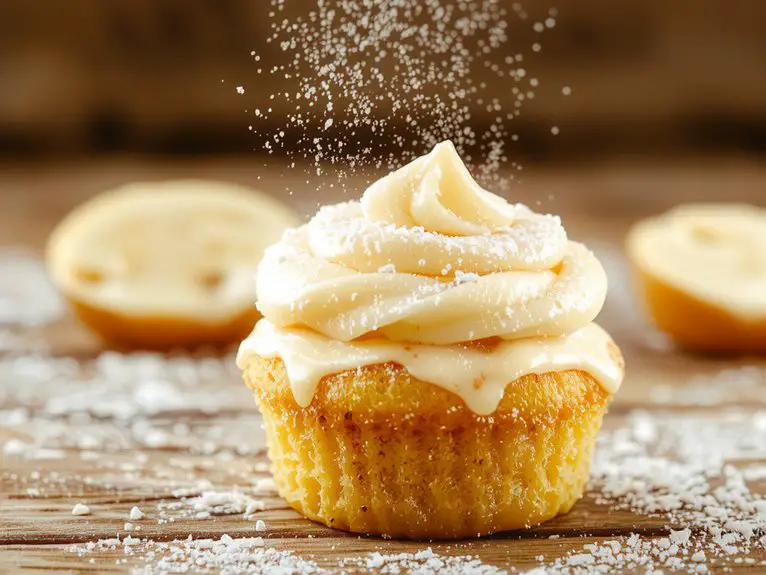
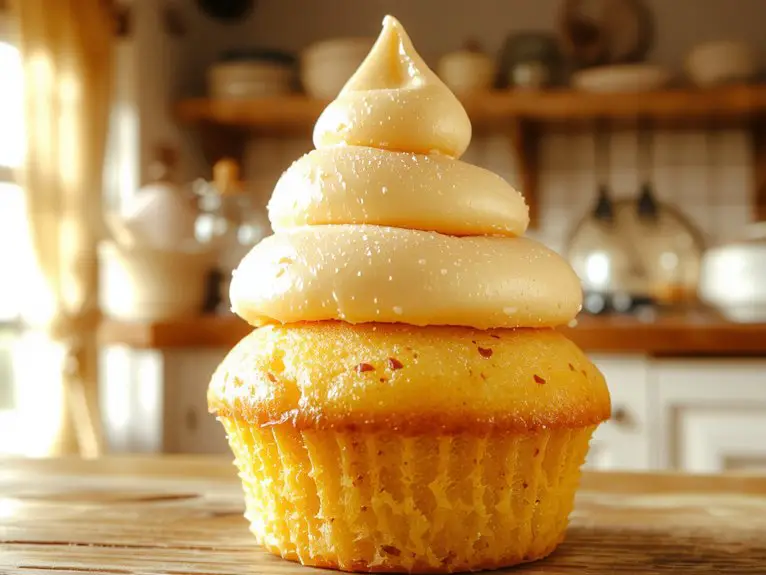
I can promise you this: once you taste these homemade cupcakes, you’ll never go back to the boxed mix. They’re the kind of cupcakes that feel like a warm hug—soft, tender crumb, just the right amount of sweetness, and topped with a frosting so creamy, it practically melts on your tongue.
What makes them truly special? Real butter, pure vanilla extract, and a touch of love—simple ingredients that elevate these cupcakes to bakery-level perfection.
Whether you’re baking for a party, a special occasion, or just because, these cupcakes are always a crowd-pleaser.
Trust me, your kitchen will smell like heaven, and your taste buds will thank you. Let’s get baking—you’ve got this!
Ingredients
Choosing the right ingredients is vital for creating cupcakes that are moist, fluffy, and bursting with flavor. Let’s break it down so you can nail this recipe with confidence—and maybe even impress yourself!
For the Cupcakes:
- All-purpose flour: The backbone of your batter—don’t substitute with cake flour unless you want a lighter crumb.
- Granulated sugar: Adds sweetness and helps with moisture. For a deeper flavor, try using half brown sugar.
- Unsalted butter: Essential for richness. If you only have salted butter, just skip adding extra salt.
- Eggs: Room temperature eggs blend better—this is a non-negotiable tip for smooth batter.
- Milk: Whole milk works best for richness, but any milk will do in a pinch.
- Vanilla extract: Pure vanilla is worth the investment—it’s the flavor MVP.
- Baking powder & baking soda: These are your leavening heroes; don’t skip or substitute.
For the Frosting:
- Powdered sugar: Sift it to avoid lumps—this is a game-changer for smooth frosting.
- Unsalted butter: Softened butter is key for creamy frosting.
- Heavy cream: Lighter milk can work, but cream gives that luxurious texture.
- Vanilla extract: Again, go pure—it’s worth it.
Optional Extras:
- Sprinkles: Fun and festive—perfect for decoration.
- Fresh fruit or zest: A sprinkle of lemon or orange zest adds a fresh pop of flavor.
Pro tip: Measure your ingredients precisely, especially the flour—too much can make your cupcakes dense.
And don’t forget to bring your cold ingredients to room temperature before mixing; it makes a world of difference!
How to Make the Best Vanilla Buttercream Cupcake Recipe
• Preheat your oven to 350°F (175°C) and line a muffin tin with cupcake liners.
This guarantees even baking and prevents sticking. If your oven runs hot or cold, use an oven thermometer for accuracy—baking at the wrong temperature can lead to uneven results.
• Cream softened butter and sugar together in a large bowl until light and fluffy (about 3-4 minutes).
Proper creaming incorporates air, giving cupcakes a tender crumb. If the butter is too cold, it won’t blend smoothly; too warm, and the batter may become greasy.
• Beat in eggs one at a time, then add vanilla extract.
Adding eggs gradually prevents the batter from curdling. Scrape the bowl between additions to confirm everything mixes evenly.
• Alternate adding dry ingredients (flour, baking powder, salt) and milk, starting and ending with dry ingredients.
This method keeps the batter smooth and avoids overmixing, which can make cupcakes dense. Mix just until combined—small streaks of flour are okay.
• Fill cupcake liners ⅔ full using a scoop or spoon.
Overfilling causes uneven baking and spills. A cookie scoop secures uniform size for even baking.
• Bake for 18-20 minutes, or until a toothpick inserted comes out clean.
Rotate the pan halfway for even browning. Avoid opening the oven too early—it can cause cupcakes to sink.
• Cool in the pan for 5 minutes, then transfer to a wire rack.
This prevents soggy bottoms. Cupcakes must cool completely before frosting to avoid melting.
• For the buttercream, beat softened butter until smooth, then gradually add powdered sugar and vanilla.
Cold butter won’t whip properly. If frosting is too thick, add milk 1 tsp at a time until spreadable.
• Pipe or spread frosting onto cooled cupcakes.
Use a piping bag for a polished look or a knife for a rustic finish. Decorate immediately with sprinkles before the frosting sets.
Nutrition
Nutritional values can vary based on specific ingredients and portion sizes. Below is an approximate breakdown for one standard cupcake.
| Nutrient | Amount per Serving |
|---|---|
| Calories | 180 kcal |
| Total Fat | 8 g |
| Saturated Fat | 5 g |
| Cholesterol | 30 mg |
| Sodium | 150 mg |
| Total Carbohydrate | 25 g |
| Dietary Fiber | 0.5 g |
| Sugars | 15 g |
| Protein | 2 g |
Chef Tips
When making cupcakes, I always guarantee my butter and eggs are at room temperature—this helps create a smoother batter and confirms even baking.
I also sift my dry ingredients to avoid lumps.
Don’t overmix the batter; it keeps cupcakes tender.
Fill liners two-thirds full for perfect domes.
Check doneness with a toothpick—it should come out clean.
Let them cool completely before frosting to prevent melting.
These tips secure flawless cupcakes every time.
Frequently Asked Questions
Can I Use a Different Type of Flour?
You can use a different flour, but results may vary. All-purpose works best, but cake flour makes them lighter. If using whole wheat, add extra liquid. Gluten-free blends work—just check ratios. Experiment and adjust!
How Do I Store Leftover Cupcakes?
I store leftover cupcakes in an airtight container at room temperature for 2 days. If I need them to last longer, I freeze them in a freezer-safe bag for up to 3 months.
Can I Make These Cupcakes Gluten-Free?
Absolutely, I can make these cupcakes gluten-free. I just swap regular flour for a gluten-free blend and verify ingredients like baking powder are certified gluten-free. It’s easy, and they’ll taste just as delicious.
What’s the Best Way to Decorate Them?
I’d start with a smooth swirl of buttercream frosting using a piping bag, then add sprinkles or edible glitter for fun. Fresh berries or chocolate shavings work too—just keep it simple and let the flavors shine.
Can I Freeze the Cupcakes for Later?
Yes, you can freeze cupcakes for later. I wrap them tightly in plastic wrap, then place them in an airtight container or freezer bag. They last up to 3 months, and I thaw them at room temperature.