The Best Homemade Deviled Egg Recipe
Recipe
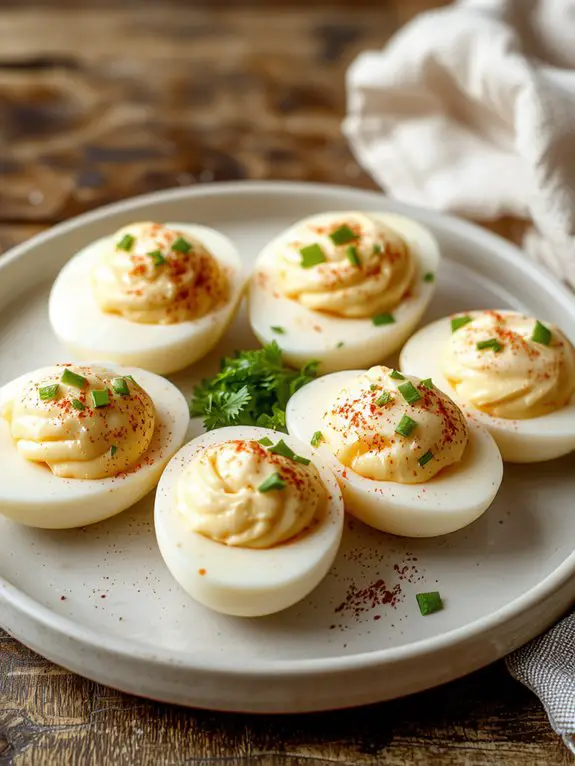
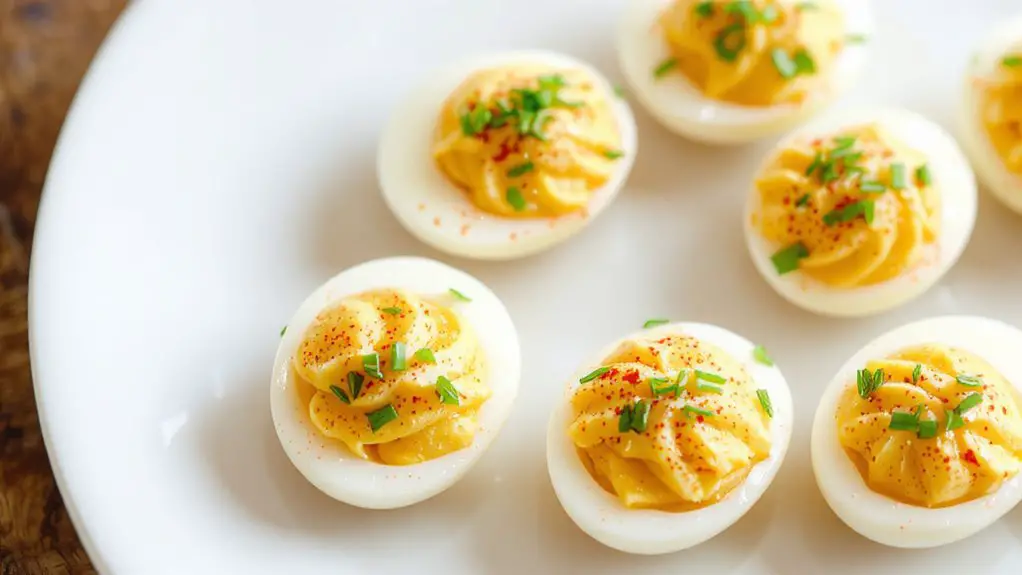
Deviled eggs are the ultimate crowd-pleaser, and this homemade version is guaranteed to disappear faster than you can make them. What sets this recipe apart? A creamy, tangy filling with just the right hint of mustard and paprika—no bland, boring eggs here.
I’ve tweaked this classic for years, and the secret is in the balance: smooth, velvety yolks mixed with a touch of brightness from vinegar and a sprinkle of smoky paprika on top.
Whether it’s a picnic, potluck, or just a craving, these little bites deliver big flavor with minimal effort. Trust me, once you try this version, you’ll never go back to store-bought.
Let’s make deviled eggs that’ll have everyone asking for your recipe.
Ingredients
For the perfect deviled eggs, ingredient quality matters. Fresh, high-quality eggs are essential—they peel easier and have a richer flavor.
You’ll also want creamy mayo and a hint of tanginess to balance the richness. Here’s what you’ll need, along with some chef-approved swaps and tips to elevate your dish:
Ingredients
- Large eggs (12): Fresh eggs peel cleaner, so avoid older ones. Let them come to room temperature before boiling.
- Mayonnaise (1/4 cup): Full-fat mayo guarantees a creamy texture. For a lighter option, Greek yogurt works too.
- Dijon mustard (1 tsp): Adds a subtle kick. Yellow mustard is a fine substitute if you prefer milder flavor.
- White vinegar or apple cider vinegar (1 tsp): Brightens the filling. Lemon juice is a great alternative.
- Salt (1/4 tsp): Enhances all the flavors—don’t skip it!
- Black pepper (1/4 tsp): Freshly ground pepper adds depth.
- Paprika (for garnish): Smoked paprika gives a smoky twist, while sweet paprika keeps it classic.
Optional Additions
- Fresh chives or parsley (chopped): Adds freshness and a pop of color.
- Pickle relish (1 tbsp): Sweet or dill relish lends a tangy crunch.
- Hot sauce (a dash): Adds a subtle heat for those who like it spicy.
Pro tip: For a smoother filling, use a fine-mesh sieve to press the egg yolks. It’s worth the extra step for a velvety texture.
How to Make the Best Classic Deviled Egg Technique
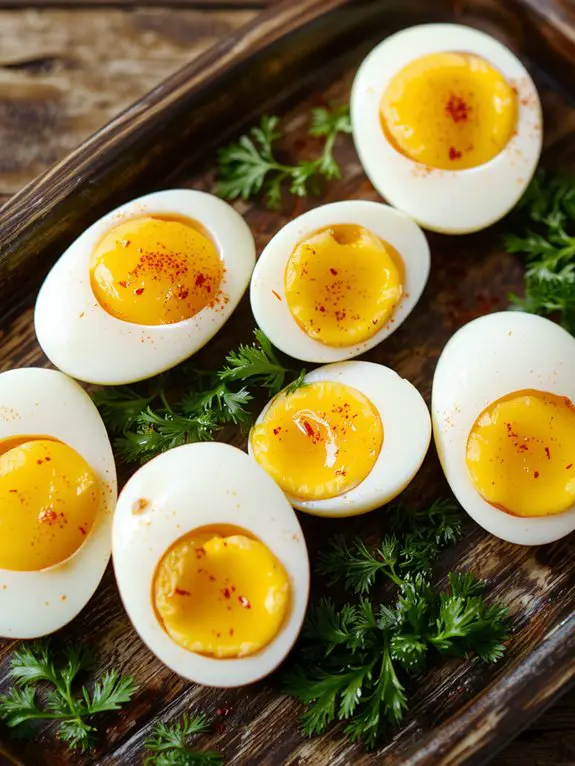
- Start by boiling the eggs until they’re hard-boiled. Place eggs in a single layer in a pot, cover with cold water by an inch, and bring to a boil. Once boiling, turn off the heat, cover the pot, and let sit for 12 minutes. This method guarantees perfectly cooked yolks without the risk of overcooking.
- Transfer the boiled eggs to an ice bath immediately after cooking. Let them sit for at least 10 minutes to cool completely and stop the cooking process. This also makes peeling easier by shrinking the egg whites slightly.
- Gently peel the eggs under cool running water to help remove the shells smoothly without damaging the whites. Start peeling from the wider end where there’s usually an air pocket.
- Slice the eggs in half lengthwise. Use a sharp knife and wipe it clean between cuts for neat, clean edges. Carefully remove the yolks and place them in a medium bowl, setting aside the whites on a serving platter.
- Mash the yolks with a fork until they’re finely crumbled. For extra smooth filling, you can press them through a sieve, but a fork works just fine for most home cooks.
- Add mayonnaise, mustard, and a pinch of salt and pepper to the yolks. Start with 2 tablespoons of mayonnaise and 1 teaspoon of mustard, then adjust to taste. This creates a creamy, tangy base for the filling.
- Mix the ingredients until smooth and well combined, but avoid overmixing, which can make the filling too dense. The texture should be creamy but still hold its shape when piped or spooned.
- Spoon or pipe the yolk mixture back into the egg white halves. For a polished look, use a piping bag with a star tip. If using a spoon, smooth the top gently with the back of the spoon.
- Sprinkle with paprika or garnish with fresh herbs like chives or dill for a pop of color and flavor. Paprika adds a subtle smokiness, while herbs bring freshness.
- Chill the deviled eggs in the refrigerator for at least 30 minutes before serving. This allows the flavors to meld and guarantees the filling stays firm.
Nutrition
Deviled eggs are a delicious snack that can be enjoyed while still being mindful of nutrition. Here’s the nutritional breakdown per serving:
| Nutrient | Amount per Serving |
|---|---|
| Calories | 75 |
| Total Fat | 6g |
| Saturated Fat | 1.5g |
| Cholesterol | 95mg |
| Sodium | 80mg |
| Carbohydrates | 1g |
| Protein | 4g |
Chef Tips
Though deviled eggs seem simple, a few tricks can take them from good to great. Use sharp knife skills to halve eggs cleanly, avoiding jagged edges.
For smooth filling, press yolks through a sieve or use a piping bag for precision. Elevate plating presentation with garnishes like paprika, chives, or microgreens.
Chill eggs briefly before serving to enhance texture and flavor. These small details make a big difference.
Frequently Asked Questions
Can I Make Deviled Eggs Ahead of Time?
Yes, I make deviled eggs ahead all the time! Just keep the whites and filling separate—store whites in an airtight container and pipe filling before serving. It’s one of my favorite party preparation hacks for easy egg storage tips.
How Long Do Deviled Eggs Last in the Fridge?
I’d say deviled eggs last 3-4 days in the fridge if stored properly. Check expiration dates on ingredients like mayo first. For storage tips, keep them covered tightly—it helps prevent them from drying out or absorbing odors.
Can I Freeze Deviled Eggs?
I wouldn’t recommend freezing deviled eggs—the texture turns watery and unappetizing. If I’ve got extra eggs, I’ll store just the cooked whites and make fresh filling later. Proper storage tips mean keeping them refrigerated.
What Are Some Creative Garnish Ideas?
I love using egg toppings like crispy bacon bits, smoked salmon, or avocado slices to jazz up my deviled eggs. For sprinkle garnishes, I’ll toss on paprika, chives, crushed nuts, or even edible flowers for a pop of color.
How Do I Prevent My Eggs From Cracking While Boiling?
I always make sure the water level covers my eggs completely when boiling. After cooking, I transfer them to an egg cooling bath immediately—ice water stops the cooking process and helps prevent cracks from forming.