The Best Homemade Elderberry Syrup Recipe
Recipe
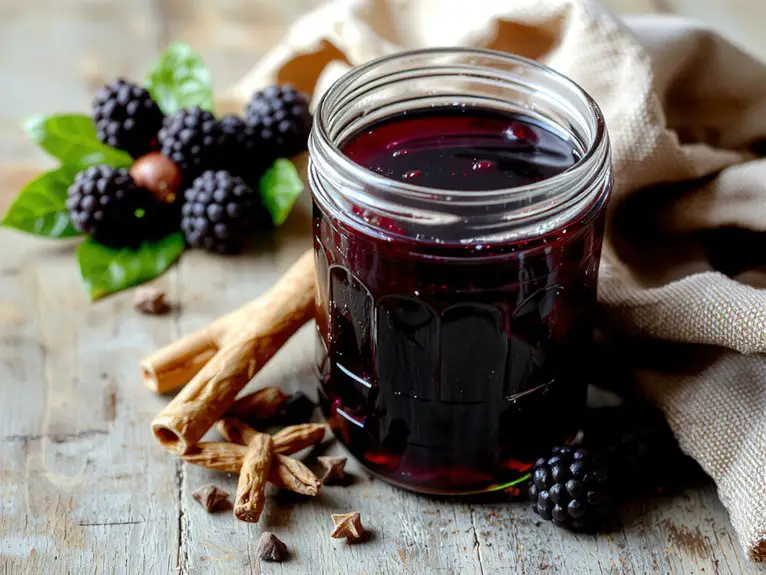
This elderberry syrup is hands-down the best immune-boosting remedy you’ll make at home—trust me, once you try it, you’ll never go back to store-bought versions. Packed with antioxidant-rich elderberries, warming spices, and a touch of honey, it’s like a cozy hug in a spoon.
I’ve been making this recipe for years, especially during cold season, and it’s become a non-negotiable staple in my kitchen. The deep, jammy sweetness of the berries mingles with cinnamon and ginger, creating a syrup that’s both earthy and bright.
Drizzle it over yogurt, stir it into tea, or take it straight by the spoonful—it’s so delicious, you’ll forget it’s actually good for you. Plus, it’s ridiculously easy to whip up with just a few simple ingredients.
Ready to make your own powerhouse potion? Let’s do this.
Ingredients
When making elderberry syrup, choosing the right ingredients can make all the difference. Fresh or dried elderberries are essential, but don’t worry if you don’t have everything on hand—there are easy swaps to keep things accessible. Here’s what you’ll need, with a few pro tips to guarantee your syrup is both potent and delicious.
- Elderberries (fresh or dried): The star of the show! Dried elderberries are widely available online or in health stores if fresh ones aren’t an option. Pro tip: Dried berries concentrate the flavor and are easier to strain later.
- Water: Use filtered water for the purest taste.
- Honey (raw and local, if possible): Adds natural sweetness and boosts immune-supportive properties. Maple syrup or agave can work as substitutes, but honey’s floral notes complement elderberries best.
- Fresh ginger: A small knob elevates the syrup with warmth and anti-inflammatory benefits. Skip only if you really must—its zing is worth it.
- Cinnamon stick: Adds depth and a hint of spice. Ground cinnamon works in a pinch (use 1/4 tsp), but the stick imparts a smoother flavor.
- Cloves (whole or ground): A touch of earthiness. Use sparingly—they’re potent! Pro tip: Whole cloves are easier to strain out later.
- Optional: Orange peel or lemon zest: For a citrusy brightness. Fresh is best, but dried peel works too.
Non-negotiable: Elderberries and honey are the backbone of this recipe—stick with them for maximum flavor and benefits. The rest can be tweaked, but don’t skimp on quality.
How to Make the Best Homemade Elderberry Syrup Benefits
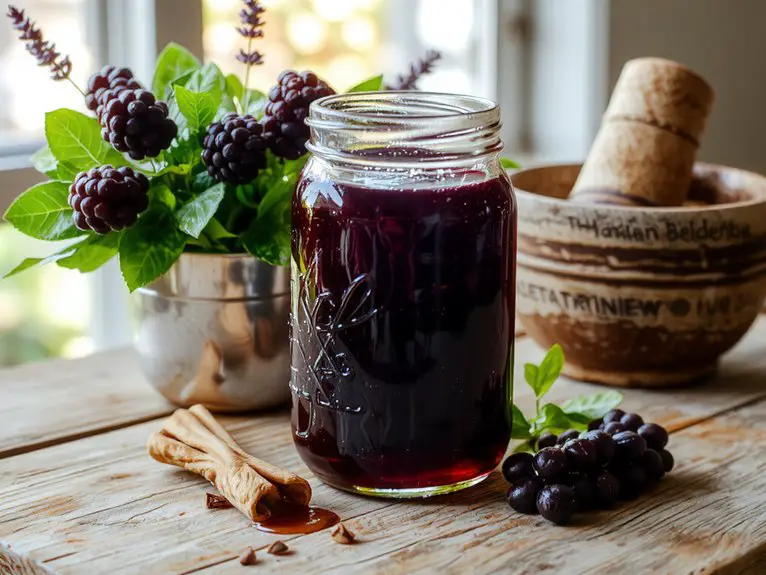
Start by gathering all your ingredients: Measure out your elderberries, water, honey, and spices (like cinnamon or ginger) before you begin. Having everything ready makes the process smoother and prevents last-minute scrambling.
Combine elderberries and water in a saucepan****: Place the elderberries and water in a medium-sized saucepan. Use a 1:2 ratio of elderberries to water for the right consistency—this guarantees the syrup isn’t too thick or too thin.
Simmer the mixture gently: Heat the saucepan over medium-low heat and let it simmer for about 30–45 minutes. Avoid boiling, as high heat can destroy the beneficial compounds in the elderberries. Stir occasionally to prevent sticking.
Strain the liquid**: Once the mixture has reduced and the berries are soft, remove it from the heat and let it cool slightly. Strain the liquid through a fine mesh strainer or cheesecloth into a bowl or jar**.
Press gently on the berries to extract all the juice, but avoid squeezing too hard, as this can make the syrup bitter.
Add honey and spices: While the liquid is still warm, stir in your honey and spices. The warmth helps dissolve the honey evenly. Adjust the amount of honey to your taste—adding it while warm secures a smooth, well-blended syrup.
Let it cool completely: Allow the syrup to cool to room temperature before transferring it to a clean glass jar or bottle. Cooling prevents condensation inside the jar, which can lead to spoilage.
Store properly: Seal the jar tightly and store it in the refrigerator for up to 3 weeks. For longer storage, freeze the syrup in ice cube trays for easy, single-use portions. Always label your jar with the date to keep track of freshness.
Pro Tip: If you’re short on time, use dried elderberries instead of fresh—they’re just as effective and often more convenient.
Watch Out: Never toss elderberries or syrup in plastic containers—glass is best for preserving flavor and nutrients.
Nutrition
Elderberry syrup is a nutrient-rich preparation that offers a range of vitamins and minerals. Below is the nutritional breakdown for a typical serving.
| Nutrient | Amount Per Serving |
|---|---|
| Calories | 60 kcal |
| Total Fat | 0 g |
| Sodium | 5 mg |
| Carbohydrates | 15 g |
| Fiber | 1 g |
| Sugars | 12 g |
| Protein | 0 g |
| Vitamin C | 10 mg |
| Iron | 0.3 mg |
Chef Tips
While making elderberry syrup, I’ve found that using fresh or dried elderberries works well, but make sure they’re fully ripe to avoid toxicity.
Simmer them gently to preserve nutrients, and strain the mixture through cheesecloth for clarity.
Adding honey after cooling keeps its benefits intact.
Store the syrup in a sterilized glass jar in the fridge for up to three months.
Always taste-test to balance sweetness and tartness.
Frequently Asked Questions
Can I Use Frozen Elderberries Instead of Fresh?
Yes, I can use frozen elderberries instead of fresh ones. They’ll work just fine since freezing preserves their nutrients. Just thaw them first or adjust the cooking time slightly to account for their frozen state.
How Long Does Homemade Elderberry Syrup Last?
I store my homemade elderberry syrup in the fridge, and it lasts about 2-3 weeks. If I want it to last longer, I freeze it—that way, it stays good for up to 6 months.
Can I Give Elderberry Syrup to My Kids?
Yes, I can give elderberry syrup to my kids, but I’ll check with their pediatrician first. I’ll stick to the recommended dosage for their age and confirm there are no allergies to the ingredients. Safety’s always my priority.
What Are the Side Effects of Elderberry Syrup?
I’ve heard elderberry syrup can cause nausea, diarrhea, or stomach cramps if taken in large doses. Always consult a doctor, especially if I’m pregnant, nursing, or giving it to my kids to avoid potential risks.
Can I Use Honey Instead of Sugar in the Recipe?
Yes, I can use honey instead of sugar—it’s a great natural sweetener and adds extra benefits. Just remember that honey’s sweeter than sugar, so I’ll adjust the amount to avoid overpowering the syrup’s flavor.


