The Best Homemade Gravy Recipe
Recipe
This is the gravy recipe you’ll come back to again and again—it’s *that* good. Made with simple ingredients you likely already have, it’s rich, velvety, and packed with savory flavor that elevates everything it touches.
The secret? A perfect balance of pan drippings, butter, and a splash of broth, all brought together with a roux that’s just the right thickness. Every spoonful is silky and luxurious, with hints of herbs and a depth of umami that’ll have you licking the spoon.
Whether you’re serving it over mashed potatoes, roast chicken, or a holiday turkey, this gravy is the ultimate finishing touch. And don’t worry—it’s easier to make than you think. Trust me, once you try it, store-bought gravy will never cross your mind again.
Ingredients
For the best homemade gravy, quality ingredients are essential to achieving that rich, velvety texture and deep flavor. Start with a good base—preferably pan drippings from roasted meat—as they add an unmatched depth. If pan drippings aren’t available, a combination of butter and broth works wonders.
Here’s what you’ll need:
- Pan drippings (from roasted meat like turkey, chicken, or beef) – Adds a robust, savory foundation. If unavailable, use 3 tbsp unsalted butter for richness.
- All-purpose flour – Acts as the thickening agent. Use it in equal parts to fat/drippings for the perfect consistency.
- Chicken, turkey, or beef broth (low-sodium) – Controls the seasoning better. Avoid overly salty broths.
- Salt and freshly ground black pepper – Adjust gradually to taste.
- Optional: Heavy cream or milk – For a creamier texture. Stir in a splash at the end.
- Optional: Fresh herbs (thyme, rosemary, or sage) – Adds aromatic complexity.
Pro tip: If you’re short on pan drippings, sauté onions or mushrooms in butter before adding flour for extra flavor depth.
Always whisk constantly to avoid lumps!
How to Make the Best Savory Turkey Pan Gravy
- Collect pan drippings: After roasting your turkey, carefully pour the drippings from the pan into a fat separator or a glass measuring cup. Let it sit for a few minutes so the fat rises to the top—this makes it easier to skim off excess fat while keeping the flavorful juices.
- Make a roux: In a saucepan, melt ¼ cup of the reserved turkey fat (or butter if you don’t have enough drippings) over medium heat. Whisk in ¼ cup all-purpose flour and cook for 2–3 minutes, stirring constantly, until the mixture turns a light golden brown. This step guarantees your gravy thickens properly without a raw flour taste.
- Gradually add liquid: Slowly pour in 2 cups of turkey stock or broth while whisking continuously to prevent lumps. Then, add the remaining pan drippings (minus the fat) for extra depth of flavor. Keep whisking until the mixture is smooth and starts to thicken.
- Simmer and season: Reduce the heat to low and let the gravy simmer for 5–7 minutes, stirring occasionally. Taste and season with salt, pepper, and a splash of soy sauce or Worcestershire sauce for umami richness. If it’s too thick, thin it with a bit more stock; if too thin, simmer longer.
- Strain for silkiness (optional): For an ultra-smooth texture, strain the gravy through a fine-mesh sieve before serving. This removes any lumps or bits from the drippings, giving you a restaurant-quality finish.
- Serve warm: Keep the gravy warm in a gravy boat or thermos until ready to serve. Stir occasionally to prevent a skin from forming on top. If it thickens too much upon standing, whisk in a splash of warm stock to loosen it up.
Pro Tips:
- For extra flavor, sauté minced garlic or herbs like thyme or sage in the fat before adding the flour.
- If you’re short on drippings, supplement with store-bought turkey or chicken stock—just boost the flavor with a pinch of poultry seasoning.
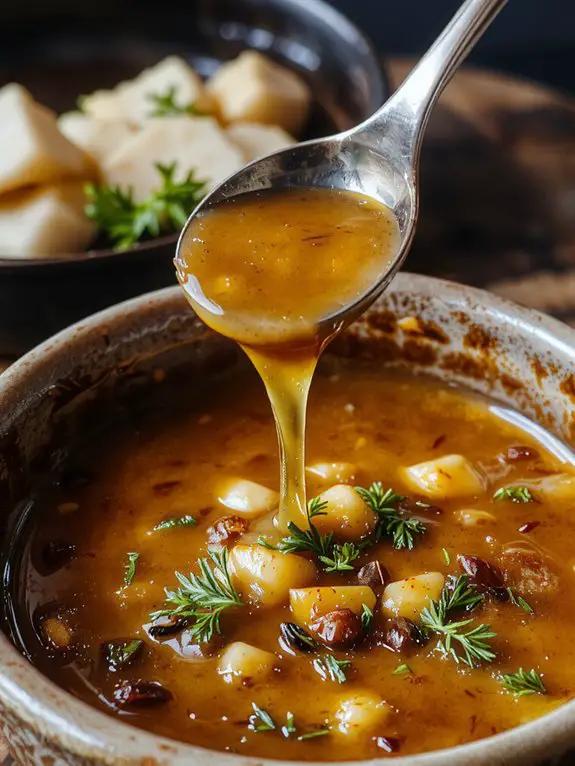
- Avoid over-thickening; the gravy will continue to thicken slightly as it cools. Aim for a consistency that coats the back of a spoon.
Watch Out:
- Don’t rush the roux—cooking it too quickly can lead to a burnt taste.
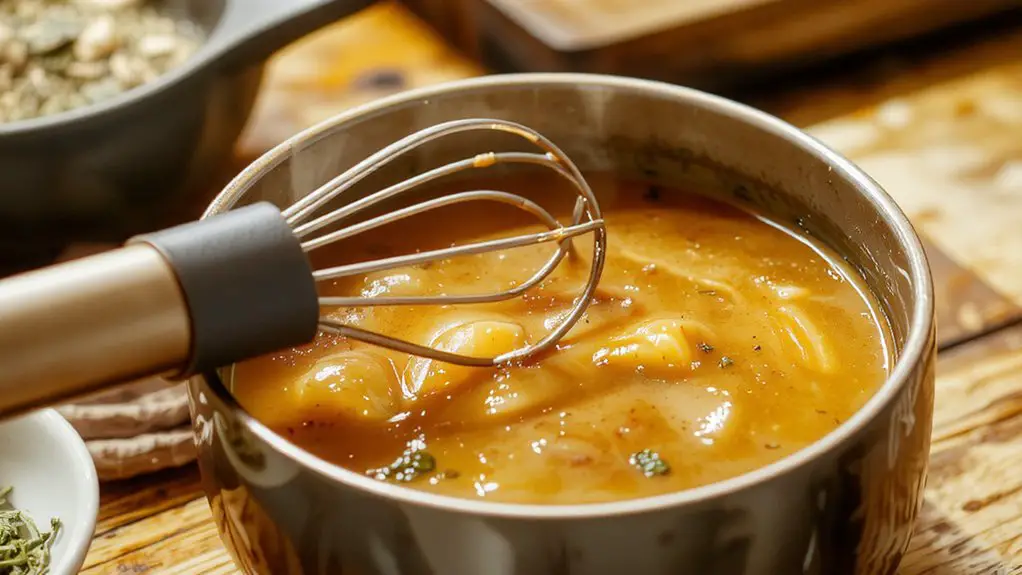
- Always whisk while adding liquid to prevent clumping. A silicone whisk is gentler on pans and blends smoothly.
- If reheating, do so gently over low heat to avoid separation. Stir frequently and add a splash of broth if needed.
Nutrition
This homemade gravy recipe is not only delicious but also nutritious. It’s a great addition to your meals.
| Calories | Protein | Carbs | Fat | Fiber |
|---|---|---|---|---|
| 50 | 1g | 4g | 3g | 0g |
Chef Tips
When making gravy, I always recommend using fresh ingredients for the best flavor. Start with a good base, like pan drippings or homemade stock, and whisk constantly to avoid lumps.
Adjust consistency with water or broth if it’s too thick. Season gradually, tasting as you go.
A splash of wine or vinegar can add depth. Finally, strain it through a fine mesh sieve for smoothness.
Frequently Asked Questions
Can I Freeze Homemade Gravy?
Yes, I freeze homemade gravy all the time. Just let it cool first, then store it in airtight containers or freezer bags. It keeps for up to 3 months—thaw and reheat it when I need it.
Is Gravy Gluten-Free?
It depends on how I make it—regular gravy isn’t gluten-free ‘cause it’s usually thickened with flour. But I can swap flour for cornstarch or gluten-free alternatives to make it safe for gluten-free diets.
How Long Does Homemade Gravy Last?
Homemade gravy lasts three to four days in the fridge if I store it in an airtight container. If I freeze it, it’ll keep for up to three months, but it might separate when thawed.
Can I Use Gravy for Other Meats?
Absolutely, I use gravy for other meats all the time. It pairs perfectly with chicken, pork, turkey, or even sausage. I just adjust the seasoning to complement the meat’s flavor, and it always works beautifully.
What’s the Best Way to Reheat Gravy?
I’d reheat gravy slowly by placing it in a saucepan over low heat, stirring often to avoid lumps. If it’s too thick, I’ll add a splash of broth or water to bring it back to the right consistency.


