The Best Homemade Milkshake Recipe
Recipe
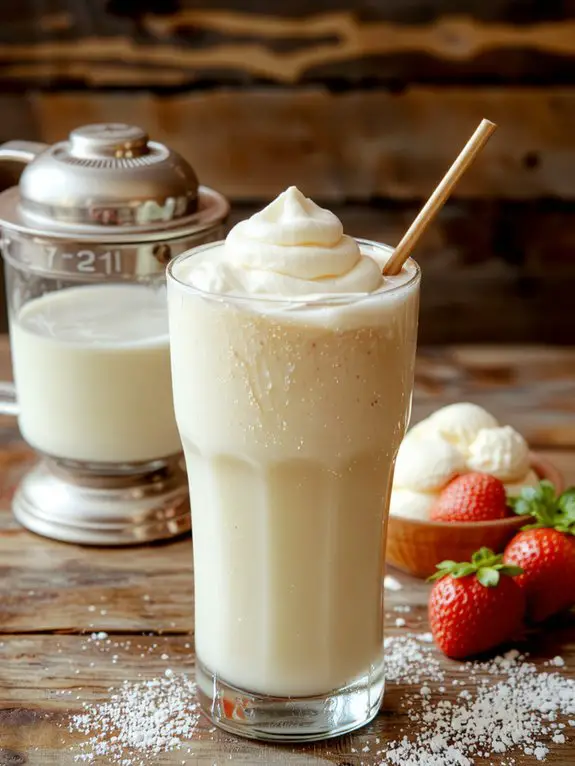
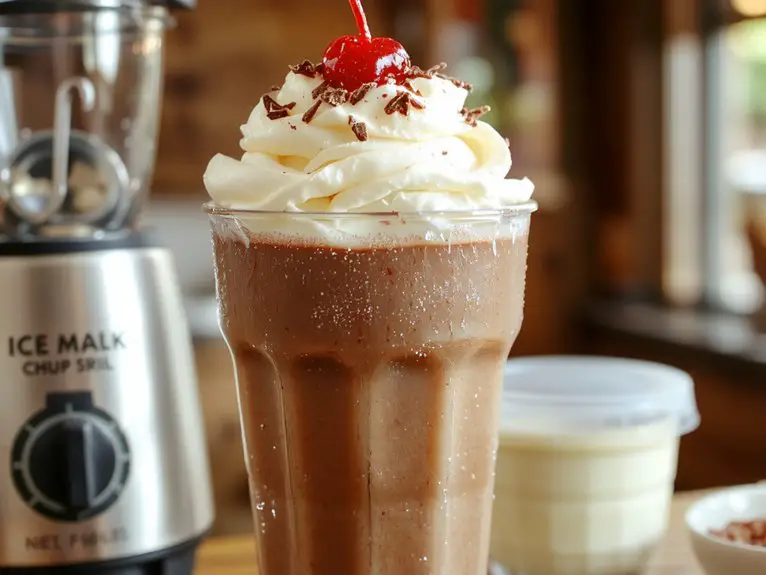
This milkshake isn’t just a drink—it’s a creamy, dreamy experience that’ll make you forget any store-bought version ever existed. What makes it special? It’s all about the perfect blend of simple ingredients: rich, velvety ice cream, the freshest milk, and a touch of pure vanilla extract for that irresistible aroma.
I’ve made this countless times—whether it’s for a lazy summer afternoon or a quick dessert fix—and it never fails to impress. The texture? Smooth as silk, with just the right thickness to cling to the straw but still slide down effortlessly.
And here’s the best part: it’s so easy to whip up, you’ll wonder why you ever settled for less. Ready to shake things up? Let’s do this.
Ingredients
The secret to a perfect milkshake lies in balancing richness, texture, and flavor—start with quality ingredients, and don’t shy away from indulgent touches. Here’s what you’ll need to make it unforgettable:
- Ice cream: *Vanilla bean* is the classic choice (it lets add-ins shine), but chocolate or strawberry work too. *Pro tip:* Avoid “light” versions—full-fat ice cream gives that luxuriously thick texture.
- Milk: *Whole milk* blends best for creaminess, but *oat milk* or *almond milk* can lighten it up. *Never use heavy cream*—it’s too thick and masks other flavors.
- Flavor boosters: A pinch of *sea salt* enhances sweetness, and *vanilla extract* (even in vanilla shakes) deepens the flavor. *Must-have!*
- Mix-ins: *Fresh fruit* (like bananas or berries), *nut butter*, or *melted chocolate* for custom spins. *Pro tip:* Freeze fruit first to prevent a watery shake.
- Toppings: *Whipped cream*, *sprinkles*, or *crushed cookies* for flair. *Little win:* A drizzle of caramel or hot fudge makes it feel decadent.
*Flexible swaps:* No vanilla ice cream? Use plain and double the vanilla extract. Dairy-free? Coconut milk ice cream + almond milk works beautifully.
How to Make the Best Milkshake Recipe Title
• Gather all your ingredients beforehand. This guarantees a smooth process and prevents you from forgetting anything.
• Chill your glass and ingredients if possible. Cold milk and ice cream will help your milkshake stay thick and creamy.
• Add the milk to the blender first. This helps the blades move more easily and prevents the ice cream from getting stuck.
• Scoop the ice cream into the blender. Use slightly softened ice cream for easier blending, but not melted—this keeps the shake thick.
• Blend on low speed initially. Start slow to combine the ingredients without overworking the blender.
• Increase the speed gradually. Once the mixture starts to come together, blend on high for 10-15 seconds until smooth.
• Add mix-ins if desired. Toss in chocolate chips, fruit, or cookies during the last few seconds of blending for texture and flavor.
• Avoid overmixing. Overblending can thin out the milkshake—stop as soon as it’s smooth and creamy.
• Pour into a chilled glass. This keeps the milkshake cold and adds a professional touch.
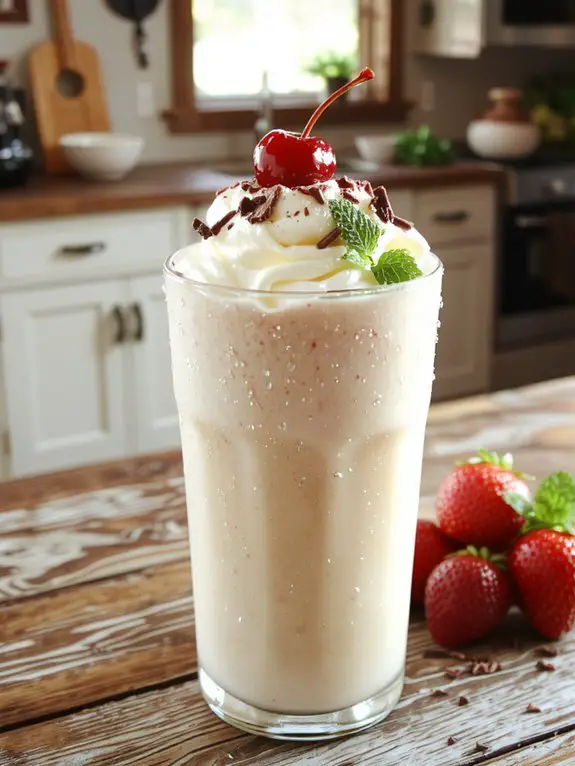
• Top with whipped cream, sprinkles, or a cherry. Customize your shake with your favorite toppings for extra flair.
• Serve immediately.**** Milkshakes are best enjoyed fresh before they start to melt.
• Clean the blender right after use. Rinse it out quickly to prevent leftover residue from hardening.
Nutrition
Homemade milkshakes can be a delicious treat, but it’s important to be mindful of their nutritional content. Here’s a breakdown per serving:
| Nutrient | Amount per Serving |
|---|---|
| Calories | 250 kcal |
| Total Fat | 10 g |
| Saturated Fat | 6 g |
| Cholesterol | 35 mg |
| Sodium | 120 mg |
| Total Carbohydrates | 35 g |
| Sugars | 28 g |
| Protein | 7 g |
| Calcium | 200 mg |
| Vitamin A | 300 IU |
Chef Tips
Creating the perfect milkshake isn’t just about ingredients—it’s also about technique. Start with frozen ingredients for a thick, creamy texture. Blend just enough to combine; overmixing makes it watery.
Use whole milk for richness or a splash of cream for indulgence. Add mix-ins like crushed cookies or fruit after the base blends smoothly. Serve immediately in a chilled glass for the best sipping experience.
Frequently Asked Questions
Can I Use a Blender Instead of a Milkshake Maker?
Yes, I can use a blender instead of a milkshake maker. It’ll still give me a smooth, creamy texture if I blend the ingredients well. Just make sure to pulse or blend on low to avoid over-mixing.
How Do I Store Leftover Milkshake?
I’d pour any leftover milkshake into an airtight container and pop it in the freezer. When I want it later, I’ll let it thaw a bit and give it a quick blend to smooth it out.
Is This Recipe Suitable for Vegans?
This recipe isn’t vegan-friendly since it includes milk and ice cream made from dairy. I’d suggest swapping cow’s milk for plant-based alternatives like almond or oat milk and using vegan ice cream for a cruelty-free version.
Can I Add Alcohol to the Milkshake?
You can add alcohol to your milkshake if you want—just keep in mind it’ll thin the texture slightly. I’d suggest a splash of bourbon, Kahlúa, or Baileys for flavor, but adjust to your taste. Enjoy responsibly!
What’s the Best Way to Clean a Milkshake Maker?
I’ll rinse the milkshake maker right after using it to stop residue from sticking. I’ll wipe it with warm, soapy water and use a soft brush for the blades. When it’s dry, I reassemble it.


