The Best Homemade Roux Recipe
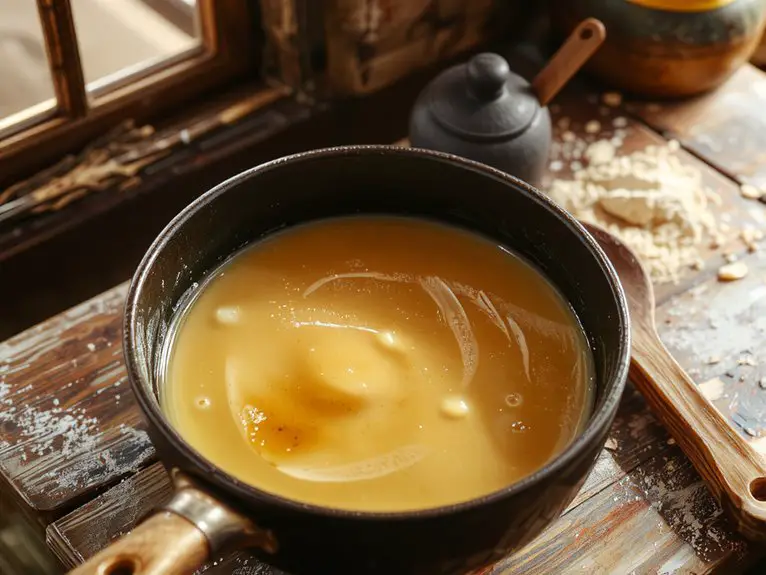
Recipe
Mastering a homemade roux is the secret weapon every cook needs in their arsenal—trust me, once you nail this, you’ll wonder how you ever cooked without it.
Made with just two simple ingredients, butter and flour, it’s the magic base that transforms soups, gravies, and sauces into rich, velvety perfection.
What makes it special? The precision of the cook—getting that golden-brown color and nutty aroma just right is what sets it apart.
Imagine this: a smooth, glossy sauce that clings lovingly to pasta or elevates a bowl of gumbo into something unforgettable.
Whether you’re a beginner or a seasoned pro, this roux recipe is foolproof and oh-so-rewarding.
Let’s get cooking—your kitchen is about to smell amazing!
Ingredients
A great roux starts with the right ingredients—simple but essential. The key is balancing fat and flour for that rich, velvety base that elevates sauces, soups, and gravies. Here’s what you’ll need:
- Butter (or oil) – Butter adds depth and flavor, but oil works if you need a higher smoke point. *Pro tip:* Unsalted butter gives you control over seasoning.
- All-purpose flour – The backbone of your roux. Don’t substitute with gluten-free flour unless you’re ready for a different texture.
- Salt (optional) – A pinch enhances flavor, but wait until the end to adjust—especially if using salted butter.
*Substitutions:*
- Butter alternatives – Use bacon fat for a smoky twist or ghee for extra richness.
- Flour swaps – For a nutty flavor, try whole wheat flour, but expect a darker roux faster.
*Non-negotiables:*
- Fresh flour – Old flour can taste stale and ruin your roux’s smoothness.
- Patience – Cook low and slow to avoid burning—color equals flavor!
*Little Wins:*
– A splash of white wine (for sauces) or a bay leaf (for soups) can take your roux from good to unforgettable.
How to Make the Best Classic Roux Technique
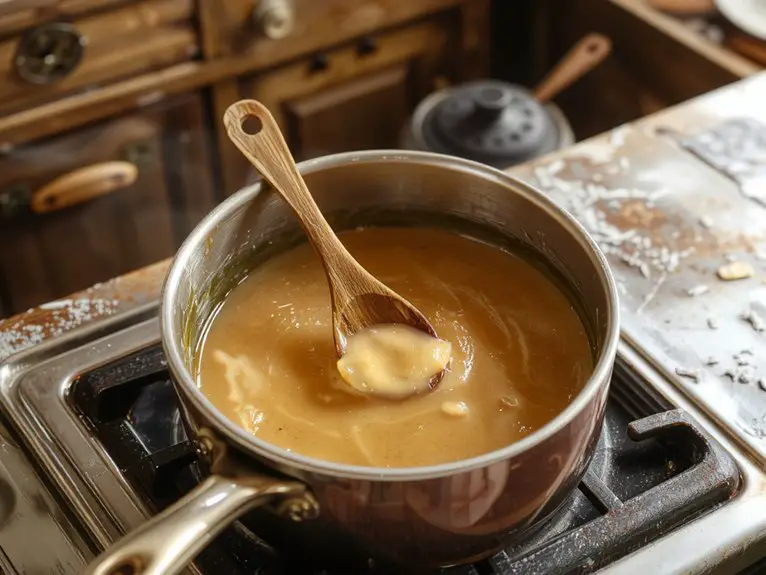
- Start by measuring equal parts fat and flour before you begin. Accurate measurements guarantee a smooth consistency—too much flour can make the roux lumpy, while too much fat may leave it greasy. Pro tip: Use unsalted butter for better control over seasoning.
- Heat your skillet or saucepan over medium heat. Add the fat (butter, oil, or lard) and let it melt completely, but avoid letting it brown or burn. A gentle heat prevents scorching and allows the flour to incorporate evenly.
- Gradually whisk in the flour a little at a time. This prevents clumping and guarantees the roux cooks uniformly. Watch for a thickening paste—this is your cue that it’s working! Pro tip: Use a flat-edged whisk for smoother blending.
- Cook the mixture, stirring constantly, until it reaches your desired color. For a blonde roux, cook for 2-3 minutes; for darker rouxs (like for gumbo), cook longer, up to 30-45 minutes. Keep the heat moderate to avoid burning. Visual cue: A nutty aroma signals it’s ready.
- Remove from heat immediately once the roux reaches the desired shade. Overcooking can lead to bitterness. If you’re not using it right away, transfer it to a heatproof container to stop the cooking process. Pro tip: Roux can be made ahead and stored in the fridge for up to a month.
- When using the roux in a recipe, add it gradually to your liquid (broth, milk, etc.) while whisking to prevent lumps. This step guarantees a silky, cohesive sauce or soup. Watch-out: Cold roux added directly to hot liquid may clump—let it come to room temperature first.
- Adjust seasoning as needed. Roux is a neutral base, so taste and add salt, pepper, or spices to complement your dish. Pro tip: Add seasoning in layers—start lightly and adjust as you go.
- Store any leftover roux in an airtight container in the fridge. It’s a versatile kitchen staple, ready to elevate gravies, soups, and sauces whenever you need it.
Nutrition
Homemade roux is a versatile base for many dishes, but its nutritional profile varies based on ingredients used. Here’s a breakdown per serving (1 tablespoon):
| Nutrient | Amount |
|---|---|
| Calories | 50 |
| Total Fat | 4g |
| Saturated Fat | 2.5g |
| Cholesterol | 10mg |
| Sodium | 50mg |
| Total Carbohydrate | 3g |
| Protein | 1g |
Chef Tips
Making a roux might seem simple, but I’ve learned a few tricks over the years to get it just right. Always use equal parts fat and flour—no guessing.
Stir constantly to avoid burning, especially for dark roux. A wooden spoon works best. If it smells nutty, you’re on track.
Cool it slightly before adding liquids to prevent clumping. Patience is key!
Frequently Asked Questions
Can I Make Roux in Advance and Store It?
Yes, I can make roux in advance and store it. I just let it cool completely, then keep it in an airtight container in the fridge for up to a month or freeze it for longer. I reheat it when needed.
What’s the Best Oil Substitute for Butter in Roux?
I’d use a neutral oil like vegetable or canola—they’ve got high smoke points and won’t overpower your roux’s flavor. Olive oil works too, but stick to light versions if you don’t want a strong taste.
How Do I Fix a Burnt Roux?
If I’ve burnt my roux, I toss it out and start fresh—it’s unsalvageable. Next time, I’ll keep the heat lower and stir constantly to avoid scorching. Patience’s key—I won’t rush the process.
Can I Use Gluten-Free Flour for Roux?
Yes, I can use gluten-free flour for roux; it works similarly to regular flour. I’ve found I need to stir it constantly to avoid clumping, and it may thicken slightly less, but it’s a great alternative.
Why Does My Roux Sometimes Clump When Adding Liquid?
I think your roux clumps because you’re adding liquid too fast or it’s not hot enough. I always whisk slowly while pouring in a thin stream—it helps blend everything smoothly without lumps. Try warming your liquid first, too.


