The Best Homemade Toffee Recipe
Recipe
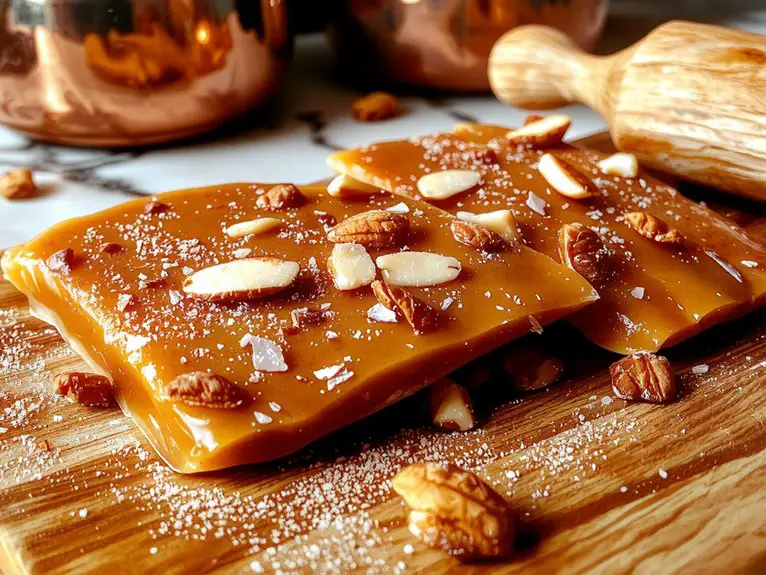
There’s something magical about homemade toffee—the way it shatters with a satisfying snap, the rich caramelized sweetness that melts on your tongue, and that irresistible buttery aroma that fills your kitchen.
This recipe? It’s the real deal. No fancy equipment, no fussy techniques—just pure, golden perfection every time. I’ve made this more times than I can count, and trust me, once you taste it, you’ll never go back to store-bought.
The secret? High-quality butter and a pinch of patience (but not too much—this comes together fast). Imagine biting into a piece: crisp, buttery, with just the right amount of crunch, followed by that deep, caramelized flavor that lingers.
Whether you’re gifting it or hoarding it all for yourself (no judgment), this toffee is about to become your new obsession. Let’s make it happen.
Ingredients
To make the perfect homemade toffee, you’ll need a mix of pantry staples and a few key ingredients that make all the difference. Quality matters here—especially with butter and sugar—since they form the foundation of that rich, buttery crunch.
Ingredients:
- Unsalted butter (1 cup, high-fat European-style preferred) – The star of the show! Higher fat content means creamier texture.
- Granulated sugar (1 cup) – Creates that signature crisp snap. Don’t substitute with brown sugar—it’ll make the toffee chewy.
- Salt (½ tsp) – Balances the sweetness. Use fine sea salt for even distribution.
- Vanilla extract (1 tsp) – Pure extract only! Imitation vanilla can taste artificial.
- Dark chocolate chips (1 cup, 60-70% cacao) – Melts smoothly and adds depth. Semi-sweet works too, but dark chocolate cuts the sweetness.
- Chopped nuts (½ cup, pecans or almonds) – Optional, but adds crunch. Toast them first for extra flavor!
Pro Tips & Swaps:
- Butter swap? Salted butter works—just reduce added salt by half.
- No vanilla? A pinch of cinnamon can add warmth.
- Nut-free? Skip them or sprinkle flaky sea salt on top instead.
- For extra shine: A dab of light corn syrup (1 tbsp) helps prevent crystallization.
Non-Negotiables:
- Fresh butter – Older butter can separate and ruin texture.
- A candy thermometer – Precision is key for the perfect hard-crack stage (300°F).
Little Wins:
- Flaky sea salt on top for a gourmet touch.
- Double the chocolate if you want a thicker layer.
How to Make the Best Perfect Buttery Toffee Technique
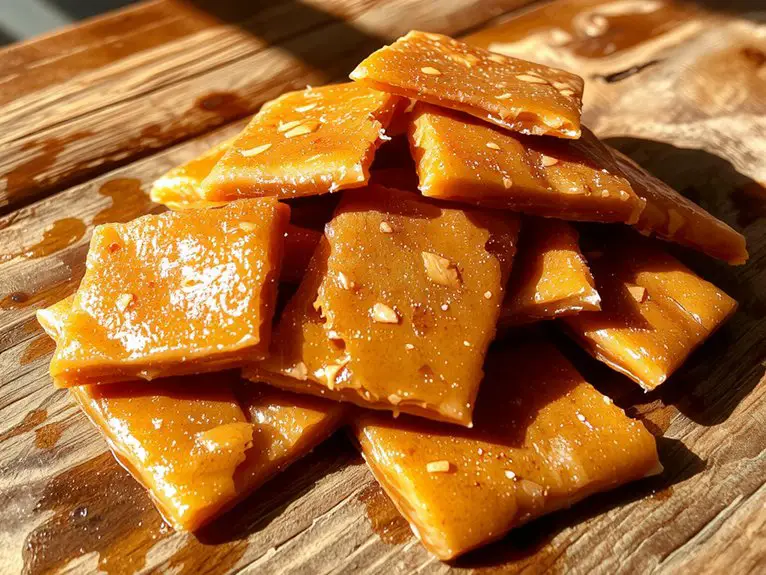
– Prepare your ingredients and tools: Before starting, confirm all ingredients are measured and ready. Use a heavy-bottomed saucepan to prevent burning and have a candy thermometer handy for accurate temperature monitoring.
*Pro Tip: Butter will melt faster if you cut it into smaller pieces before adding it to the pan.*
– Combine butter, sugar, and water: Place butter, granulated sugar, and water in the saucepan over medium heat. Stir continuously until the butter is fully melted and the mixture is smooth.
*Watch-Out Warning: Avoid turning the heat too high, as sugar can scorch quickly.*
– Cook to the soft-crack stage: Continue cooking the mixture without stirring until it reaches 285°F (140°C) on the candy thermometer. This guarantees the toffee will have the perfect texture—crisp yet not overly hard.
*Visual Cue: The mixture will bubble vigorously and turn a rich golden color.*
– Remove from heat and add flavorings: Once the desired temperature is reached, remove the pan from heat and stir in vanilla extract and a pinch of salt for depth of flavor.
*Why Behind the Step: Vanilla enhances the buttery richness, while salt balances the sweetness.*
– Pour onto a prepared baking sheet: Immediately pour the hot toffee onto a parchment-lined baking sheet, spreading it evenly with a spatula.
*Time-Saving Trick: Use a silicone spatula for easy cleanup and smooth spreading.*
– Cool completely: Allow the toffee to cool at room temperature until it hardens. Avoid refrigerating, as condensation can make the toffee sticky.
*Flexibility: If you’re in a hurry, placing the baking sheet in a cool, dry area speeds up the process.*
– Break into pieces: Once fully cooled and hardened, break the toffee into bite-sized pieces. Enjoy as is or dip in chocolate for an extra treat!
*Pro Tip: Use a knife to score the toffee while it’s still slightly warm for cleaner breaks.*
Nutrition
Homemade toffee is a delicious treat, but it’s important to be mindful of its nutritional content. Below is the breakdown per serving:
Calories | Fat | Carbohydrates | Protein
—|—|—|—
250 | 15g | 27g | 2g
Chef Tips
When making toffee, I always recommend using a heavy-bottomed saucepan to prevent burning. It’s essential to stir constantly and use a candy thermometer for precise temperature control—aim for 300°F (hard crack stage).
I also advise prepping all ingredients beforehand to avoid rushing. Finally, let the toffee cool completely before breaking it into pieces. These steps guarantee a perfectly smooth, crunchy texture every time.
Frequently Asked Questions
What’s the Best Chocolate for Toffee?
I’d go for semi-sweet or dark chocolate—they’re rich and balance the toffee’s sweetness perfectly. Milk chocolate works if I want it sweeter, but I avoid white chocolate; it’s too soft and melts quickly.
Can I Use Margarine Instead of Butter?
I wouldn’t recommend using margarine instead of butter. Butter’s richness and flavor are key to making great toffee, and margarine might not give you the same texture or taste. Stick with butter for the best results.
How Do I Store Homemade Toffee?
I store my homemade toffee in an airtight container at room temperature, away from moisture or heat. If it’s hot, I’ll refrigerate it to keep it from softening, but I let it warm up before serving.
Can I Make Toffee Without Nuts?
Yes, I can make toffee without nuts. I’ll just skip adding them entirely or substitute them with something else, like chocolate drizzle or sprinkles. It’ll still be just as tasty and customizable to my preferences.
Why Does My Toffee Turn Out Grainy?
Your toffee’s grainy because I didn’t dissolve the sugar completely before boiling or stirred too much after it started cooking. I should’ve used a clean pan, fresh ingredients, and been patient with the melting process.