The Best Homemade Okonomiyaki Recipe
Recipe
There’s something magical about okonomiyaki—the way the crispy edges give way to a tender, savory center, packed with umami-rich flavors and just the right amount of chew. This isn’t just any pancake; it’s a flavor bomb that’ll make you wonder why you haven’t been making it every week.
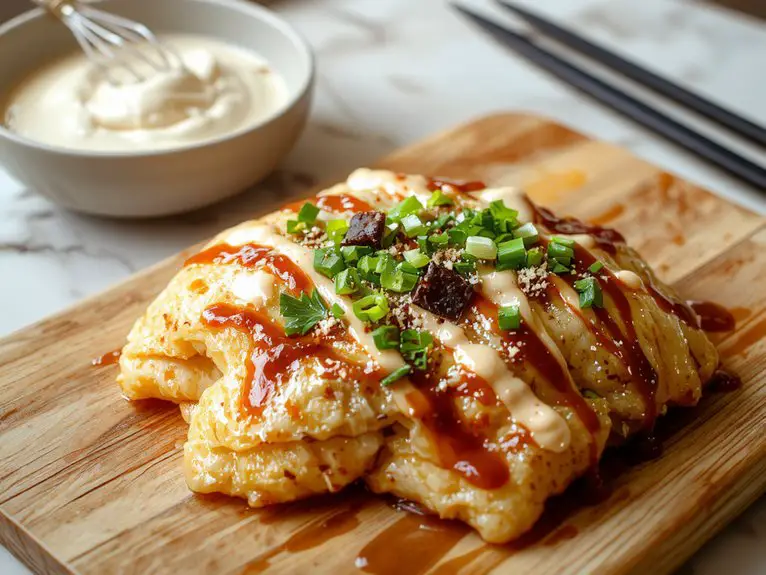
The secret? A perfect balance of cabbage for crunch, batter for fluff, and toppings that bring the whole thing to life. Trust me, once you taste that first bite—drizzled with tangy sauce, creamy mayo, and sprinkled with bonito flakes dancing from the heat—you’ll be hooked.
It’s street food comfort at its finest, and the best part? You can customize it with whatever you’ve got in the fridge. Let’s make it unforgettable.
Ingredients
When crafting the perfect okonomiyaki, the ingredients play a vital role in achieving that irresistible balance of texture and flavor. This savory Japanese pancake is highly customizable, but starting with the right foundation guarantees a standout dish. Here’s what you’ll need, along with insider tips to elevate your creation:
Base Ingredients
- All-purpose flour: The backbone of the batter. For a lighter texture, sift it before mixing.
- Dashi stock: This is non-negotiable—it adds umami depth. Use instant dashi for convenience or homemade for authenticity.
- Eggs: Bind the ingredients together and add richness. Fresh eggs make a noticeable difference.
- Cabbage: Finely shredded cabbage is key for crunch. Napa cabbage works too but go for green cabbage for classic texture.
Protein (Optional)
- Thinly sliced pork belly: Traditional and delicious. Bacon or ham are great substitutes.
- Shrimp or squid: Seafood lovers, swap pork for these for a coastal twist.
Toppings
- Okonomiyaki sauce: A must-have. It’s savory, slightly sweet, and ties everything together.
- Japanese mayo: Adds creaminess. Kewpie mayo is ideal, but any mayo works in a pinch.
- Bonito flakes (katsuobushi): These delicate, smoky flakes dance atop the pancake—don’t skip them!
- Aonori (seaweed flakes): Adds a subtle ocean flavor. Optional but highly recommended.
Extras for Elevation
- Beni shoga (red pickled ginger): A tangy contrast that cuts through richness.
- Green onions: For a fresh, aromatic finish.
- Tempura bits (tenkasu): Adds a delightful crunch to the batter.
Pro Tip: If you’re short on ingredients, okonomiyaki is forgiving—experiment with what you have!
For instance, swap dashi with chicken or vegetable stock, or add shredded carrots for extra color and sweetness. The beauty lies in its adaptability, so make it your own!
How to Make the Best Authentic Okonomiyaki Method
- Prep the cabbage: Finely shred 1/4 head of cabbage—thin strips guarantee even cooking and better texture. Too thick, and it won’t blend well with the batter.
- Mix the batter: Whisk 1 cup flour, 1/4 tsp baking powder, 1/2 tsp dashi powder, 1 egg, and 3/4 cup water until smooth. A few lumps are fine—overmixing makes the okonomiyaki dense.
- Combine with cabbage: Fold the shredded cabbage into the batter until evenly coated. The mix should be thick but pourable—add a splash of water if too stiff.
- Heat the pan: Medium heat is key. Too hot burns the outside before the inside cooks. Lightly oil a nonstick pan or griddle.
- Cook the base: Pour the batter into a 1/2-inch thick circle. Press gently to flatten. Cook 4-5 minutes until edges set and bottom is golden.
- Flip carefully: Slide a spatula underneath, then flip in one confident motion. If it breaks, press it back together—it’ll still taste great! Cook another 4-5 minutes.
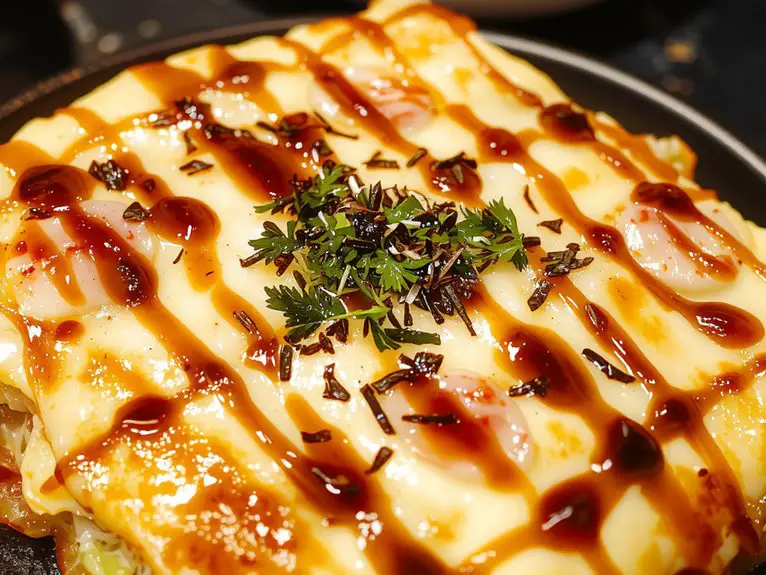
- Add toppings: Brush with okonomiyaki sauce, drizzle with mayo, and sprinkle bonito flakes and aonori.
Pro tip: Warm the sauce slightly for easier spreading.
– Serve immediately: Okonomiyaki is best hot off the pan. Cut into wedges or enjoy whole. Leftovers reheat well in a toaster oven.
Nutrition
Okonomiyaki is a flavorful dish packed with nutrients. Here’s a breakdown of its nutritional content per serving.
| Nutrient | Amount per Serving |
|---|---|
| Calories | 300 kcal |
| Carbohydrates | 30 g |
| Protein | 12 g |
| Fat | 15 g |
| Fiber | 3 g |
| Sodium | 600 mg |
Chef Tips
Mastering the art of making okonomiyaki isn’t just about the ingredients—it’s about technique. I always cook mine on medium heat to avoid burning while ensuring it cooks through.
Tossing veggies and protein into the batter evenly prevents clumps. Flip gently using two spatulas to keep it intact.
Drizzle sauces in zigzags for better flavor distribution. Serve fresh off the griddle—it’s at its best when hot!
Frequently Asked Questions
What Is the Origin of Okonomiyaki?
I think okonomiyaki originated in Japan during the Edo period, but it became popular post-WWII when flour was scarce. It’s a savory pancake that means “grilled as you like it” because you can customize it.
Can Okonomiyaki Be Made Gluten-Free?
Yes, I can make okonomiyaki gluten-free by swapping regular flour for a gluten-free alternative like rice or buckwheat flour. I’d also check the sauces since some contain wheat, but it’s totally doable with a few tweaks.
What Are Common Okonomiyaki Toppings?
I’d say common toppings include okonomiyaki sauce, Japanese mayo, katsuobushi (dried bonito flakes), aonori (seaweed powder), and pickled ginger. Sometimes I add fried eggs or green onions for extra flavor—it’s all about personal preference!
Is Okonomiyaki Similar to Pizza?
Okonomiyaki isn’t like pizza, though both are customizable. I see it more as a savory pancake made with cabbage, batter, and proteins, topped with mayo, sauce, and bonito flakes—way different from pizza’s dough and cheese base.
How Do I Store Leftover Okonomiyaki?
I store leftover okonomiyaki in an airtight container in the fridge for up to two days. If I want it later, I’ll freeze it wrapped tightly in foil or plastic for up to a month. Reheat in a pan or oven for the best texture.