The Best Homemade Dill Pickle Recipe
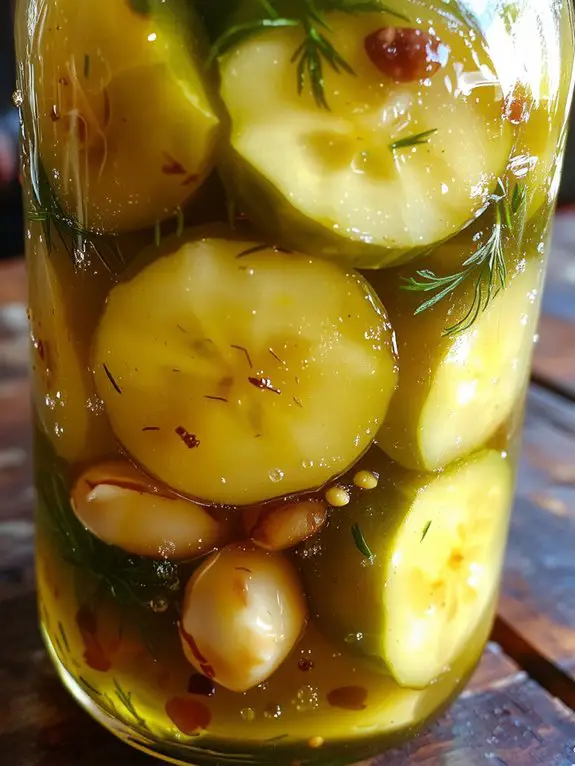
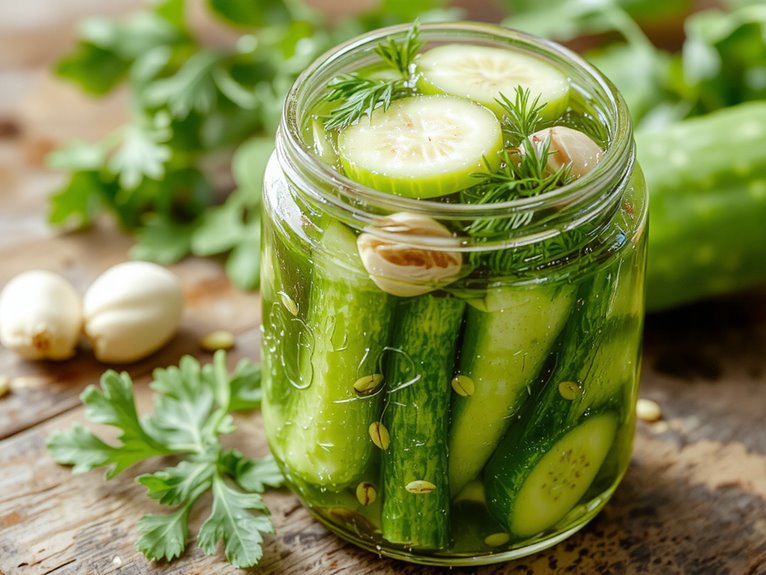
Recipe
Let me tell you straight up—these homemade dill pickles will ruin store-bought ones for you forever. Crisp, tangy, and packed with garlicky-dill flavor, they’re the kind of snack you’ll catch yourself sneaking out of the fridge at midnight.
What makes them extra special? Fresh dill and a simple brine that lets the cucumbers shine without overpowering them. I’ve been making this recipe for years, and trust me, once you taste that satisfying crunch followed by the zesty kick, you’ll wonder why you didn’t start curing cucumbers sooner.
Plus, they’re ridiculously easy to make—no fancy equipment, no stress. Ready to level up your pickle game? Let’s do this.
Ingredients
To make the perfect homemade dill pickles, you’ll need fresh, high-quality ingredients that pack flavor and crunch. While you can experiment with substitutions, there are a few key components that truly elevate this recipe. Here’s what you’ll need:
Pickling Liquid Base:
- Distilled white vinegar – Essential for that classic tangy flavor. Apple cider vinegar can work as a substitute for a slightly milder taste.
- Water – Balances the acidity of the vinegar. Use filtered water for the best results.
- Kosher salt – Non-negotiable for fermentation and flavor. Avoid iodized salt, as it can alter the taste and texture.
Aromatics & Flavor Enhancers:
- Fresh garlic cloves – A must-have for depth and boldness. Use at least 2-3 cloves per jar.
- Fresh dill – The star of the show! Fresh dill sprigs are ideal, but dried dill can be used in a pinch (reduce the quantity by half).
- Mustard seeds – Adds a subtle warmth and complexity. Yellow or brown mustard seeds both work.
- Black peppercorns – Provides a mild heat and earthy undertone.
Optional Additions for Extra Personality:
- Red pepper flakes – For a spicy kick. Adjust to your heat preference.
- Bay leaves – Adds a subtle herbal note.
- Horseradish – Gives a bold, zesty flavor if you like a punchier pickle.
Pro Tips: Always use fresh cucumbers for the best crunch—Kirby cucumbers are the gold standard for pickling due to their firm texture and thin skin. Avoid waxed cucumbers, as they won’t absorb the brine properly.
And don’t skimp on the garlic and dill—they’re what make these pickles irresistible!
How to Make the Best Crisp Dill Pickle Instructions
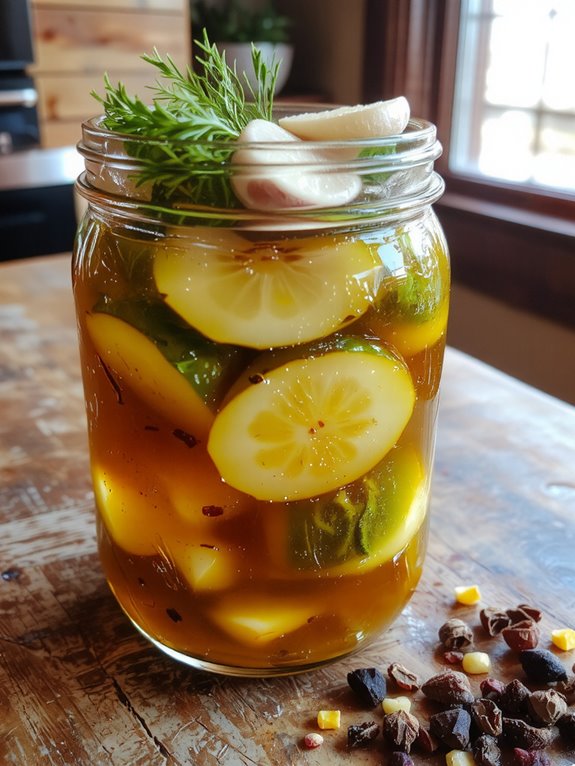
Prepare Your Cucumbers: Start by washing your cucumbers thoroughly under cold water. Trim off the blossom end, as it contains enzymes that can soften pickles.
Cutting cucumbers into spears or slices promotes even brining.
Make the Brine: Combine water, vinegar, and pickling salt in a pot. Bring to a boil, stirring until the salt dissolves.
Pro tip: Use pickling or kosher salt—iodized salt can cloud the brine and alter the flavor.
Add Flavor: Place fresh dill, garlic cloves, mustard seeds, and any other spices into sterilized jars.
Layering spices at the bottom and top of the cucumbers enhances flavor infusion.
Pack the Jars: Tightly pack the cucumbers into the jars, leaving about half an inch of headspace.
This prevents overflow during processing and guarantees proper sealing.
Pour the Brine: Carefully pour the hot brine over the cucumbers, confirming they’re fully submerged.
Air pockets can lead to spoilage, so tap the jars gently to release any trapped bubbles.
Seal and Process: Wipe the jar rims clean, place the lids on, and screw the bands until fingertip tight.
Process the jars in a boiling water bath for 10 minutes to verify a proper seal and safe preservation.
Watch-out warning: Over-tightening the bands can prevent proper sealing.
Cool and Store: Remove the jars from the water bath and let them cool completely on a towel or rack.
As they cool, you’ll hear the satisfying “pop” of lids sealing.
Store in a cool, dark place for ideal flavor development.
Pro tip: Wait at least 2 weeks before opening for the best taste.
Nutrition
Dill pickles are a low-calorie snack packed with flavor. They offer some vitamins and minerals while being low in fat.
| Nutrition Facts | Per 1 pickle (35g) |
|---|---|
| Calories | 4 |
| Total Fat | 0g |
| Sodium | 283mg |
| Total Carbs | 1g |
| Protein | 0g |
Chef Tips
Making dill pickles at home can be simple if you keep a few things in mind. Always use fresh cucumbers and sterilize your jars to prevent contamination. Cut off the blossom end to avoid softening, and pack the cucumbers tightly.
Use distilled water for the brine to guarantee clarity. Taste the brine before pouring—it should be balanced with salt, vinegar, and spices.
Patience is key; let them pickle for at least 48 hours.
Frequently Asked Questions
Can I Use Dried Dill Instead of Fresh Dill?
Yes, I can use dried dill instead of fresh dill, but I’ll need about one-third the amount since it’s more concentrated. I’ll sprinkle it directly into the brine or jar for that familiar dill pickle flavor!
How Long Do Homemade Dill Pickles Last?
My homemade dill pickles last about 1-2 months in the fridge if stored in a sealed jar. I make sure the pickles stay fully submerged in brine to keep them fresh and crunchy for as long as possible.
Can I Reuse the Brine for Another Batch?
Yes, I’ve reused pickle brine for another batch, but I always strain it first to remove debris. I add fresh vinegar and spices to boost flavor since it weakens after the first use. It works fine!
What Type of Salt Is Best for Pickling?
I always use pickling salt because it dissolves easily and doesn’t have additives like iodine or anti-caking agents. Kosher salt works too, but avoid table salt—it can make the brine cloudy and alter the flavor.
Can I Make Dill Pickles Without Vinegar?
Yes, I can make dill pickles without vinegar by using a saltwater brine and fermentation. I’ll mix water, kosher salt, garlic, and dill, then let the cucumbers sit for days to develop flavor naturally through the fermentation process.


