The Best Homemade Gluten Free Pancake Recipe
Recipe
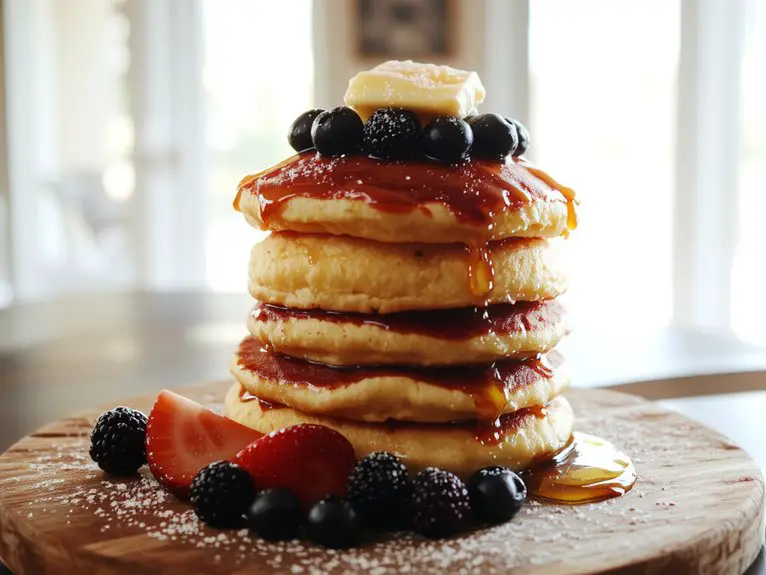
Pancakes don’t need gluten to be ridiculously fluffy, golden, and downright delicious—this recipe proves it. After testing countless versions (and eating way too many stacks), I’ve landed on the perfect blend of ingredients that gives you pancakes so good, no one will guess they’re gluten-free.
The secret? A mix of almond flour and oat flour for that dreamy, tender crumb, plus a touch of vanilla and cinnamon to make every bite feel like a cozy morning hug.
These pancakes rise like champs, crisp up beautifully at the edges, and soak up syrup like they were made for it. Trust me, once you try them, you’ll never miss the gluten—just the extra space in your stomach for seconds.
Ingredients
Crafting the perfect gluten-free pancake starts with the right ingredients. The key is balance—ensuring the pancakes are light, fluffy, and flavorful without relying on traditional wheat flour. Here’s what you’ll need:
- Gluten-Free Flour Blend: Opt for a high-quality blend like Bob’s Red Mill 1-to-1 Baking Flour for the best texture. (Pro tip: Avoid blends with bean flour—they can leave an aftertaste!)
- Baking Powder: A leavening agent essential for that airy rise. Make sure it’s fresh for maximum fluffiness.
- Salt: Just a pinch enhances the flavors and balances the sweetness.
- Eggs: They bind the batter and add structure. For a vegan option, flax eggs work beautifully.
- Milk: Use dairy or unsweetened almond milk for a light batter. Buttermilk adds a tangy richness if you’ve got it on hand.
- Sweetener: A touch of sugar or maple syrup enhances the flavor. Skip it if you prefer savory pancakes.
- Oil or Melted Butter: Adds moisture and richness. Coconut oil is a great alternative for a subtle tropical note.
- Vanilla Extract: A teaspoon elevates the flavor profile—don’t skip it!
Optional Extras:
- Chocolate Chips: Fold them in for a decadent treat.
- Fresh Berries: Stir them into the batter or use them as a topping for a burst of freshness.
- Cinnamon: A sprinkle adds warmth and depth.
Non-Negotiables: Fresh eggs (or your chosen binder) and a reliable gluten-free flour blend are must-haves for success.
How to Make the Best Fluffy Gluten-Free Pancakes
- Start by preheating your non-stick skillet or griddle over medium-low heat. This guarantees even cooking and prevents burning. Pro tip: Test the heat by flicking a few drops of water onto the surface—if they sizzle, it’s ready.
- In a large mixing bowl, whisk together the dry ingredients—gluten-free flour, baking powder, salt, and a touch of sugar. Mixing dry ingredients first guarantees even distribution and avoids clumps in your batter.
- In a separate bowl, combine the wet ingredients—milk, eggs, and melted butter (cooled slightly). Whisk until smooth. Adding wet ingredients separately prevents overmixing the batter, which can lead to dense pancakes.
- Gradually pour the wet mixture into the dry ingredients. Gently fold them together using a spatula until just combined. Watch out for overmixing—a few lumps are okay! Overmixing activates the gluten-free flour’s proteins, which can make pancakes tough.
- Let the batter rest for 5 minutes. This allows the gluten-free flour to hydrate and results in fluffier pancakes. Use this time to clean up or prepare toppings like fresh fruit or syrup.
- Lightly grease your skillet with butter or oil. Use a ladle or measuring cup to pour batter onto the skillet, forming pancakes about 4 inches in diameter. Pro tip: Leave space between pancakes to make flipping easier.
- Cook until bubbles form on the surface and the edges look set, about 2-3 minutes. Flip carefully using a spatula and cook for another 1-2 minutes until golden brown. Visual cue: The pancakes should release easily from the skillet when flipped.
- Keep cooked pancakes warm by placing them on a baking sheet in a low oven (200°F) while you finish the batch. This guarantees they stay cozy until ready to serve.
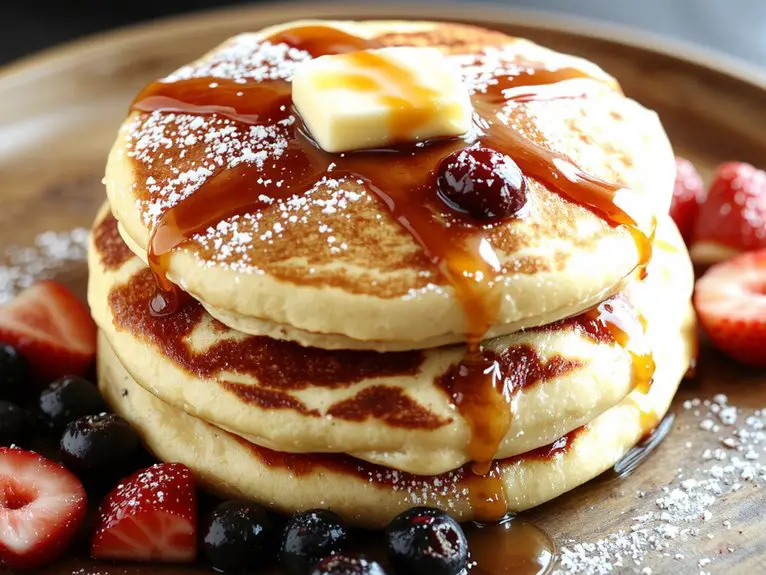
- Serve immediately with your favorite toppings—maple syrup, fresh berries, or a dollop of whipped cream. These pancakes are best enjoyed fresh but can be stored in the fridge for up to 2 days or frozen for longer.
- Reheat in a toaster or skillet for a quick breakfast treat.
Nutrition
Gluten-free pancakes can be a nutritious breakfast option packed with essential nutrients. Here’s the nutritional breakdown per serving:
| Nutrient | Amount |
|---|---|
| Calories | 180 |
| Protein | 5g |
| Carbohydrates | 25g |
| Fiber | 2g |
| Sugar | 6g |
| Fat | 7g |
| Saturated Fat | 1g |
| Sodium | 300mg |
Chef Tips
When you’re making gluten-free pancakes, I always recommend letting the batter rest for 5–10 minutes before cooking. This helps thicken it and guarantees fluffier results.
Use a nonstick skillet or griddle preheated to medium heat—too hot and they’ll burn. Flip when bubbles form and edges look set. Add a bit of oil or butter for crispiness.
Don’t overmix the batter; lumps are fine for tender pancakes.
Frequently Asked Questions
Can I Make These Pancakes Dairy-Free?
Yes, you can make them dairy-free. I’d swap the regular milk for almond, oat, or any plant-based milk and replace butter with coconut oil or a dairy-free margarine. They’ll still turn out fluffy and delicious.
How Do I Store Leftover Pancakes?
I store leftover pancakes in an airtight container or zip-top bag, separating them with parchment paper to prevent sticking. They’ll keep in the fridge for 2-3 days or in the freezer for up to 2 months.
Can I Freeze the Batter for Later Use?
Yes, I can freeze the batter for later use. I’ll pour it into an airtight container or freezer bag, leaving some space for expansion, and I’ll thaw it in the fridge before cooking my pancakes.
What’s the Best Syrup for Gluten-Free Pancakes?
I’d recommend pure maple syrup—it’s gluten-free and adds rich flavor without artificial ingredients. For a healthier option, I’d try honey or agave, but I always check labels to confirm they’re certified gluten-free.
Can I Use a Different Flour Blend?
I’d recommend sticking to a gluten-free blend, but you can experiment with almond or coconut flour—just know the texture might change. I’ve found rice flour works well too if you adjust the liquid a bit.