The Best Homemade Onigiri Recipe
Recipe
Let me tell you something: these homemade onigiri are life-changing. Seriously, once you’ve made them fresh at home, you’ll never go back to store-bought.
What makes them so incredible? It’s all about the fluffy, slightly sticky sushi rice paired with your favorite fillings—think savory tuna mayo, umami-packed salmon, or even a simple sprinkle of sesame seeds for that nutty crunch.
I’ve been making these for years, and they’re always a hit—whether it’s for a quick lunch, a picnic, or just because you deserve something delicious.
The best part? They’re impossibly easy to make and customizable to your taste. Imagine biting into a soft, warm rice ball with a burst of flavor in every bite—pure comfort food magic. Trust me, you’ve gotta try this.
Ingredients
Making perfect onigiri starts with choosing the right ingredients—fresh, simple, and full of flavor. Here’s what you’ll need to craft these delicious rice balls at home:
Rice & Seasoning
- Short-grain Japanese rice – The stickiness is key for holding shape. Don’t substitute with long-grain—it won’t work!
- Salt – A pinch dissolves into the rice for subtle seasoning. Use fine sea salt for even distribution.
- Rice vinegar (optional) – Adds a slight tang. Skip if you prefer pure rice flavor.
Fillings (Pick One or Mix & Match!)
- Umeboshi (pickled plum) – Tart, salty, and traditional. A must-try for authentic flavor.
- Grilled salmon (or canned salmon) – Flake it while warm for maximum richness.
- Tuna mayo – Mix canned tuna with Japanese mayo and a dash of soy sauce.
- Kombu tsukudani (simmered seaweed) – Savory-sweet and packed with umami.
Extras for Flair
- Nori sheets – Wrap them around warm onigiri for crisp texture.
- Sesame seeds – Toast them lightly for nutty depth.
- Furikake – Sprinkle on top for extra flavor and color.
Pro Tip: Warm rice molds better! If it cools too much, sprinkle a bit of water and reheat slightly.
How to Make the Best Best Onigiri Recipe Ever
1. Cook the rice: Rinse 2 cups of short-grain rice under cold water until the water runs clear. Cook according to package instructions or in a rice cooker. Let it cool slightly but keep it warm—cold rice won’t stick well.
2. Season the rice: While still warm, gently fold in ½ tsp salt and 1 tbsp rice vinegar (optional for flavor). Avoid overmixing to keep the rice fluffy.
3. Prepare fillings (optional): Traditional fillings include umeboshi (pickled plum), salted salmon, or tuna mayo. Keep fillings small (1 tsp per onigiri) to prevent bursting.
4. Wet your hands: Lightly dampen hands with water and rub with a pinch of salt to prevent sticking. This also adds subtle seasoning.
5. Shape the onigiri:
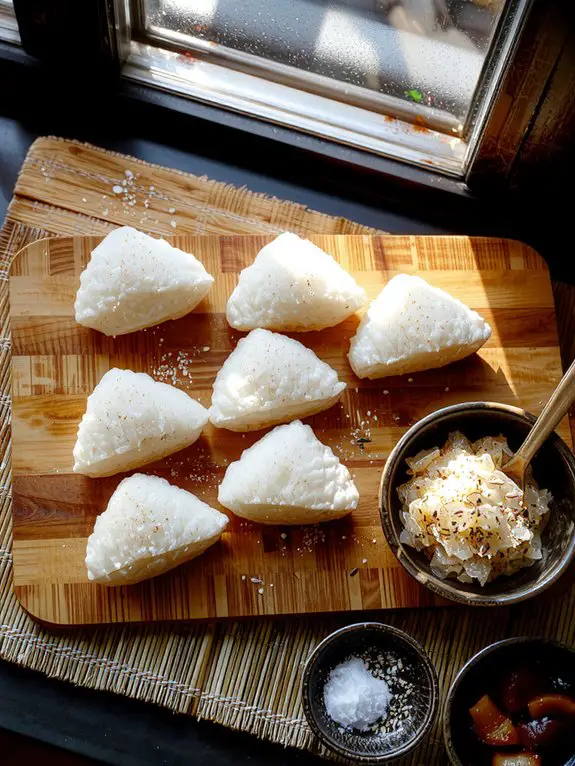
- Triangle method: Cup a handful of rice, add filling (if using), then press into a triangle by rotating between your palms.
- Ball method: Roll rice into a compact sphere for a simpler shape.
- Pro tip: Press firmly but gently—too much pressure makes dense onigiri.
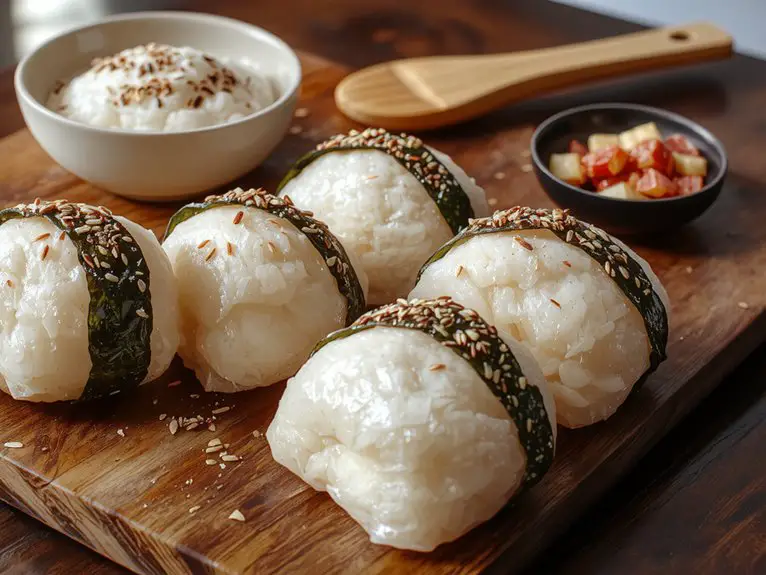
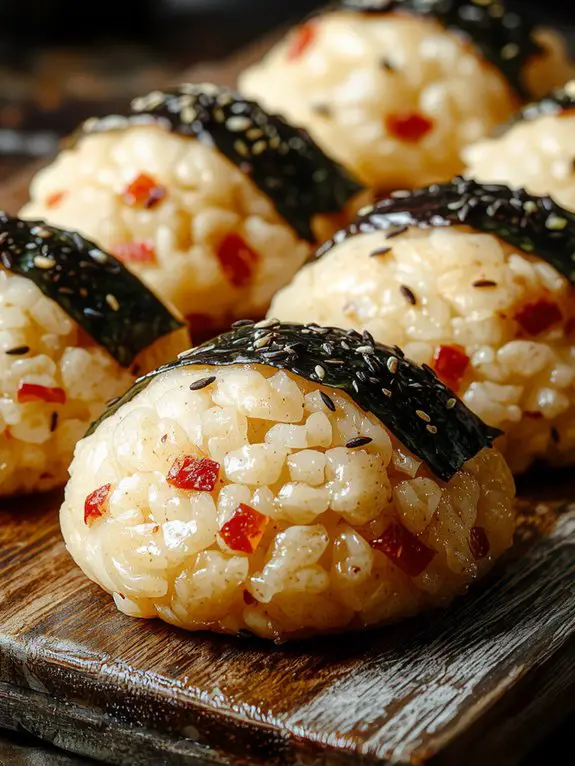
6. Wrap with nori (optional): Cut nori sheets into strips and wrap around the base of each onigiri to keep hands clean. Add it just before eating to maintain crispness.
7. Serve immediately or wrap tightly in plastic to prevent drying. Best eaten within a few hours.
Watch-outs:
- Don’t use long-grain rice—it lacks stickiness.
- Overhandling warm rice makes it gummy.
- Skip oily fillings if packing for later—they can seep into the rice.
Flexibility:
- No nori? Try sesame seeds or furikake for flavor.
- For bento, chill onigiri completely before packing to avoid sogginess.
Nutrition
Onigiri is a simple yet nutritious Japanese dish. Here’s the nutritional breakdown per serving.
| Nutrient | Amount per Serving |
|---|---|
| Calories | 180 kcal |
| Carbohydrates | 35 g |
| Protein | 4 g |
| Fat | 1 g |
| Fiber | 1 g |
| Sodium | 300 mg |
Chef Tips
While it’s easy to prepare onigiri, I’ve found that a few small tweaks can elevate the dish. Wet your hands before shaping to prevent sticking. Use warm rice for better texture. Press firmly but gently—too tight makes it dense.
Add a pinch of salt to the rice for balance. Wrap nori just before eating to keep it crisp. Experiment with fillings, but don’t overstuff. Simple touches make perfect onigiri.
Frequently Asked Questions
Can I Freeze Onigiri for Later Use?
Yes, I can freeze onigiri for later use. I wrap them tightly in plastic to prevent drying, then store in airtight bags. To eat, I thaw them at room temp or microwave briefly. They’ll stay fresh!
What’s the Best Rice-To-Filling Ratio for Onigiri?
I’ve found that a good rice-to-filling ratio for onigiri is about 3:1—three parts rice to one part filling. It keeps the rice balanced so it’s not overwhelming, and the filling flavor shines through perfectly.
How Do I Prevent Onigiri From Drying Out?
I keep my onigiri moist by wrapping them tightly in plastic wrap while they’re still warm. I also brush them lightly with water before storing to lock in moisture. Don’t leave them uncovered for too long.
Can I Use Brown Rice Instead of White Rice?
Yes, you can use brown rice, but it won’t stick as well as white rice. I’d recommend mixing it with a bit of sticky rice or adding extra moisture to help hold its shape. Keep the filling moist too.
How Long Can Onigiri Sit Out Before It Goes Bad?
I’d say onigiri can sit out for about 2 hours max at room temp before it risks going bad. If it’s hot out, it’s safer to refrigerate it sooner to avoid spoilage or bacteria growth.