The Best Homemade Perogies Recipe
Recipe
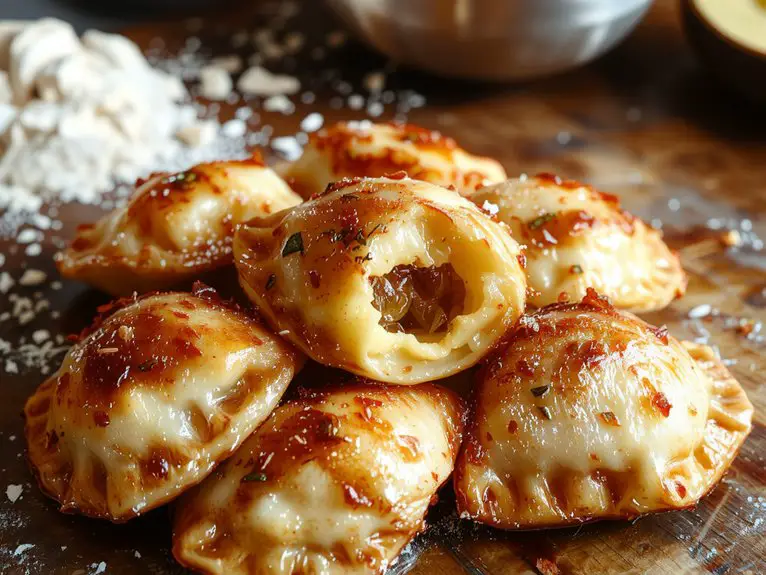
Let me set the stage: these perogies are the ultimate comfort food, and I swear by this recipe—it’s foolproof and downright addictive. There’s something magical about tender dough pillows stuffed with creamy mashed potatoes and sharp cheddar cheese, pan-fried to golden perfection.
The secret? A splash of sour cream in the dough for extra tenderness and a pinch of nutmeg in the filling for a subtle warmth that’ll have everyone asking, “What’s in these?”
Whether you’re a perogie pro or a newbie, this recipe walks you through every step with ease. Get ready to impress your family or friends (or just treat yourself) with a dish that’s hearty, satisfying, and packed with flavor. Trust me, once you try these, you’ll want to make them on repeat.
Ingredients
For the perfect perogies, the ingredients are simple but vital. The dough needs to be tender yet sturdy enough to hold the filling, and the filling should be flavorful without overpowering the delicate wrapper. Here’s what you’ll need, plus some insider tips to elevate your results:
For the Dough:
- All-purpose flour – Provides the right structure; avoid cake flour for this.
- Egg – Adds richness and helps bind the dough.
- Water – Use ice-cold water for a smoother texture.
- Salt – Enhances flavor subtly; don’t skip it.
- Sour cream – The secret to tender, pliable dough. Use full-fat for best results.
For the Filling (Classic Potato and Cheese):
- Potatoes – Yukon Golds are ideal for their creamy texture.
- Sharp cheddar cheese – Grates easily and melts beautifully.
- Butter – Adds richness; salted butter works well here.
- Onion – Finely chopped and sautéed for depth of flavor.
- Salt and pepper – Essential for seasoning; adjust to taste.
Optional Additions:
- Bacon – For a smoky twist; crumble and mix into the filling.
- Fresh herbs – Chives or parsley add brightness.
- Sour cream or caramelized onions – Perfect for serving on the side.
Pro Tip: If you’re short on time, store-bought wonton wrappers can work as a dough substitute, though homemade is always worth the effort.
For a lighter filling, swap cheddar for ricotta or cottage cheese. Don’t skimp on the butter—it’s what makes the filling irresistibly creamy.
How to Make the Best Traditional Potato Perogies
– Prepare the dough: Combine flour, salt, eggs, and water in a large bowl. Mix until the dough comes together. Pro Tip: Add water gradually to avoid making the dough too sticky. Why It Matters: The dough should be pliable but not overly wet for easy handling. Watch Out: Overmixing can make the dough tough. Knead gently until smooth, then cover and let rest for 30 minutes.
This resting time allows the gluten to relax, making rolling easier.
- Make the filling: Boil peeled and cubed potatoes until tender, then mash them. Mix in sautéed onions, butter, salt, and pepper. Pro Tip: Cook the onions until golden for a richer flavor. Why It Matters: Cooling the filling slightly prevents it from tearing the dough when assembling. Watch Out: Overstuffing the perogies can cause them to burst during cooking.
- Roll and cut the dough: Roll the rested dough to about 1/8-inch thickness on a lightly floured surface. Use a round cutter or glass to cut out circles. Pro Tip: Dust your cutter with flour to prevent sticking. Why It Matters: Uniform dough circles guarantee even cooking. Visual Cue: The circles should be big enough to hold a spoonful of filling without being too thin. Watch Out: Thin dough may tear during sealing.
- Assemble the perogies: Place a small spoonful of filling in the center of each dough circle. Fold the dough over the filling and pinch the edges to seal. Pro Tip: Dip your fingers in water to help seal the edges if they’re too dry. Why It Matters: Proper sealing keeps the filling inside during boiling. Visual Cue: The edges should be smooth and crimped securely. Watch Out: Air pockets can cause perogies to burst.
- Boil the perogies: Bring a large pot of salted water to a gentle boil. Add perogies in batches, making sure they don’t overcrowd the pot. Cook until they float to the surface, about 3-4 minutes. Pro Tip: Stir gently to prevent sticking. Why It Matters: Boiling confirms the dough is fully cooked and tender. Visual Cue: Floating perogies indicate they’re ready. Watch Out: Boiling too vigorously can cause them to break apart.
- Sauté for extra flavor (optional): After boiling, heat butter or oil in a skillet and lightly fry the perogies until golden and crispy. Pro Tip: Use medium heat to avoid burning. Why It Matters: This step adds a delightful texture and flavor. Visual Cue: Perogies should have a golden-brown crust. Watch Out: Overcooking can dry out the filling.
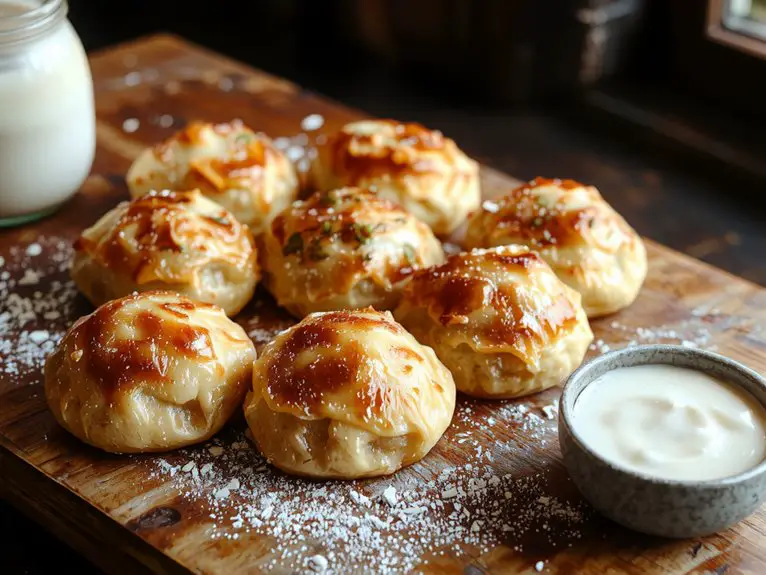
- Serve: Garnish with sour cream, crispy bacon bits, or fresh herbs. Pro Tip: Pair with a side of sautéed onions or applesauce for a traditional touch. Why It Matters: These additions enhance the dish’s flavor profile. Visual Cue: Serve warm for the best experience. Watch Out: Letting perogies sit too long can make them soggy.
- Storage: Store leftovers in an airtight container in the fridge for up to 3 days or freeze uncooked perogies for later use. Pro Tip: Freeze them in a single layer on a baking sheet before transferring to a bag to prevent sticking. Why It Matters: Proper storage maintains freshness and texture. Visual Cue: Frozen perogies should be firm and free of ice crystals. Watch Out: Thawing before cooking may make them soggy—boil directly from frozen.
Nutrition
Perogies are a delicious and hearty dish, packed with flavor and nutrients. Below is the nutritional breakdown per serving.
| Nutrient | Amount per Serving |
|---|---|
| Calories | 250 kcal |
| Carbohydrates | 35g |
| Protein | 8g |
| Fat | 9g |
| Fiber | 2g |
| Sodium | 400mg |
Chef Tips
Crafting the perfect perogie takes a bit of practice, but I’ve picked up some tricks that can help elevate your dish. Use a thin dough and seal edges tightly to prevent filling leaks. Don’t overfill—just a teaspoon works.
Boil gently until they float, then fry lightly for crispness. Fresh ingredients like creamy potatoes and sharp cheddar make a world of difference. Serve with sour cream and caramelized onions for extra flavor.
Frequently Asked Questions
Can I Freeze Perogies After Cooking?
Yes, I can freeze perogies after cooking. I’ll let them cool completely, then lay them in a single layer on a baking sheet to freeze before transferring to a bag. They’ll keep for up to 3 months.
What Dipping Sauces Pair Well With Perogies?
I love pairing perogies with sour cream mixed with chives or garlic. A tangy mustard sauce or a creamy dill dip also works wonders. Sometimes, I even go for a spicy tomato salsa for a kick.
How Do I Prevent Perogies From Sticking Together?
I always make sure my perogies don’t stick by boiling them in plenty of salted water, stirring gently occasionally. After draining, I drizzle them with a bit of oil or butter and spread them out to cool slightly.
Can I Use Gluten-Free Flour for the Dough?
Yes, I can use gluten-free flour for the dough. I’d recommend a blend made for baking, as it’ll hold together better. I might need to adjust the liquid slightly, though, since gluten-free flours absorb differently.
How Long Do Homemade Perogies Last in the Fridge?
I’d store homemade perogies in the fridge for 3-4 days if they’re cooked, or up to 5 days if they’re raw. Just make sure they’re sealed tight so they don’t dry out or pick up odors.