The Best Homemade Pita Bread Recipe
Recipe
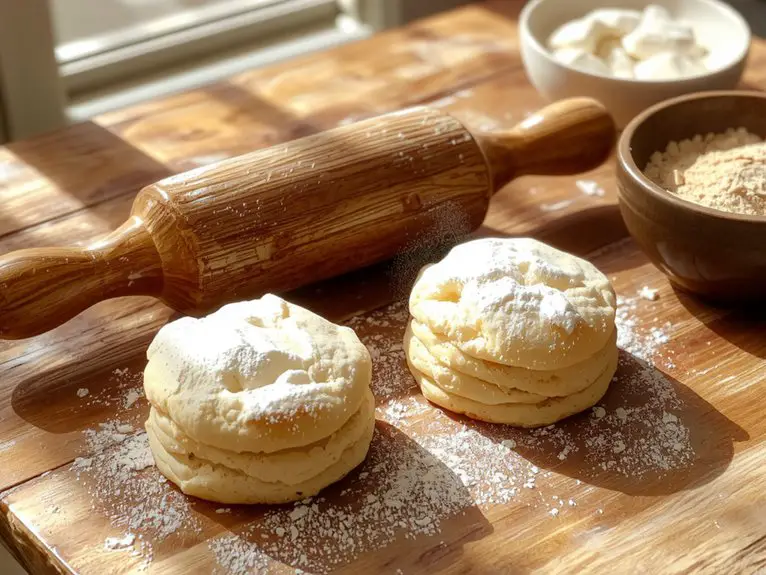
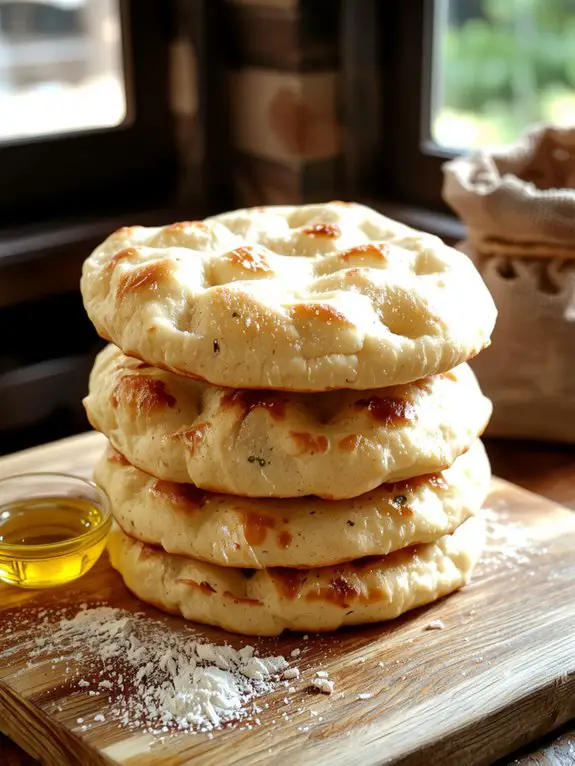
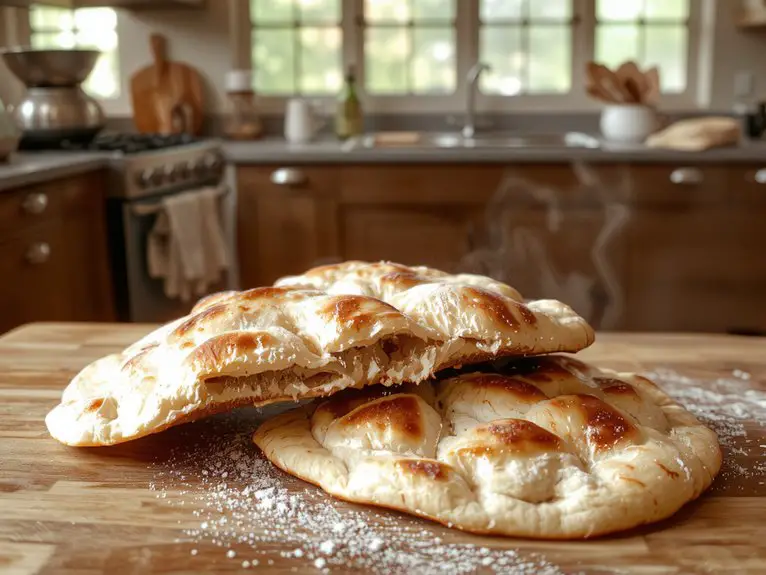
This homemade pita bread recipe is the real deal—soft, pillowy, and absolutely bursting with flavor. Once you make your own, you’ll never go back to store-bought. The secret? A simple dough made with just six ingredients, a little patience, and a hot oven that transforms it into golden pockets of perfection.
There’s something magical about watching the dough puff up into a balloon-like masterpiece, ready to be stuffed with your favorite fillings or dipped into hummus. I’ve made this countless times, and trust me, it’s foolproof—even for beginners.
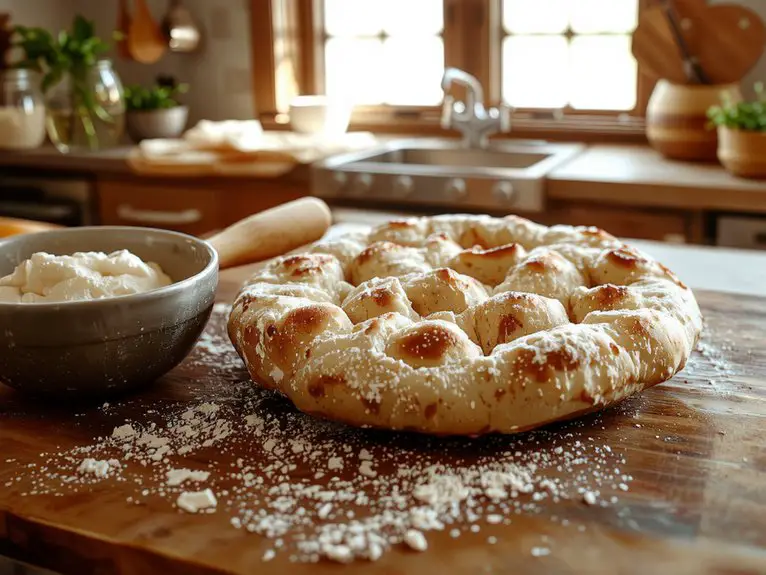
The result? Warm, fresh pita with a chewy texture and a hint of smoky char that’ll have your kitchen smelling like a Mediterranean bakery. Ready to soak up sauces, wrap around falafel, or just tear apart and devour straight from the oven, this recipe is a game-changer.
Let’s get baking—you’re about to fall in love with homemade pita bread!
Ingredients
For perfect homemade pita bread, the right ingredients are key. Stick to simple, high-quality staples—nothing fancy, but each one plays a vital role. Warm water and yeast create the foundation, while a touch of oil keeps the dough tender and pliable. Using bread flour gives it that signature chew, but all-purpose works in a pinch. Here’s what you’ll need:
- Bread flour (or all-purpose flour) – Bread flour’s higher protein content gives pita its chewy texture, but all-purpose flour works if that’s what you have.
- Warm water – Around 110°F (43°C) is ideal to activate the yeast. Too hot and it’ll kill it; too cold and it won’t rise properly.
- Active dry yeast – This is essential for that airy pocket. Instant yeast works too—just skip the proofing step.
- Olive oil – A tablespoon adds tenderness and a hint of richness.
- Sugar – Just a pinch to feed the yeast and help it grow.
- Salt – Don’t skip it! Salt enhances flavor and regulates yeast activity.
- Optional: Honey or maple syrup – For a subtle sweetness, swap sugar with a teaspoon of honey or maple syrup.
Pro tip: If you’re feeling fancy, add a sprinkle of za’atar or sesame seeds to the dough for extra flavor.
And remember, measuring flour by weight (grams) instead of cups guarantees consistency every time.
How to Make the Best Steps for Pita Bread
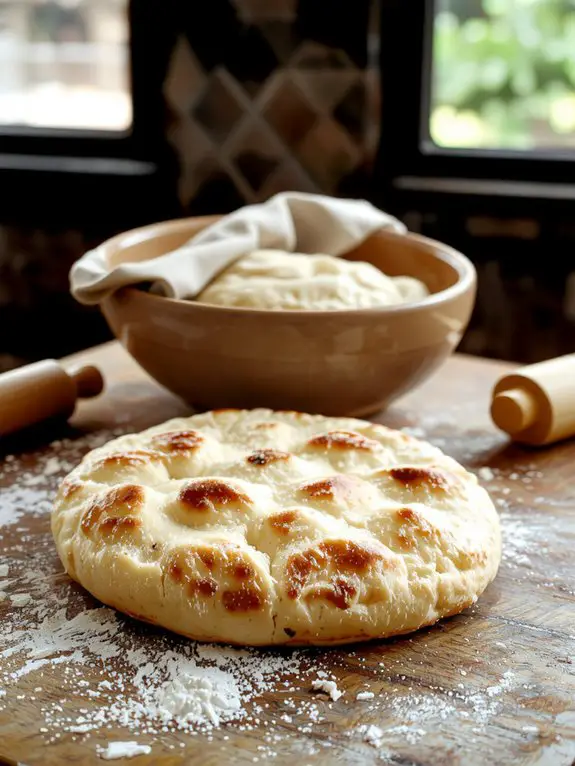
– Mix the dough: Combine warm water, yeast, and a pinch of sugar in a bowl. Let it sit for 5–10 minutes until frothy—this guarantees your yeast is active.
Add flour, salt, and olive oil, then knead until smooth and elastic (about 5–7 minutes). *Pro tip*: If the dough feels too sticky, add flour 1 tbsp at a time, but avoid over-flouring—it’ll make the pita tough.
– Let it rise: Place the dough in a greased bowl, cover with a damp towel, and let it double in size (about 1 hour in a warm spot).
*Watch out*: Cold kitchens slow rising—place the bowl near a preheating oven for a boost.
– Divide and rest: Punch down the dough and divide it into 8 equal balls. Roll each into a smooth ball, then flatten slightly and let them rest for 10 minutes.
*Why?* This relaxes the gluten, making rolling easier.
– Roll into rounds: Use a rolling pin to flatten each ball into a ¼-inch-thick circle.
*Visual cue*: Aim for even thickness—too thin, and they won’t puff; too thick, and they’ll stay doughy inside.
– Preheat and bake: Heat a cast-iron skillet or baking sheet in a 475°F (245°C) oven for 10 minutes.
Bake 2–3 pitas at a time for 3–4 minutes until puffed and golden. *Flexibility*: No oven? A hot skillet on the stove works—just flip after 1 minute.
– Cool and store: Wrap baked pitas in a clean towel to keep them soft.
*Pro tip*: For longer storage, freeze in a zip-top bag with parchment between layers. Reheat in a toaster or skillet.
Nutrition
This homemade pita bread recipe provides essential nutrients per serving. Below is the nutritional breakdown.
| Nutrient | Amount per Serving |
|---|---|
| Calories | 165 kcal |
| Total Fat | 1 g |
| Saturated Fat | 0.2 g |
| Cholesterol | 0 mg |
| Sodium | 150 mg |
| Total Carbohydrate | 33 g |
| Dietary Fiber | 1.2 g |
| Sugars | 1 g |
| Protein | 5 g |
Chef Tips
Mastering homemade pita bread takes patience, but a few simple tricks can make all the difference.
I always knead the dough until smooth—it guarantees a perfect pocket. Let it rest in a warm spot for maximum rise.
Preheat your baking surface; a scorching hot skillet or stone is key for that puff. Don’t flip too early—wait for bubbles to form.
Keep it simple, and enjoy the magic.
Frequently Asked Questions
Can I Use Whole Wheat Flour Instead of All-Purpose Flour?
Yes, you can use whole wheat flour, but I’d suggest mixing it half and half with all-purpose flour for a lighter texture. Whole wheat alone makes pita denser, so adjust water slightly since it absorbs more.
How Do I Store Leftover Pita Bread?
I store leftover pita bread in an airtight bag or container at room temp for a day or two. For longer storage, I freeze them in a sealed bag and reheat directly on a skillet when needed.
Why Didn’T My Pita Bread Puff Up?
Your pita bread might not have puffed up if your dough wasn’t kneaded enough or rested properly. I’d check if my oven was hot enough or if I rolled the dough too thick or thin before baking.
Can I Make Pita Bread Without a Baking Stone?
Yes, I can make pita bread without a baking stone. I’ve used a preheated baking sheet or cast iron skillet instead, and it worked fine. Just confirm it’s hot enough to create steam for puffing.
How Long Does Homemade Pita Bread Stay Fresh?
Homemade pita bread stays fresh for 1-2 days at room temperature in an airtight container. If I want it to last longer, I’ll freeze it for up to 3 months, then reheat when needed.