Pita Bread Recipe: Soft Homemade Middle Eastern Pita
Make soft, chewy homemade pita bread with a tender pocket for sandwiches, dips, and mezze—simple steps, warm flavor, and great results.
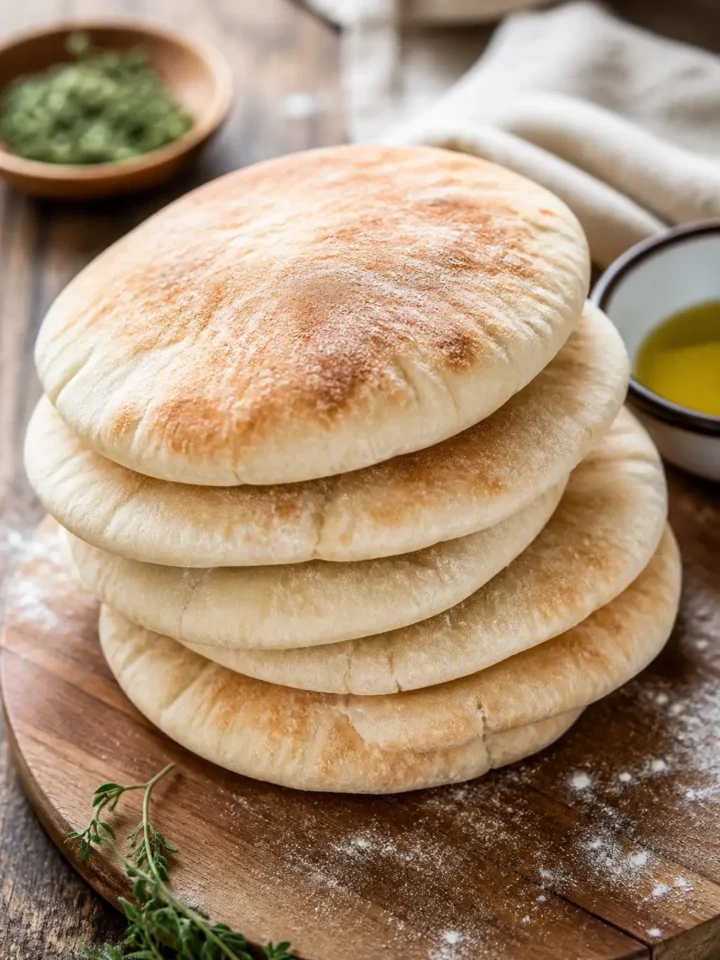
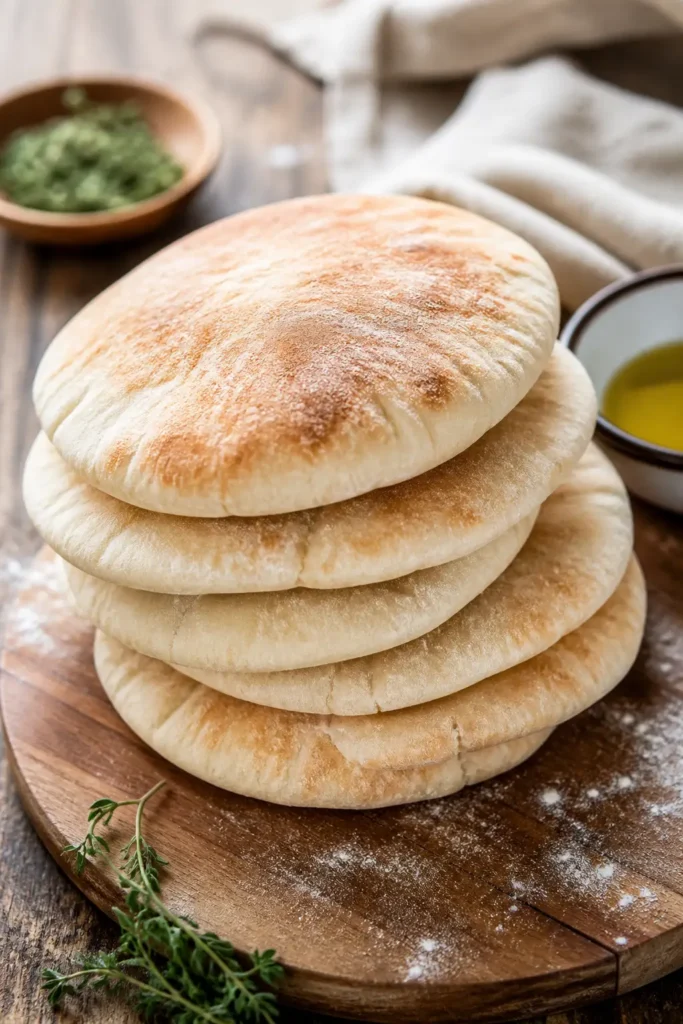
There is something deeply comforting about pulling warm bread from your own oven, especially when it puffs into those familiar little pockets. If you’ve ever bought pita bread that felt dry or split the moment you tried to open it, you’re in the right place. This homemade version is soft, chewy, and full of that fresh-baked aroma that makes the kitchen feel cared for. And yes, you can absolutely do this—even if yeast dough usually makes you a little nervous.
This Pita Bread recipe gives you tender rounds with a signature pocket, ready for sandwiches, dips, and serving with mezze. The process is simple: mix, knead, rise, shape, and bake on a very hot surface so the dough puffs quickly. One thing that can go wrong is a pita that won’t puff; that usually means the oven or baking surface wasn’t hot enough, so make sure both are fully preheated before baking. If you like homemade bread that feels practical and comforting, this one fits right into your routine.

Why My Recipe
- Simple pantry ingredients make this easy to keep on hand.
- A hot baking surface helps create that classic pita pocket.
- The dough is soft and manageable, even for home bakers.
- These pitas work for sandwiches, dips, and mezze spreads.
- They bake quickly, so you get fresh bread without a long wait.
Norma Ector
Ingredient Notes
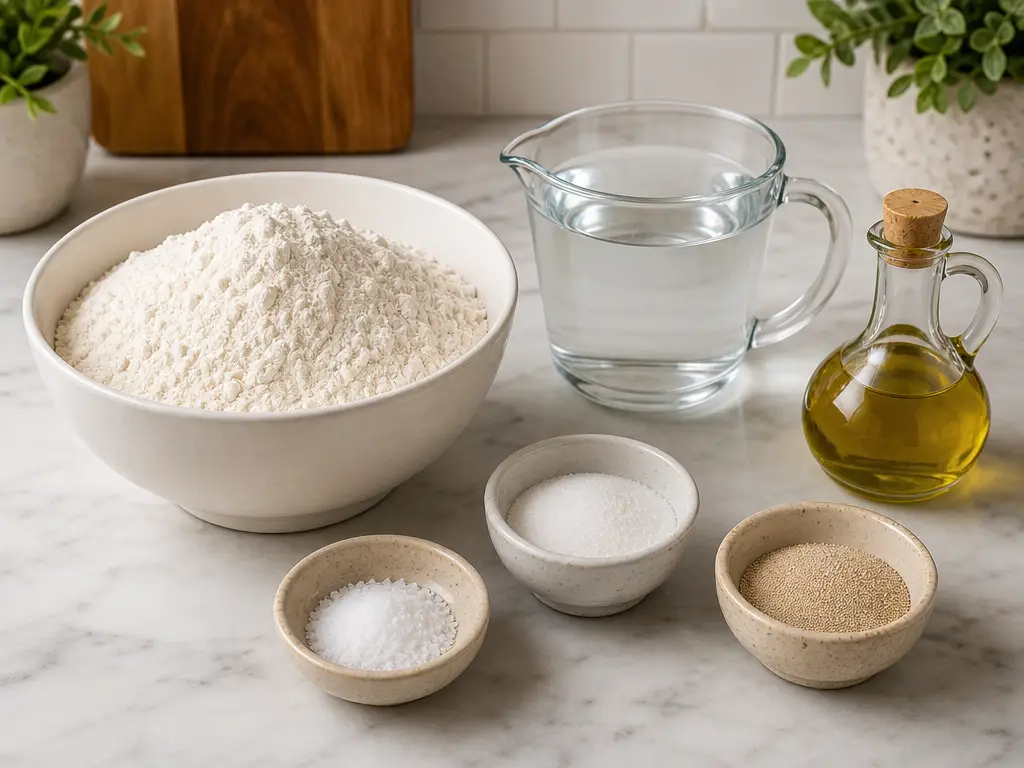
- 3 cups all-purpose flour, plus more for dusting: Gives the dough structure and keeps the pitas tender. Use extra for dusting only as needed while kneading and rolling.
- 1 1/2 teaspoons salt: Adds flavor and balances the dough so the bread doesn’t taste flat.
- 1 tablespoon sugar: Helps feed the yeast and supports a gentle rise.
- 2 1/4 teaspoons active dry yeast: This is the leavening that gives the pitas their lift and pocket.
- 1 cup warm water (about 110°F): Warm water activates the yeast. If it is too hot, it can slow or damage the yeast; if too cool, the dough may rise slowly.
- 1 tablespoon olive oil: Adds a little richness and keeps the dough soft and easy to work with.
Instruction Steps
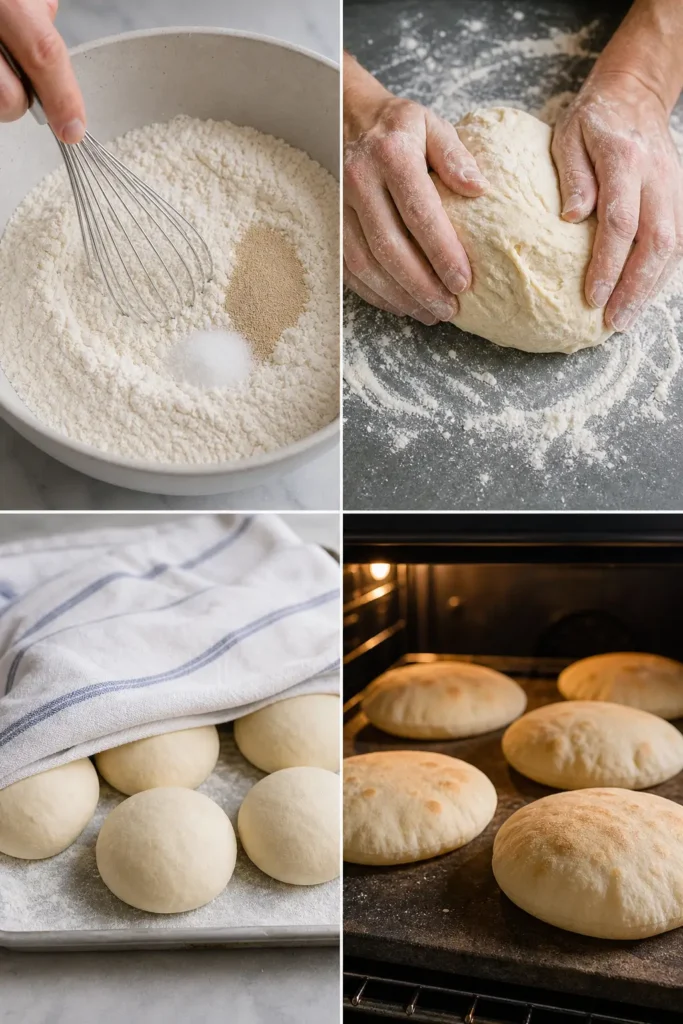
- Start by mixing the dry ingredients in a large bowl so the flour, salt, sugar, and yeast are evenly distributed. That helps the dough rise consistently and gives each pita balanced flavor.
- Pour in the warm water and olive oil, then stir until the mixture comes together into a shaggy dough. At this stage, it does not need to look smooth; it just needs to hold together well enough to knead.
- Move the dough to a lightly floured surface and knead for 8 to 10 minutes. You’re looking for a dough that feels smooth, stretchy, and elastic; if it clings too much, add only a small amount of flour so the pitas stay tender.
- Set the dough in a lightly oiled bowl, cover it, and let it rise in a warm spot until it doubles in size, about 45 to 60 minutes. This first rise gives the bread its light texture and helps build the pocket.
- Punch the dough down gently to release excess air, then divide it into 8 equal pieces. Shape each piece into a neat ball so they roll out more evenly later.
- Cover the dough balls and let them rest for 10 minutes. This short rest relaxes the gluten, which makes the rounds easier to roll without springing back.
- While the dough rests, heat the oven to 475°F and place a baking stone or inverted baking sheet inside. Preheating the baking surface is important because the intense heat is what makes the pitas puff quickly.
- Roll each dough ball on a lightly floured surface into a circle about 1/4 inch thick. Try to keep the thickness even so the bread bakes and puffs at the same rate.
- Transfer 2 to 4 pitas at a time to the hot baking surface, leaving space between them. Work carefully so you don’t lose too much heat from the oven.
- Bake for 4 to 6 minutes, watching for the pitas to puff and turn lightly golden on the bottom and edges. That puff is the sign that the pocket formed properly.
- As each batch comes out, wrap the pitas in a clean towel. This keeps them soft while you finish baking the rest, and it helps prevent the bread from drying out.
- Serve them while warm, or let them cool completely before storing them in an airtight container. Either way, you’ll have a versatile bread ready for the table.
Nutrition
| Calories | 170 |
|---|---|
| Carbohydrates | 33 g |
| Protein | 5 g |
| Fat | 2.5 g |
| Saturated Fat | 0.4 g |
| Cholesterol | 0 mg |
| Sodium | 290 mg |
| Fiber | 1 g |
Storage & Reheating Instructions
Store cooled pitas at room temperature in an airtight container for up to 2 days.
For longer storage, freeze the cooled pitas and thaw as needed.
Rewarm pitas briefly before serving so they soften again and feel fresh from the oven.
Wrap pitas in a clean towel after baking to help keep them soft while they cool.
Pita Bread Recipe: Soft Homemade Middle Eastern Pita
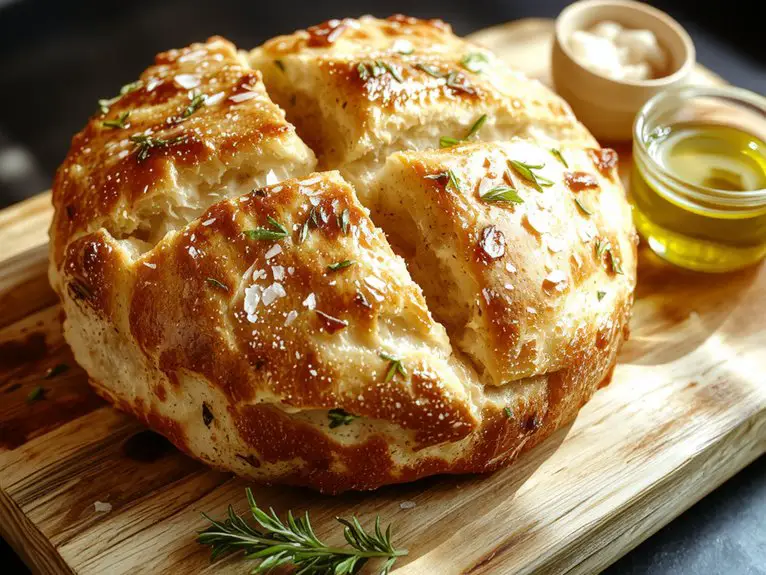
Soft homemade pita bread with a light pocket, chewy texture, and golden edges—perfect for dipping, stuffing, and serving with mezze.

Ingredients
Instructions
- In a large bowl, whisk together the flour, salt, sugar, and yeast.
- Add the warm water and olive oil, then stir until a shaggy dough forms.
- Turn the dough onto a lightly floured surface and knead for 8 to 10 minutes, until smooth and elastic. Add small amounts of flour only if the dough is too sticky.
- Place the dough in a lightly oiled bowl, cover it, and let it rise in a warm place for about 45 to 60 minutes, or until doubled in size.
- Gently punch down the dough and divide it into 8 equal pieces. Shape each piece into a smooth ball.
- Cover the dough balls and let them rest for 10 minutes so they relax and are easier to roll out.
- Preheat the oven to 475°F and place a baking stone or inverted baking sheet inside to heat. If using a baking sheet, line it with parchment if needed.
- On a lightly floured surface, roll each dough ball into a circle about 1/4 inch thick.
- Carefully place 2 to 4 pitas at a time onto the hot baking surface, leaving space between them.
- Bake for 4 to 6 minutes, until the pitas puff up and are lightly golden on the bottom and edges.
- Remove the pitas from the oven and wrap them in a clean towel to keep them soft while you bake the remaining rounds.
- Serve warm or let cool completely before storing in an airtight container.
Notes
- For the best pocket, make sure the oven and baking surface are fully preheated.
- Roll the dough evenly so the pitas puff properly.
- If your kitchen is cool, allow extra time for rising.
- Store cooled pitas at room temperature for 2 days or freeze for longer storage.
Nutrition
Calories: 170 | Carbohydrates: 33 g | Protein: 5 g | Fat: 2.5 g | Saturated Fat: 0.4 g | Cholesterol: 0 mg | Sodium: 290 mg | Fiber: 1 g | Sugar: 1 g
What to Serve With This Recipe


Leave a Review or Ask a Question
Your rating, tips, and questions help other home cooks. Tell us how it turned out or ask anything before you make it.
You May Also Like


Questions & Answers
Recipe FAQs
Why didnu2019t my pita bread puff?
The most common reason is that the oven or baking surface wasnu2019t fully preheated. Make sure both are very hot before baking, and roll the dough evenly so the rounds puff properly.
Can I use a baking sheet instead of a baking stone?
Yes. An inverted baking sheet works well, and you can line it with parchment if needed. The important part is that it heats fully before the pitas go on.
How do I keep pita bread soft after baking?
Wrap the hot pitas in a clean towel as batches come out of the oven. That helps trap a little steam and keeps the bread soft instead of drying out.
Can I make the dough ahead of time?
This recipe works best when the dough rises, shapes, and bakes the same day. If your kitchen is cool, you may need a little extra rising time, so watch the dough rather than the clock.
What should I serve with homemade pita bread?
Itu2019s great with hummus, roasted vegetables, grilled chicken, soups, and mezze platters. You can also slice it open for sandwiches or use it as a scoopable flatbread.
How should I store leftover pita bread?
Let the pitas cool completely, then store them in an airtight container at room temperature for 2 days or freeze them for longer storage.