The Best Homemade Scones Recipe


Recipe
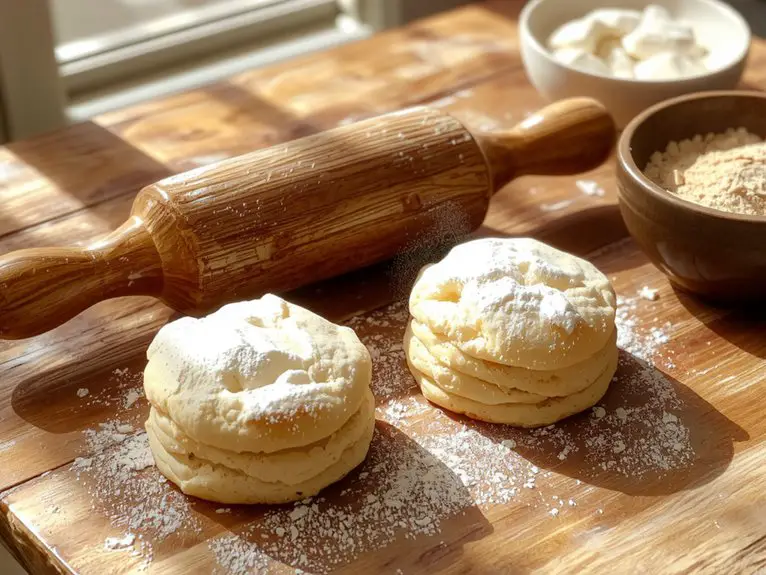
Let me save you from the disappointment of dry, bland scones—this recipe is *the one*. Made with simple ingredients you probably already have, these sakes are buttery, flaky, and just sweet enough to hit the spot.
The secret? A dollop of chilled butter worked into the dough creates those irresistible layers, while a touch of cream keeps them tender and moist. I’ve been making these for years, and they’re foolproof—perfect for lazy weekend mornings or a cozy afternoon tea.
Imagine biting into a warm scone with a crisp exterior that gives way to a soft, pillowy center, lightly sweetened and begging for a slather of jam or clotted cream. Trust me, once you try these, you’ll never look at store-bought scones the same way again.
Ingredients
The secret to perfect scones lies in balancing simplicity with high-quality ingredients. Just a handful of pantry staples come together to create a tender, flaky texture with a golden crust. Here’s what you’ll need to get started:
- All-purpose flour: The base of your scones. Use a scoop-and-level method to measure for accuracy.
- Granulated sugar: Adds a touch of sweetness. Adjust to taste, but don’t skip it—it helps with browning.
- Baking powder: The leavening agent. Make sure it’s fresh for maximum lift.
- Salt: Enhances all the flavors. A pinch goes a long way.
- Unsalted butter: Cold and cubed. This is non-negotiable—cold butter creates those flaky layers.
- Heavy cream: For richness and moisture. If you don’t have it, whole milk works, but the texture will be less tender.
- Egg: Adds structure and a subtle richness.
- Vanilla extract: For depth of flavor. Pure vanilla is worth the splurge.
Optional add-ins:
- Dried fruit, chocolate chips, or fresh berries: Fold in your favorites for a personal touch.
- Lemon or orange zest: A pinch brightens up the flavor profile.
Pro tip: For the flakiest scones, freeze the butter for 10 minutes before cutting it into the flour. This keeps the dough cool, ensuring a perfect rise.
How to Make the Best Follow Precise Ingredient Measurements

Gradually add the wet ingredients to the dry mixture – Stir gently until the dough just comes together. Overmixing can lead to tough scones, so stop as soon as the ingredients are combined.
Turn the dough onto a floured surface and gently knead it – Fold it a few times to create layers, but don’t overdo it.
Shape the dough into a circle or rectangle about 1 inch thick.
Cut the dough into triangles or use a round cutter – If using a knife, dip it in flour to prevent sticking.
For cleaner edges, press straight down without twisting the cutter.
Place the scones on the prepared baking sheet, spacing them apart – Brush the tops with a bit of heavy cream or milk and sprinkle with coarse sugar for a crunchy, sweet finish.
Bake for 15–18 minutes, or until golden brown – Rotate the pan halfway through for even browning.
The scones are done when a toothpick inserted in the center comes out clean.
Cool on a wire rack for 5–10 minutes before serving – This allows the scones to set and prevents them from becoming soggy.
Enjoy warm with clotted cream, jam, or butter.
Nutrition
Understanding the nutritional content of homemade scones can help you make informed dietary choices. Below is a breakdown of the key nutrients per serving.
| Nutrient | Amount per Serving |
|---|---|
| Calories | 250 |
| Total Fat | 10g |
| Saturated Fat | 6g |
| Cholesterol | 25mg |
| Sodium | 300mg |
| Total Carbs | 35g |
| Dietary Fiber | 1g |
| Sugars | 10g |
| Protein | 5g |
Chef Tips
While making scones, I’ve found that keeping ingredients cold is key to achieving a flaky texture. Work quickly to prevent butter from melting—this guarantees layers.
Don’t overmix; stop when the dough just comes together. Pat, don’t roll, to maintain tenderness. Brush tops with cream for a golden finish.
Let them rest before baking for even rising. Serve warm for the best experience.
Frequently Asked Questions
Can Scones Be Frozen After Baking?
Yes, I can freeze scones after baking. I let them cool completely, wrap them tightly in plastic or foil, then place them in a freezer-safe bag. When I’m ready, I thaw and reheat them. They taste fresh!
How Long Do Homemade Scones Stay Fresh?
Homemade scones stay fresh for about 1-2 days if I keep them in an airtight container at room temperature. If I refrigerate them, they last up to a week, but they’re best eaten right away.
Can I Use Gluten-Free Flour for This Recipe?
I can use gluten-free flour, but I’ll need to adjust the recipe slightly since it absorbs more liquid. I’d add a bit more moisture and consider using a binder like xanthan gum for better texture.
What’s the Best Way to Reheat Scones?
I’d warm them in a 300°F oven for 5-10 minutes to keep them crisp. If I’m in a hurry, I’ll microwave them for 10-15 seconds, but they might get a bit soft—still tasty, though!
Can I Substitute Butter With a Dairy-Free Alternative?
Yes, I can substitute butter with a dairy-free alternative like margarine or coconut oil. I’ll make sure it’s cold and solid before cutting it into the dough so the texture stays flaky and tender.