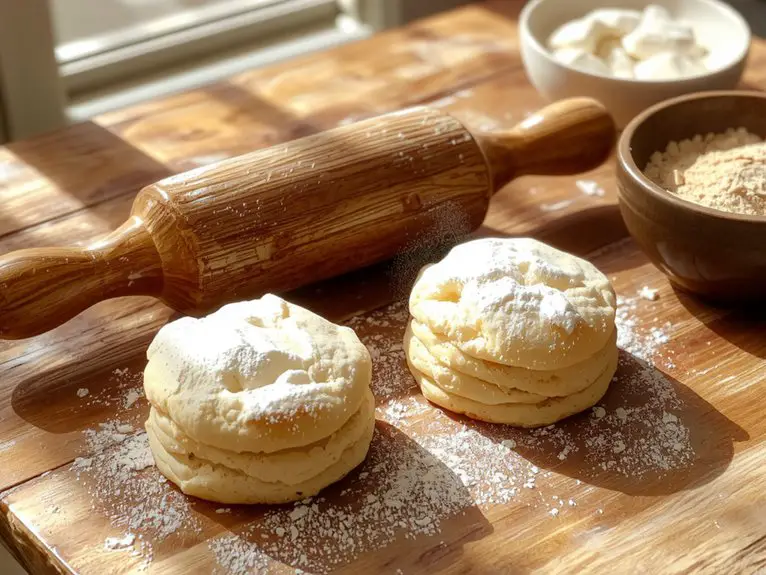
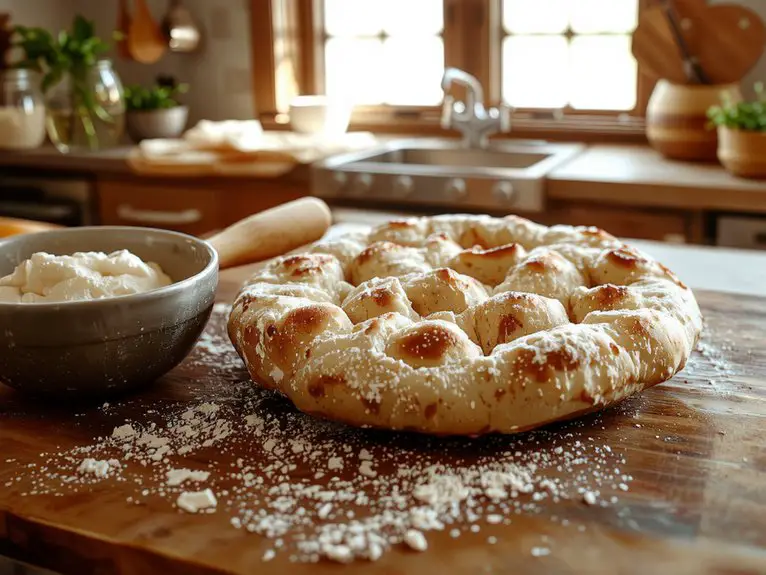
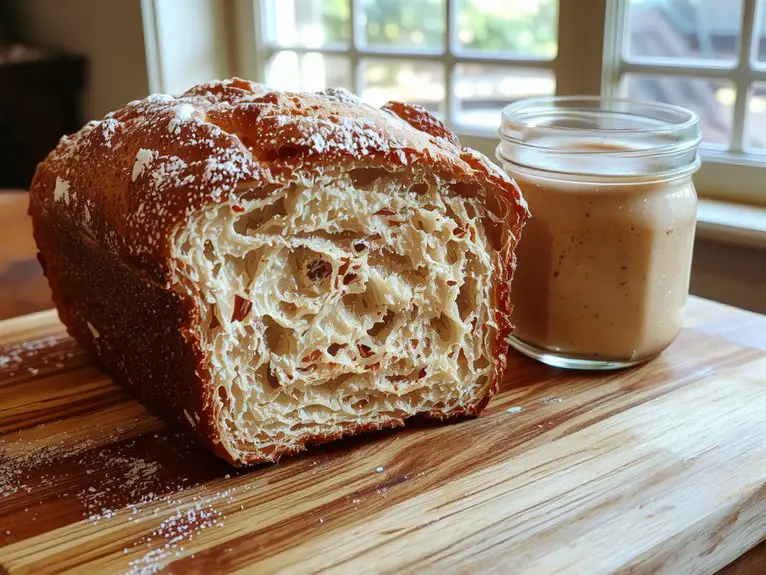
The Best Homemade Dinner Rolls Recipe
Recipe
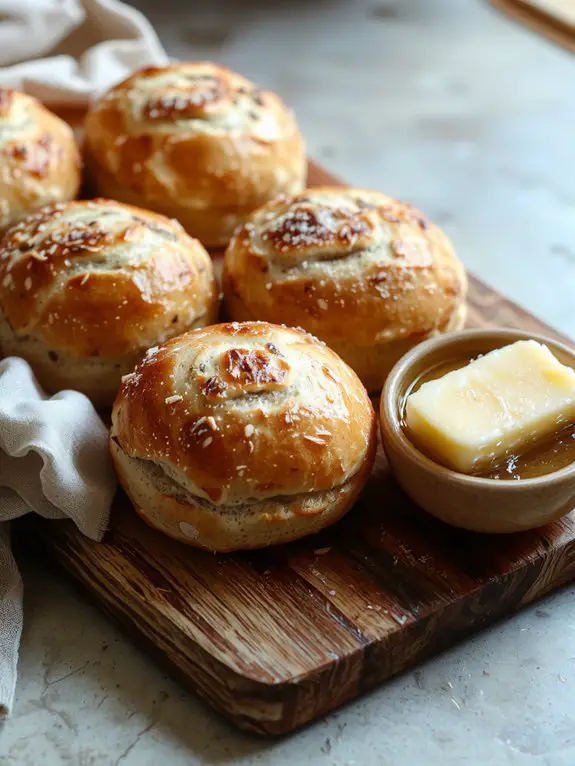
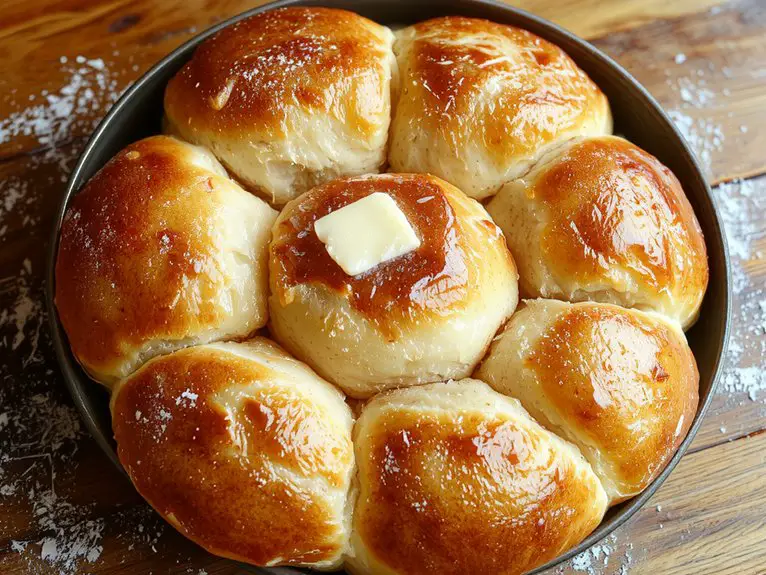
These homemade dinner rolls are the kind of recipe you’ll turn to again and again, because let’s be honest—nothing beats the smell of freshly baked bread wafting through your kitchen.
Made with just a handful of simple ingredients, these rolls are soft, pillowy, and have that perfect golden crust that’s impossible to resist.
The secret? A touch of honey for a subtle sweetness and a quick knead to get that light, airy texture.
Whether you’re serving them for a holiday feast or just a cozy weeknight dinner, these rolls are guaranteed to disappear fast.
Plus, they’re so easy to make, you’ll wonder why you ever bought them from the store.
Ready to bake the best rolls of your life? Let’s get started.
Ingredients
Crafting the perfect homemade dinner rolls starts with the right ingredients. Fresh, high-quality components make all the difference, guaranteeing soft, fluffy rolls with a golden crust. Here’s what you’ll need for bakery-worthy results:
- All-purpose flour: The backbone of the dough. Use unbleached for better texture and flavor. Bread flour works too for a chewier roll.
- Warm water: Around 110°F activates the yeast without killing it. Too hot or cold ruins the rise.
- Active dry yeast: Fresh yeast is key! Check the expiration date—dead yeast equals flat rolls.
- Granulated sugar: Feeds the yeast and adds subtle sweetness. Honey or maple syrup can substitute.
- Unsalted butter: Adds richness and tenderness. Melt it slightly for easy mixing. Salted butter works, but reduce added salt.
- Egg: Provides structure and a tender crumb. Use room temperature for smoother incorporation.
- Milk: Whole milk makes the rolls extra soft and moist. Swap with plant-based milk if needed.
- Salt: Enhances flavor. Don’t skip it!
- Optional extras: Brush baked rolls with melted butter for a glossy finish, or sprinkle with sea salt or herbs for added flair.
Pro tip: Let ingredients like eggs and milk come to room temperature before mixing—this confirms even dough texture and better rise. Fresh yeast and quality butter are non-negotiables for that perfect bakery-style roll!
How to Make the Best Fluffy Dinner Rolls Method
- Mix wet ingredients: Once the yeast is activated, whisk in melted butter and an egg. The butter adds richness, while the egg helps bind the dough and adds structure. Make sure your butter isn’t too hot to avoid cooking the egg.
- Combine dry ingredients: In a separate bowl, mix flour and salt. Gradually add the dry ingredients to the wet mixture, stirring until a shaggy dough forms. This gradual addition prevents clumping and guarantees even hydration.
- Knead the dough: Turn the dough onto a lightly floured surface and knead for about 8–10 minutes until smooth and elastic. Kneading develops gluten, which gives the rolls their fluffy texture.
*(Watch Out: Over-kneading can make the dough tough—stop when it’s smooth and springs back when poked.)*
– First rise: Place the dough in a lightly greased bowl, cover it with a clean kitchen towel, and let it rise in a warm spot for 1–2 hours, or until doubled in size.
*(Time-Saving Trick: If you’re short on time, let the dough rise in a slightly warmed oven—just turn it off after preheating for 1–2 minutes.)*
– Shape the rolls: Punch down the dough to release air bubbles, then divide it into equal portions. Roll each piece into a smooth ball and place them in a greased baking dish, leaving a little space between each roll for expansion.
*(Pro Tip: Use a kitchen scale to guarantee evenly sized rolls.)*
- Second rise: Cover the shaped rolls with a towel and let them rise again for 30–45 minutes. This second rise guarantees they’ll be light and airy.
- Bake to perfection: Preheat your oven to 375°F and brush the rolls with melted butter or an egg wash for a golden finish. Bake for 15–20 minutes until golden brown and cooked through.
*(Visual Cue: Tap the rolls lightly—if they sound hollow, they’re done!)*
– Serve warm: Let the rolls cool slightly, then pull apart and enjoy! For ultimate indulgence, brush them with more melted butter before serving.
*(Flexibility: These rolls freeze beautifully—cool completely, wrap tightly, and reheat in the oven when ready to enjoy.)*
Nutrition
Homemade dinner rolls are a delightful addition to any meal, offering a soft and fluffy texture. Here’s a breakdown of their nutritional value:
| Nutrient | Amount per Serving |
|---|---|
| Calories | 160 |
| Total Fat | 5g |
| Saturated Fat | 3g |
| Cholesterol | 15mg |
| Sodium | 200mg |
| Total Carbohydrates | 24g |
| Dietary Fiber | 1g |
| Sugars | 3g |
| Protein | 4g |
Chef Tips
For the fluffiest dinner rolls, I always proof the yeast first—it’s a small step that guarantees a better rise.
Knead the dough until smooth but don’t overwork it.
Let it rise in a warm spot, covered, until doubled.
Brush with melted butter before baking for a golden crust.
Serve warm; they’re best fresh.
Store leftovers in an airtight container to keep them soft.
Frequently Asked Questions
Can I Freeze the Dough Before Baking?
Yes, I freeze my dough before baking all the time. Just shape it, wrap tightly in plastic, then freeze. When I’m ready, I thaw it overnight in the fridge and let it rise before baking. Works perfectly!
How Long Do the Rolls Stay Fresh?
The rolls stay fresh for about 2-3 days at room temperature when stored in an airtight container. If I want to keep them longer, I freeze them after baking, and they’ll last for up to a month.
Can I Use Gluten-Free Flour Instead?
Yes, I’ve used gluten-free flour for dinner rolls before, but I’ve found I need a blend with xanthan gum for better texture. Results can vary, so I always experiment to adjust moisture and kneading times.
What’s the Best Way to Reheat Leftover Rolls?
I’d wrap them in foil and warm them in a 350°F oven for 10 minutes. If I’m in a hurry, I’ll microwave them for 15-20 seconds, but they won’t stay as soft as when I use the oven.
Can I Make the Dough in a Bread Machine?
Yes, I can make the dough in a bread machine. I simply add all the ingredients and select the dough cycle. It kneads and rises for me, saving time and effort before I shape and bake the rolls.