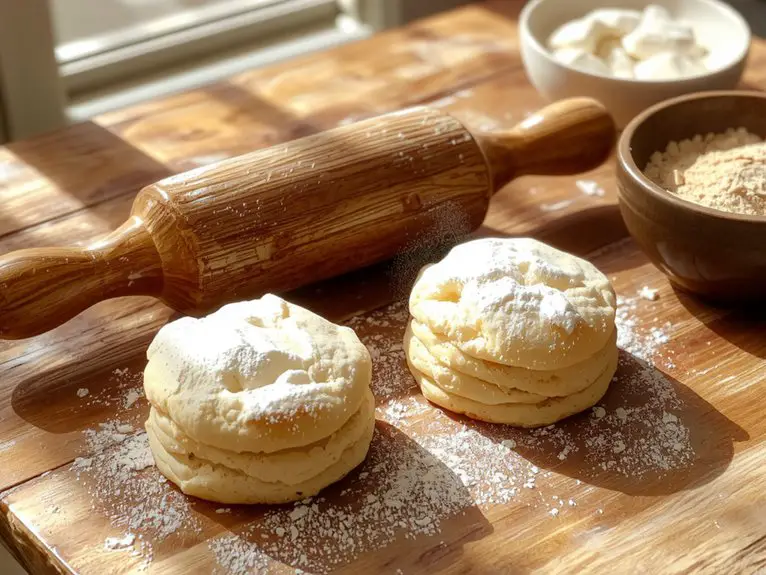
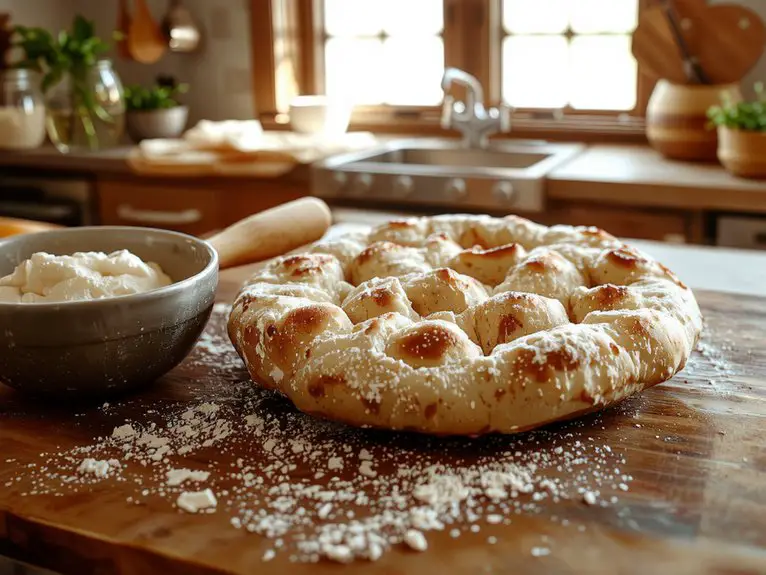
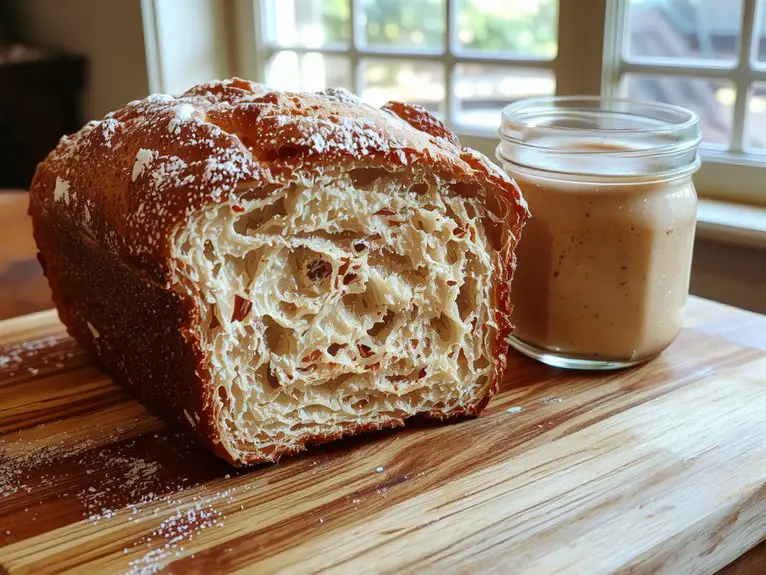
The Best Homemade White Bread Recipe
Recipe
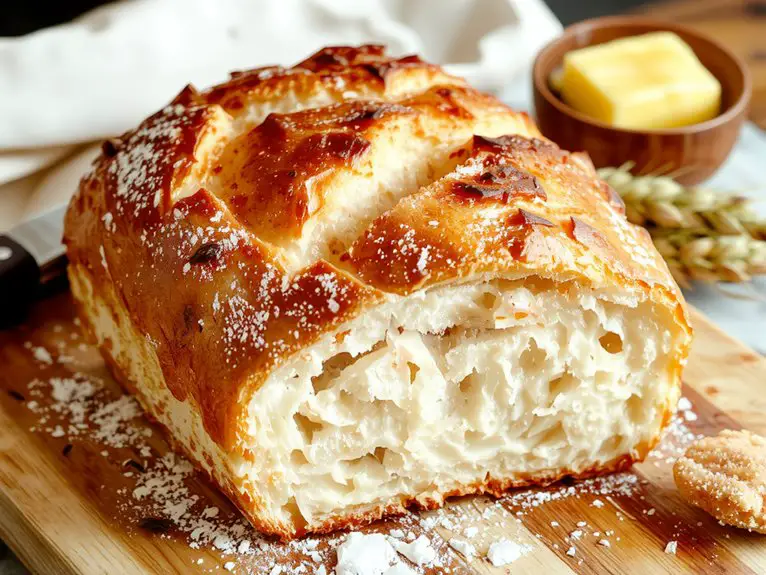
There’s something magical about pulling a loaf of homemade white bread from the oven—golden, pillowy, and smelling like pure comfort.
This recipe? It’s the one I swear by, the kind that turns first-time bakers into bread-making believers. The secret? A simple mix of high-quality flour, a touch of honey for subtle sweetness, and just enough butter to give each slice that irresistible tenderness.
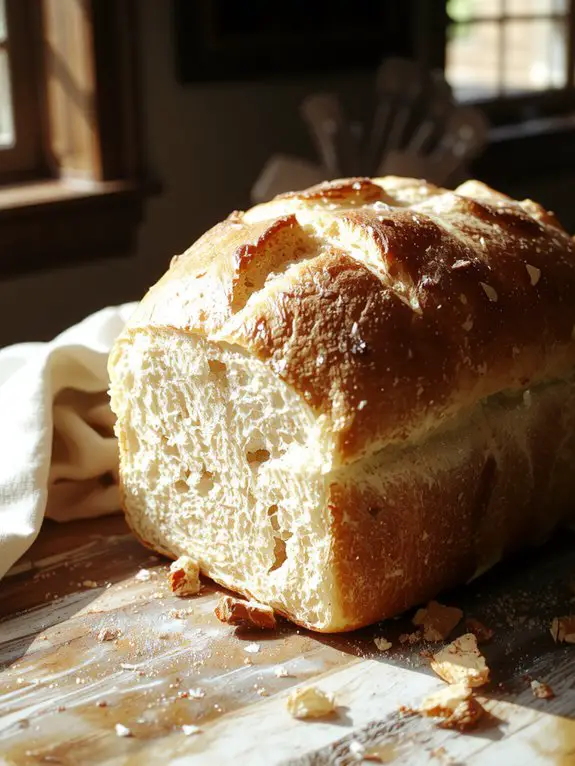
Imagine this: a crust that crackles when you tear into it, revealing a soft, cloud-like interior perfect for slathering with jam or sopping up soup. Trust me, once you taste this, store-bought loaves just won’t cut it anymore.
And the best part? It’s easier than you think—no fancy techniques, just good old-fashioned baking at its finest. Let’s get that dough rising!
Ingredients
To make the best homemade white bread, quality ingredients are key. While bread-making can feel intimidating, using the right staples guarantees a soft, fluffy loaf every time. Here’s what you’ll need, along with tips to elevate your bread game:
- Bread flour – Opt for bread flour over all-purpose for its higher protein content, which creates a chewier, more structured crumb. All-purpose flour works in a pinch, but the texture won’t be as ideal.
- Instant yeast – This is my go-to because it activates quickly and doesn’t require proofing. If you only have active dry yeast, use it—just dissolve it in warm water first.
- Warm water – Around 110°F is perfect. Too hot, and you’ll kill the yeast; too cold, and it won’t activate.
- Granulated sugar – A little sugar feeds the yeast and adds a hint of sweetness. Honey or maple syrup can be swapped for a subtle flavor twist.
- Salt – Don’t skip this! Salt enhances flavor and controls yeast activity. Use kosher or sea salt for the best results.
- Unsalted butter or oil – Butter adds richness, while oil keeps the bread softer for longer. I prefer butter for its flavor, but olive or vegetable oil works well too.
- Milk powder (optional) – A secret weapon for extra softness and a slightly richer flavor. If you don’t have it, you can skip it or replace it with a bit of extra butter or milk.
With these ingredients and a little patience, you’re on your way to baking a loaf that rivals any bakery’s.
How to Make the Best Follow Precise Ingredient Measurements
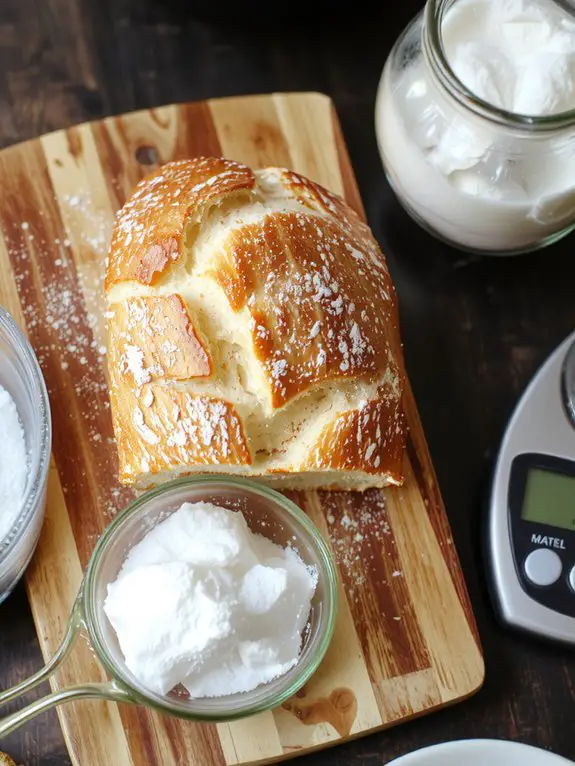
- First rise (proofing) – Place the dough in a lightly oiled bowl, turning it to coat all sides. Cover with a clean kitchen towel or plastic wrap and let it rise in a warm, draft-free spot for about 1 to 1 1/2 hours, or until it doubles in size. A warm environment speeds up fermentation, so placing it near a preheated oven can help.
- Shape the loaf – Once risen, punch down the dough to release air bubbles. Turn it out onto a lightly floured surface and shape it into a loaf. You can either form it into a traditional loaf shape or place it in a greased 9×5-inch loaf pan. Shaping properly guarantees even baking.
- Second rise – Cover the shaped dough and let it rise again for about 30-45 minutes, or until it domes slightly above the pan or nearly doubles in size. This second rise improves the bread’s texture and crumb.
- Preheat the oven – While the dough is proofing, preheat your oven to 375°F (190°C). A fully preheated oven confirms even baking and a good crust.
- Score the dough – Before baking, use a sharp knife or razor blade to make a shallow slash (about 1/4 inch deep) along the top of the loaf. This allows the bread to expand evenly in the oven without cracking unpredictably.
- Bake the bread – Place the loaf in the preheated oven and bake for 25-30 minutes, or until the crust is golden brown and the internal temperature reaches 190°F (88°C) when checked with a thermometer. If the crust browns too quickly, tent it with aluminum foil to prevent burning.
- Cool completely – Once baked, remove the bread from the oven and let it cool in the pan for 5 minutes. Then transfer it to a wire rack to cool completely before slicing. Cutting into hot bread can make it gummy, so patience is key.
- Store properly – For best freshness, store the bread in a paper or cloth bag at room temperature for up to 3 days. Avoid plastic bags, which can trap moisture and soften the crust. For longer storage, slice and freeze the loaf in a resealable bag.
Nutrition
1 slice (28g) of homemade white bread provides approximately:
| Calories | Carbs | Protein | Fat | Fiber | Sugar | Sodium |
|---|---|---|---|---|---|---|
| 80 | 15g | 2g | 1g | 0.5g | 1g | 120mg |
Chef Tips
While kneading the dough, I’ve found that keeping a light touch guarantees it stays soft and doesn’t become tough. Let it rise in a warm, draft-free spot to double in size.
Preheat your oven properly; it secures even baking. Brushing the loaf with melted butter after baking gives it a soft, golden crust. Always let it cool completely before slicing—it prevents a gummy texture.
Frequently Asked Questions
Can I Use Whole Wheat Flour Instead?
Yes, you can use whole wheat flour instead, but I’d expect a denser texture since it absorbs more liquid. I’d recommend adding a bit more water or milk to the dough to balance it out.
Why Did My Bread Turn Out Dense?
I think your bread turned out dense because you might’ve overmixed the dough or didn’t let it rise enough. Using too much flour or not kneading properly can also make it heavy instead of light and airy.
How Long Should I Let the Dough Rise?
I’d let the dough rise until it doubles in size, usually about 1-2 hours, depending on the warmth of the room. Punch it down, shape it, then let it rise again for another 30-60 minutes before baking.
Can I Freeze the Dough for Later Use?
I can freeze the dough for later use by shaping it, wrapping it tightly in plastic, and placing it in the freezer. Thaw it in the fridge overnight before baking.
What’s the Best Way to Store Homemade Bread?
I keep my homemade bread fresh by storing it in a bread box or airtight bag at room temperature for a few days. If I need it to last longer, I slice and freeze it, then toast when needed.