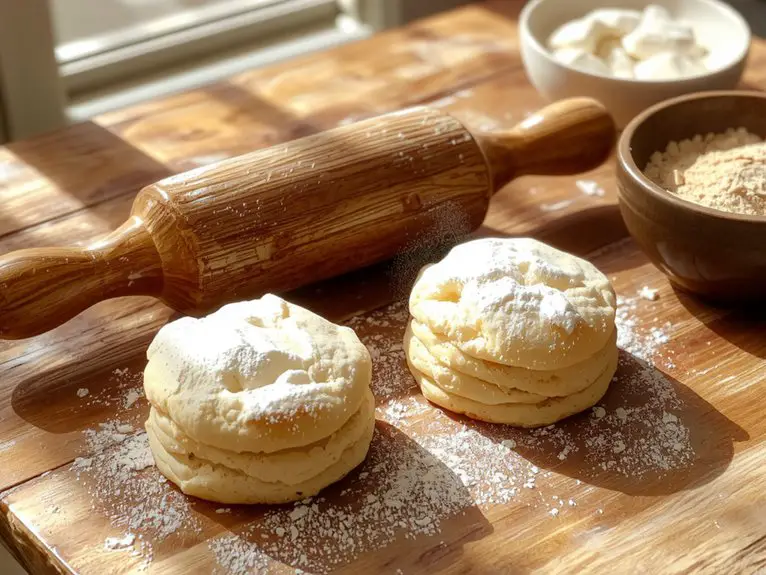
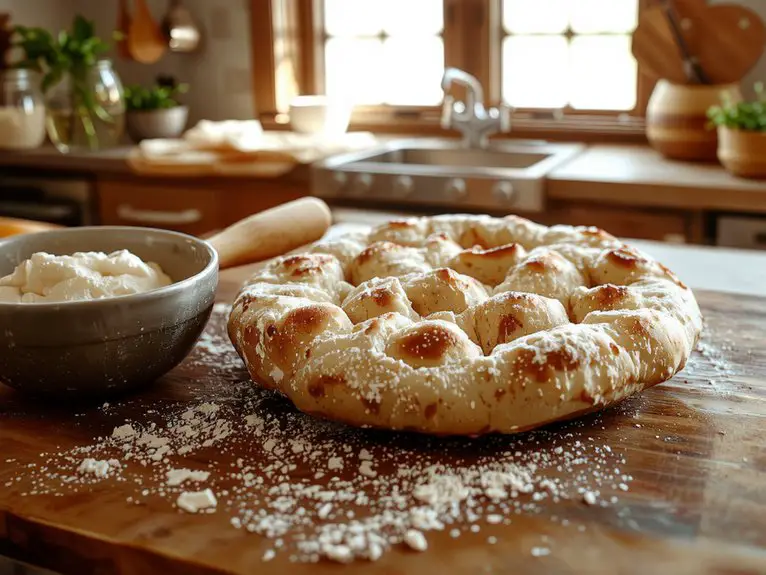
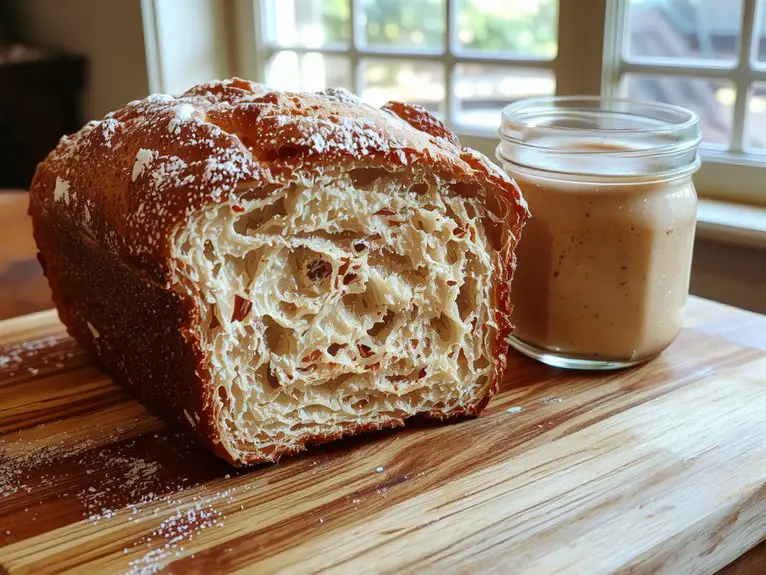
The Best Homemade Artisan Bread Recipe
Recipe
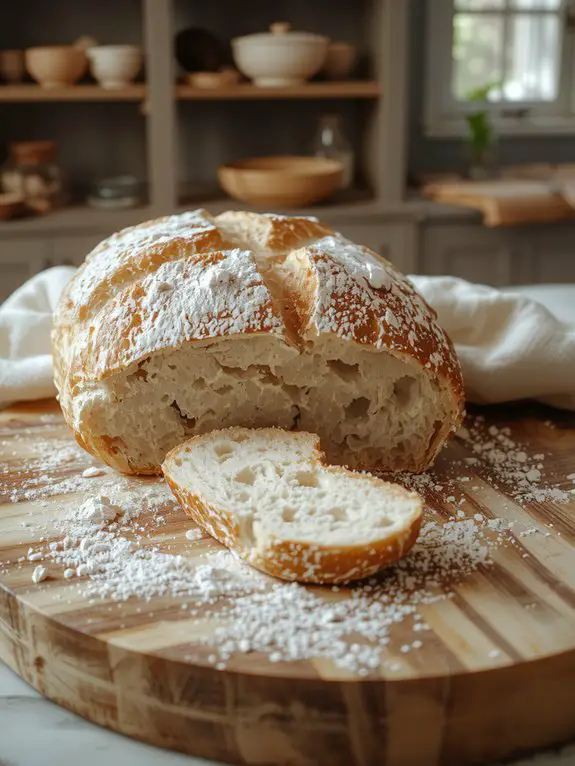
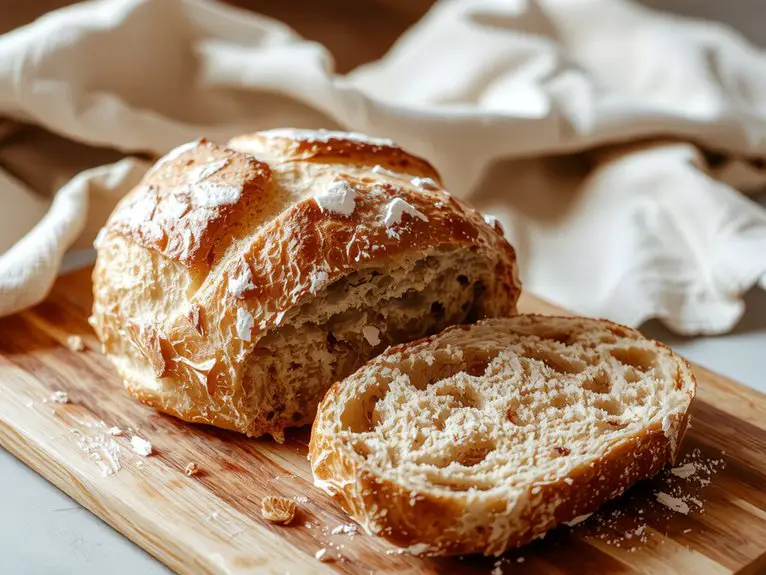
There’s something magical about pulling a golden, crusty loaf of bread out of your own oven—and this homemade artisan bread recipe is the perfect way to experience it. Trust me, once you taste that first slice, warm and fragrant with a crackly crust and soft, airy interior, you’ll wonder why you ever bought bread from the store.
What makes this recipe so special? It’s shockingly simple—no fancy kneading, no complicated techniques, just four humble ingredients (flour, water, yeast, and salt) transformed into something extraordinary.
My go-to method for years, this bread has become a staple in my kitchen, especially on cozy weekends when nothing beats the smell of fresh bread wafting through the house. The crust is perfectly chewy, the crumb is tender, and every bite is a little slice of heaven.
Whether you’re a seasoned baker or a complete newbie, this recipe is foolproof and rewarding—because everyone deserves the joy of homemade bread. Let’s get baking!
Ingredients
Great bread starts with great ingredients—it’s that simple. The right flour, a touch of patience, and a few pantry staples are all you need to create a crusty, airy loaf that rivals any bakery. Here’s what you’ll need, plus a few insider tricks to make it unforgettable.
- Bread flour – The high protein content (12-14%) gives structure and chew. All-purpose flour works in a pinch, but your loaf won’t have the same open crumb.
- Water – Lukewarm (about 100°F) wakes up the yeast without killing it. Filtered is best if your tap water is heavily chlorinated.
- Active dry yeast – Instant yeast works too (use 25% less). Pro tip: Proof it with a pinch of sugar to confirm it’s alive before mixing.
- Salt – Fine sea salt dissolves evenly. Skip iodized—it can leave a metallic taste.
- Honey or sugar (optional) – Just a teaspoon helps the yeast thrive and adds a subtle depth.
Game changers:
A Dutch oven for baking traps steam, giving that blistered, crackly crust. No Dutch oven? A baking stone + pan of boiling water below works.
Rice flour for dusting—it won’t burn like regular flour, giving your loaf a pro-looking finish.
How to Make the Best Artisan Bread Recipe Name
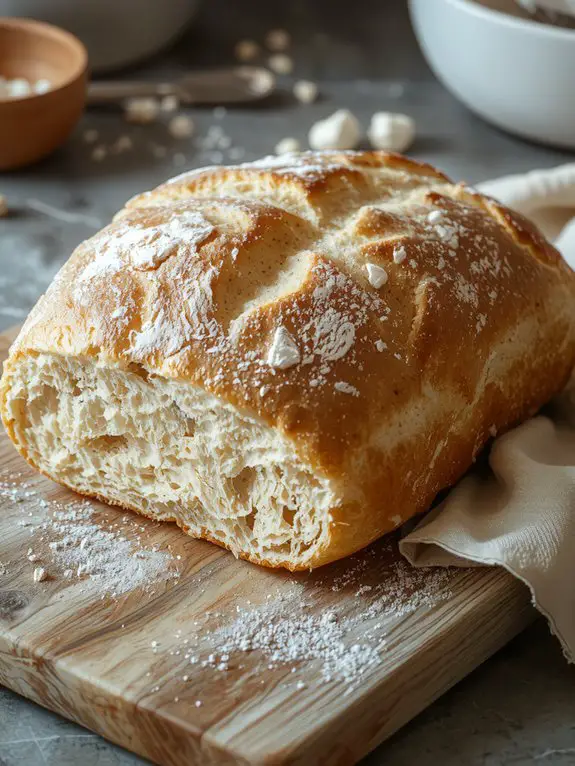
– Gather your ingredients: Confirm all ingredients are at room temperature for better mixing and consistent results. This includes water, flour, yeast, and salt.
Having everything ready beforehand simplifies the process and prevents scrambling mid-step.
– Mix the dough: Combine the flour, yeast, and salt in a large bowl. Gradually add water while stirring until the dough comes together.
It will look shaggy at first—that’s okay! Overmixing isn’t necessary here, as this dough thrives on simplicity.
– Knead the dough: Turn the dough onto a floured surface and knead for about 10 minutes until it becomes smooth and elastic.
If it’s too sticky, add a sprinkle of flour, but don’t overdo it. Proper kneading develops the gluten, giving the bread its structure.
– Let it rise: Place the dough in a lightly oiled bowl, cover it with a damp towel, and Let it rise in a warm spot for 1–2 hours or until it doubles in size.
Drafts or cold spots can slow this process, so choose a cozy area like near the oven.
– Shape the loaf: Gently deflate the dough and shape it into a round or oval loaf. Place it on a parchment-lined baking sheet or in a preheated Dutch oven.
Shaping helps create an even crumb and a beautiful crust.
– Second rise: Let the shaped dough rise again for 30–45 minutes.
This shorter rise allows the dough to relax and puff up slightly, confirming a light and airy texture.
– Preheat and score: Preheat your oven to 450°F (232°C) while the dough rises.
Before baking, score the top of the loaf with a sharp knife or razor blade. Scoring controls where the bread expands, preventing random cracks.
– Bake to perfection: Bake for 25–30 minutes until the crust is golden brown and the loaf sounds hollow when tapped on the bottom.
For a crispier crust, add a pan of water to the oven to create steam during the first 10 minutes of baking.
– Cool completely: Let the bread cool on a wire rack for at least 30 minutes before slicing.
Cutting too soon can make the crumb gummy, so patience is key for the perfect slice.
Nutrition
This artisan bread is a simple yet delicious recipe. Here’s the nutritional breakdown per serving:
| Nutrition Facts | Per Serving (1 slice) |
|---|---|
| Calories | 120 |
| Total Fat | 0.5g |
| Saturated Fat | 0g |
| Cholesterol | 0mg |
| Sodium | 200mg |
| Total Carbs | 25g |
| Dietary Fiber | 1g |
| Sugars | 0g |
| Protein | 4g |
Chef Tips
Mastering artisan bread isn’t just about the recipe; it’s about the technique. I always knead gently to avoid overworking the dough, which keeps it airy.
Use a Dutch oven for a crispy crust—it traps steam perfectly. Let the dough rise slowly in the fridge overnight for deeper flavor.
Dust your hands and surface lightly with flour to prevent sticking.
Practice patience; bread rewards timing.
Frequently Asked Questions
What Type of Flour Works Best for Artisan Bread?
I prefer using bread flour for artisan bread because it’s higher in protein, which helps create a chewy texture and a great crust. All-purpose flour works too, but it’s not as sturdy for shaping.
Can I Use a Stand Mixer Instead of Kneading by Hand?
I can use a stand mixer instead of kneading by hand—it’s faster and less tiring. I just need to use the dough hook, mix on low speed, and stop when the dough’s smooth and elastic.
How Long Does Homemade Artisan Bread Stay Fresh?
I find my homemade artisan bread stays fresh for about 2-3 days if I keep it in a paper bag. After that, it gets stale, but I can always toast it to bring back some life.
Can I Freeze the Dough for Later Use?
Yes, I can freeze the dough for later use. After shaping it, I wrap it tightly in plastic and place it in a freezer bag. When ready, I thaw it overnight, let it rise, and bake.
What’s the Ideal Room Temperature for Proofing?
I find the ideal room temperature for proofing is around 70-75°F. If it’s cooler, it’ll take longer, and if it’s warmer, the dough might rise too quickly. Consistency matters, so I aim for a steady, warm spot.