The Best Homemade Soft Pretzel Recipe
Recipe
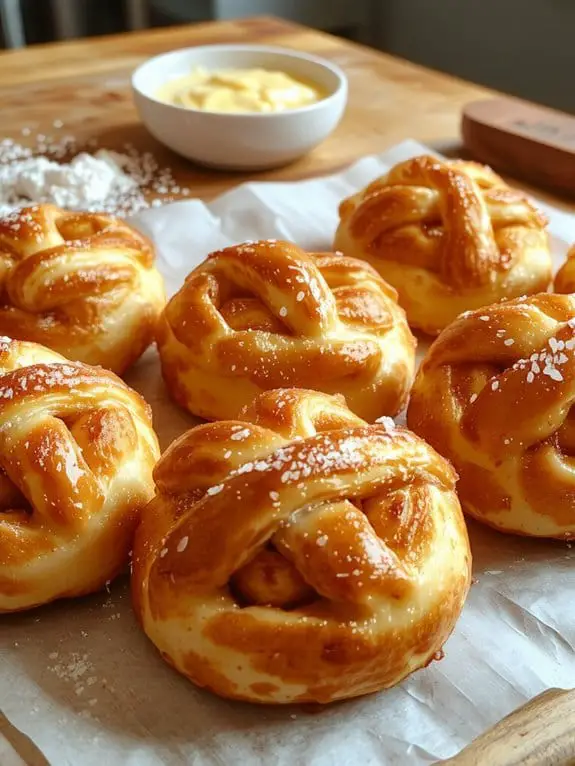
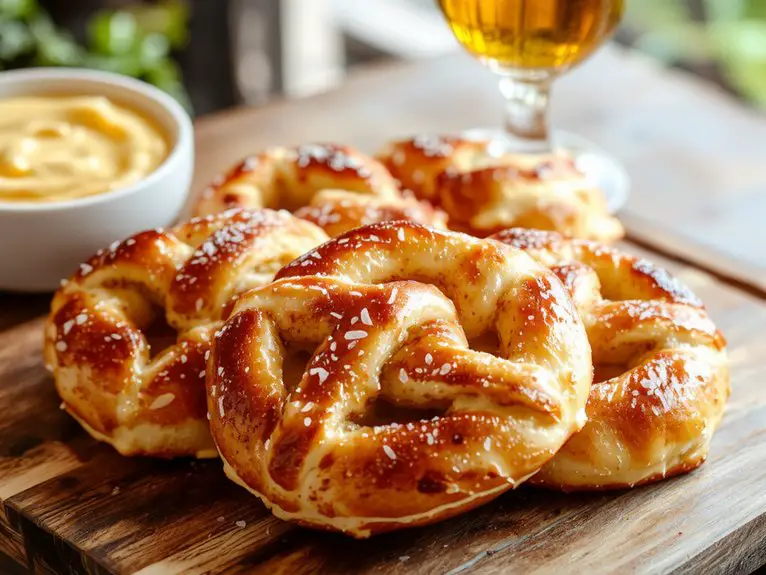
There’s something magical about biting into a warm, buttery soft pretzel—the golden-brown crust giving way to a chewy, pillowy interior. This homemade pretzel recipe? It’s the kind of thing that’ll make you wonder why you ever bought them from the mall.
The secret is in the simple but game-changing step of dipping the dough in baking soda water before baking—it’s what gives that iconic pretzel crust and flavor. I’ve made these dozens of times, and trust me, they’re foolproof.
Whether you’re craving a salty snack, need a fun baking project, or want to impress friends at your next game night, these pretzels deliver a restaurant-quality experience right from your own kitchen. Soft, warm, and begging to be dipped in mustard or cheese sauce, they’re an absolute crowd-pleaser. Let’s get rolling—literally.
Ingredients
To craft the perfect homemade soft pretzels, the right ingredients are key. Each one plays a vital role in achieving that chewy, golden exterior and soft, pillowy interior. Whether you’re a baking newbie or a seasoned pro, these tips will guarantee your pretzels turn out bakery-level delicious every time. Here’s what you’ll need:
- Bread flour – The higher protein content creates the perfect chew. All-purpose flour works in a pinch, but bread flour is worth it for that authentic pretzel texture.
- Instant yeast – This makes certain your dough rises quickly and evenly. Active dry yeast can be substituted—just activate it in warm water first.
- Warm water – Aim for 110°F (slightly warm to the touch) to activate the yeast without killing it. Too hot or cold will throw off the dough.
- Sugar – A touch of sugar feeds the yeast and adds a subtle sweetness to balance the saltiness.
- Salt – Coarse sea salt for topping is non-negotiable for that classic pretzel flavor. Fine table salt works in the dough, but don’t skip the coarse topping.
- Baking soda – This is the secret to the iconic pretzel crust. Boiling the pretzels in a baking soda bath before baking creates that glossy, golden exterior.
- Unsalted butter – Adds richness to the dough. Salted butter works too—just adjust the added salt slightly.
- Egg – Brushing the pretzels with egg wash before baking secures a beautiful, shiny finish. Skip it for a vegan option, but the texture won’t be quite the same.
Pro tip: Don’t skimp on the baking soda bath—it’s what gives pretzels their signature flavor and texture. If you’re feeling adventurous, add a tablespoon of honey to the boiling water for an extra layer of depth.
How to Make the Best Perfect Soft Pretzel Recipe
Combine warm water, sugar, and yeast in a large bowl and let it sit for 5 minutes until foamy. This activates the yeast, which is key for a soft and fluffy pretzel.
Add melted butter and salt to the yeast mixture, then gradually mix in the flour until a dough forms. The butter adds richness, while the salt enhances flavor.
Knead the dough on a floured surface for about 5 minutes until smooth and elastic. Proper kneading develops the gluten, giving the pretzels their signature chew.
Place the dough in a greased bowl, cover with a damp towel, and let it rise for 1 hour or until doubled in size. A warm spot speeds up the process, but avoid overly hot areas that can kill the yeast.
Preheat your oven to 450°F (230°C) and line a baking sheet with parchment paper. High heat is essential for achieving that golden, crispy exterior.
Divide the dough into equal portions, roll each into a rope, and shape into pretzels. Pro Tip: Keep the ends of the dough rope slightly thicker to prevent them from breaking apart.
Boil water in a large pot, add baking soda, and gently submerge each pretzel for 30 seconds. This step, called “baking soda bath,” gives pretzels their iconic chewy crust.
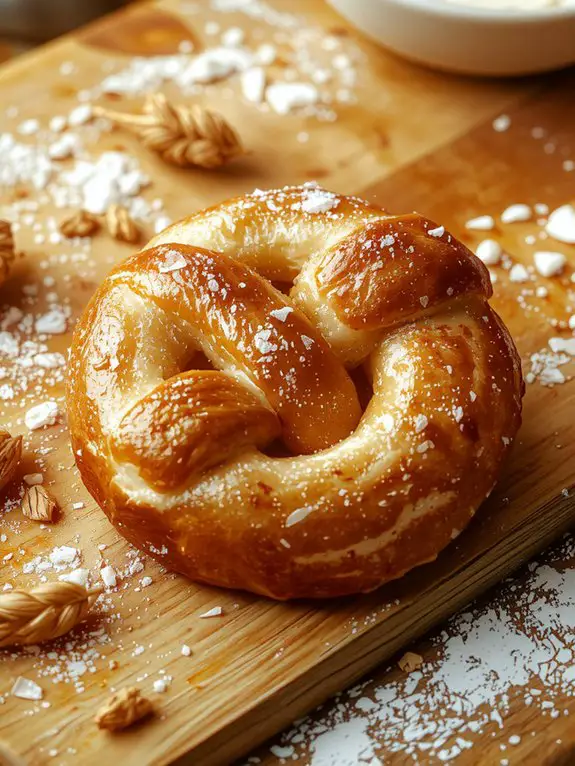
Transfer the boiled pretzels to the prepared baking sheet, brush with an egg wash, and sprinkle with coarse salt. The egg wash guarantees a shiny, golden finish.
Bake for 10-12 minutes or until deep golden brown. Watch closely toward the end to avoid overbaking, which can make the pretzels dry.
Cool slightly on a wire rack before serving. Warm pretzels are perfect on their own or with mustard or cheese dip for extra flavor.
Nutrition
Soft pretzels are a delicious treat that can be made at home with simple ingredients. They are soft, chewy, and perfect for snacking or dipping.
| Nutrient | Amount per Serving |
|---|---|
| Calories | 290 |
| Total Fat | 2g |
| Saturated Fat | 1g |
| Cholesterol | 5mg |
| Sodium | 460mg |
| Total Carbs | 58g |
| Dietary Fiber | 2g |
| Sugars | 2g |
| Protein | 7g |
Chef Tips
Getting the perfect homemade pretzel isn’t just about following the recipe—it’s about mastering a few key techniques. I always use warm water for the yeast to activate properly and knead the dough until it’s smooth and elastic.
Boiling the pretzels in baking soda water creates that signature chewy crust. Don’t skip the egg wash; it guarantees a golden finish.
Finally, sprinkle salt generously before baking.
Frequently Asked Questions
Can I Freeze Homemade Soft Pretzels?
Yes, you can freeze homemade soft pretzels. I usually let them cool completely, wrap them tightly in plastic, then store them in airtight freezer bags. They’ll stay fresh for up to 3 months.
How Do I Store Leftover Pretzels?
I store leftover pretzels in an airtight container or a resealable bag at room temperature for up to two days. If I need to keep them longer, I refrigerate them for a week or freeze them for months.
Can I Use Whole Wheat Flour Instead?
I’d recommend using half whole wheat and half all-purpose flour for softer pretzels. Whole wheat alone makes them denser, but mixing gives a better texture. Just know they won’t be as light as the original recipe.
Why Did My Pretzels Turn Out Hard?
Your pretzels turned out hard because you might’ve overbaked them or used too much flour. I’d recommend checking the oven temperature and baking time, and I always knead just enough to avoid dry dough. Overworking it can toughen them.
Can I Make the Dough Ahead of Time?
Yes, you can make the dough ahead of time. I’d refrigerate it for up to 24 hours before shaping and baking. Just let it warm up a bit first so it’s easier to work with.