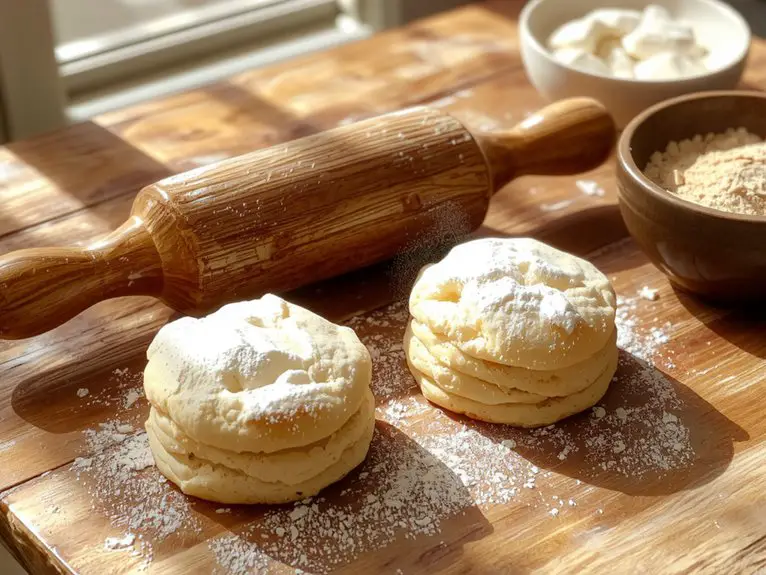
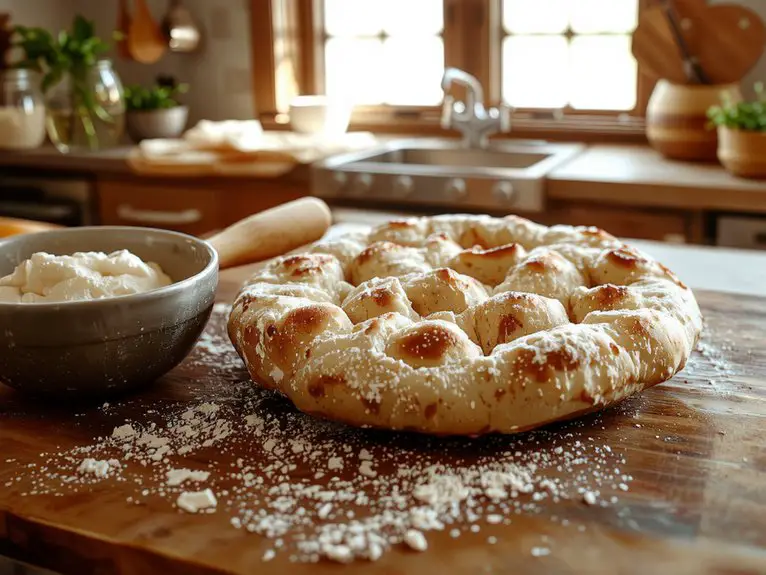
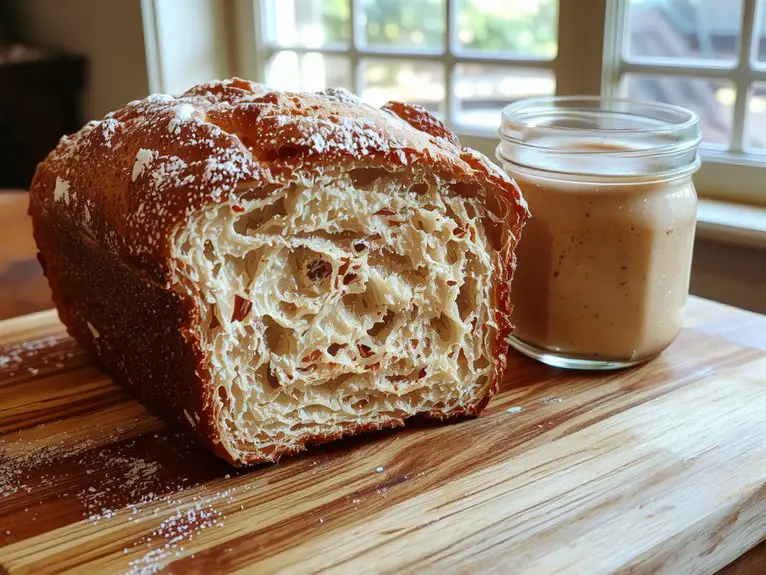
The Best Homemade Texas Roadhouse Rolls Recipe

Recipe
There’s something magical about a warm, buttery roll fresh out of the oven—especially when it’s a Texas Roadhouse copycat. These rolls are legendary for a reason: soft, fluffy, and just sweet enough, they practically melt in your mouth.
I’ve tested this recipe countless times to nail that bakery-level perfection, and trust me, it’s worth every minute. The secret? A touch of honey in the dough and brushing them with melted butter straight after baking for that irresistible golden sheen.
Once you taste one, you’ll understand why these rolls are the star of the table. Ready to bake perfection? Let’s get started.
Ingredients
To recreate the iconic Texas Roadhouse rolls at home, quality ingredients are key. These rolls are known for their soft, fluffy texture and buttery flavor, so choosing the right components will make all the difference. Here’s what you’ll need and why each ingredient matters:
Dry Ingredients:
- All-purpose flour: The backbone of the recipe—use unbleached for a softer texture.
- Granulated sugar: Adds a hint of sweetness and helps activate the yeast.
- Active dry yeast: Essential for that airy rise—make sure it’s fresh by proofing it first.
- Kosher salt: Enhances flavor without overpowering the dough.
Wet Ingredients:
- Whole milk: Creates a rich, tender crumb—don’t substitute skim milk here.
- Unsalted butter: Adds richness and moisture; use unsalted to control the salt level.
- Eggs: Provides structure and a golden color to the rolls.
Optional Additions & Substitutions:
- Honey: For a touch of sweetness, swap sugar for honey in equal parts.
- Buttermilk: Replace whole milk with buttermilk for a slightly tangier flavor.
- Yeast Alternatives: Instant yeast can be used if you skip the proofing step.
Must-Have Finishing Touch:
– Melted butter: Brushing the rolls generously after baking guarantees that signature glossy, buttery crust.
Pro Tip: Warm your milk slightly before mixing—this helps activate the yeast faster and creates a smoother dough.
Fresh, quality ingredients will elevate your rolls to restaurant-level perfection.
How to Make the Best Follow Texas Roadhouse Instructions Exactly
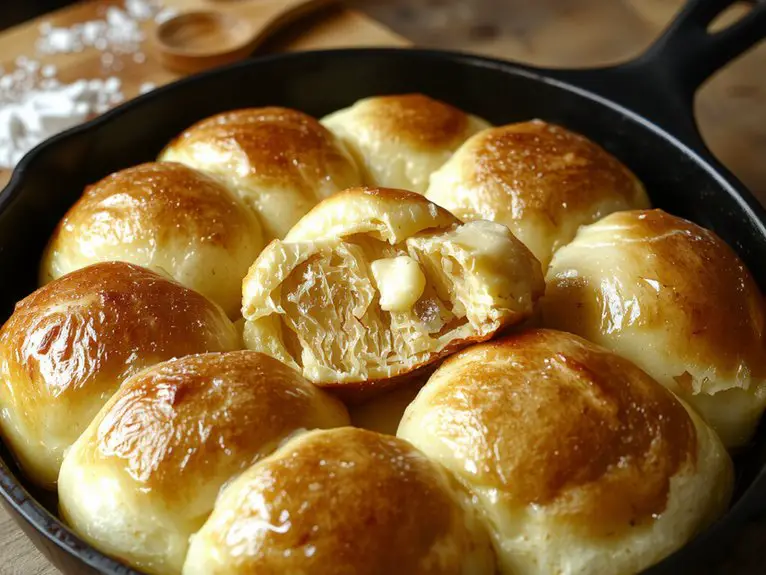
- Shape the rolls: Punch down the dough to release air bubbles, then divide it into equal portions (about 24). Roll each piece into a smooth ball and place them in a greased baking dish, leaving space between for expansion.
- Second rise: Cover the shaped rolls with a towel and let them rise for another 30–45 minutes. They should puff up nicely but not double in size this time.
Preheat your oven to 350°F during this step.
– Bake: Place the rolls in the oven for 15–20 minutes until golden brown. Check for doneness by tapping the top—it should sound hollow.
Overbaking can dry them out, so keep an eye on them.
- Brush with butter: Immediately after removing the rolls from the oven, brush them generously with melted butter. This adds flavor, softness, and that irresistible sheen.
- Serve warm: Enjoy the rolls fresh out of the oven for the best experience.
If storing, keep them in an airtight container and reheat briefly in the microwave or oven.
Pro Tips: For extra flavor, add a tablespoon of honey to the wet ingredients.
If using active dry yeast instead of instant, proof it first in warm milk with a pinch of sugar.
Don’t skip the butter brushing step—it’s key to that Texas Roadhouse magic!
Nutrition
Texas Roadhouse Rolls are a popular side dish known for their soft and fluffy texture. Here’s a breakdown of their nutritional content per serving.
| Nutrient | Amount per Serving (1 roll) |
|---|---|
| Calories | 227 kcal |
| Total Fat | 9 g |
| Saturated Fat | 5 g |
| Cholesterol | 47 mg |
| Sodium | 344 mg |
| Total Carbohydrate | 30 g |
| Dietary Fiber | 1 g |
| Sugars | 5 g |
| Protein | 6 g |
Chef Tips
Occasionally, I find that making perfect Texas Roadhouse Rolls requires a bit of finesse. Use warm milk—not hot—to activate the yeast properly. Knead the dough just until smooth; overworking it toughens the rolls.
Let it rise in a warm, draft-free spot for best results. Brush melted butter on top right after baking for that signature soft, glossy finish.
Enjoy them fresh—they’re at their best warm!
Frequently Asked Questions
Can I Freeze the Dough for Later Use?
Yes, I can freeze the dough for later use. I’d shape it into balls, place them on a baking sheet, freeze until solid, then transfer to a bag. When ready, I’ll thaw and bake as usual.
How Do I Store Leftover Rolls?
I’d store leftover rolls in an airtight container or resealable bag at room temp for 2-3 days. If I need them to last longer, I’d freeze them—just thaw and reheat when I’m ready to eat.
Can I Make These Rolls Gluten-Free?
Yes, you can make these rolls gluten-free by swapping regular flour for a gluten-free blend. I’d recommend adding xanthan gum if your mix doesn’t include it—it helps mimic gluten’s texture. Just know they might turn out slightly denser.
What’s the Best Butter for Topping?
I’d recommend using unsalted butter for topping because it lets you control the saltiness. Melt it lightly so it’s pourable but not browned—it’ll brush on smoother and soak into the rolls perfectly without overwhelming their flavor.
Can I Use a Bread Machine for This Recipe?
I wouldn’t recommend a bread machine for this recipe—it’s best kneaded by hand or with a stand mixer to get that soft, fluffy texture. The machine might overwork the dough and change the rolls’ light consistency.