The Best Homemade No Knead Bread Recipe
Recipe
You’re about to make the easiest, most foolproof bread that will have you feeling like a bakery pro—no kneading, no fancy equipment, just a little patience and four basic ingredients.
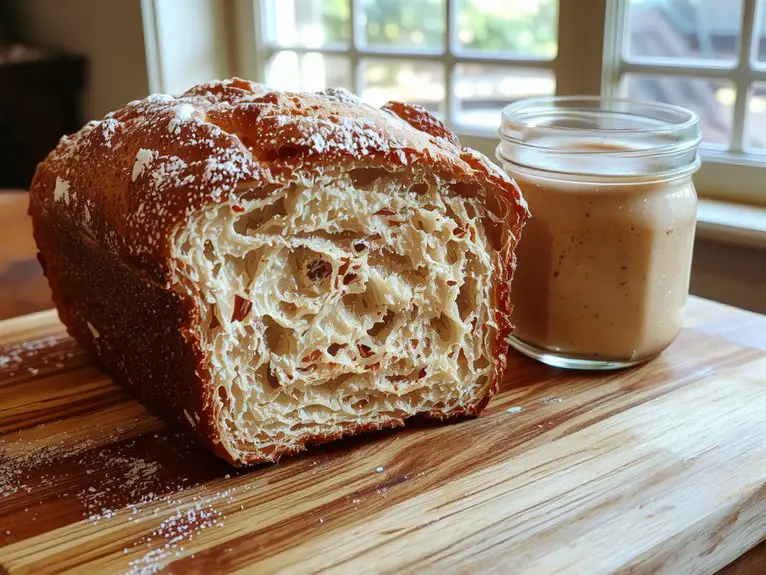
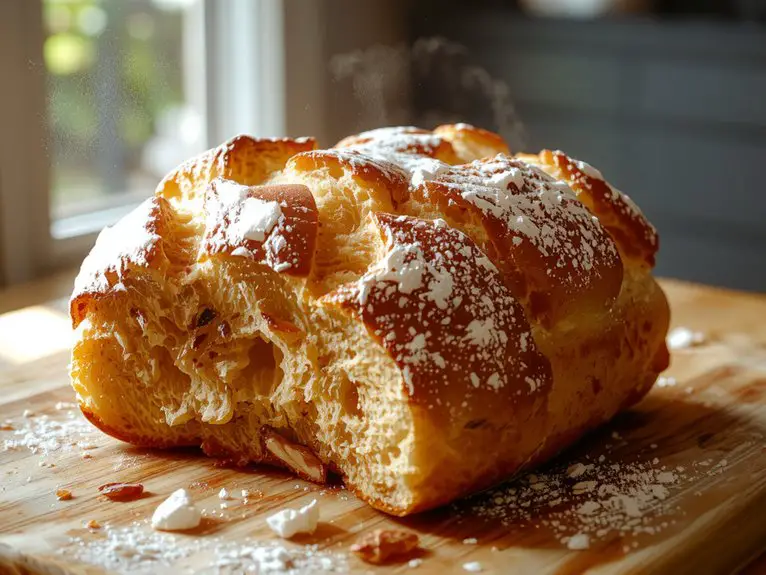
This no knead bread is a game-changer: crisp, golden crust on the outside, soft and airy on the inside, with a slight tang that makes it irresistible.
It’s the kind of bread that fills your kitchen with that warm, yeasty aroma that feels like a hug. Whether it’s your first time baking bread or your hundredth, this recipe is all about simplicity and satisfaction.
Grab your apron—this loaf is going to make you a believer in homemade bread magic.
Ingredients
The secret to perfect no-knead bread lies in the simplicity of its ingredients—each one plays an essential role in creating that crackly crust and airy interior. Stick to high-quality basics, and you’ll be amazed at how little effort yields bakery-worthy results.
- Bread flour – The higher protein content (12-14%) gives structure and chew. All-purpose flour works in a pinch, but your loaf won’t have the same lofty height.
- Instant yeast – No proofing needed! Active dry yeast can substitute (use 25% more), but dissolve it in water first.
- Kosher salt – Fine sea salt works too, but avoid table salt—its additives can throw off flavor.
- Water – Lukewarm (about 100°F) activates the yeast without killing it. Filtered water is best if yours is heavily chlorinated.
- Optional: Honey or sugar – Just a teaspoon accelerates yeast activity for a slightly faster rise (great for cold kitchens).
Pro tip: A Dutch oven is non-negotiable for steam-trapping crust magic. No Dutch oven? Use a heavy lidded pot or baking stone with a steam pan below.
How to Make the Best No Knead Bread Technique
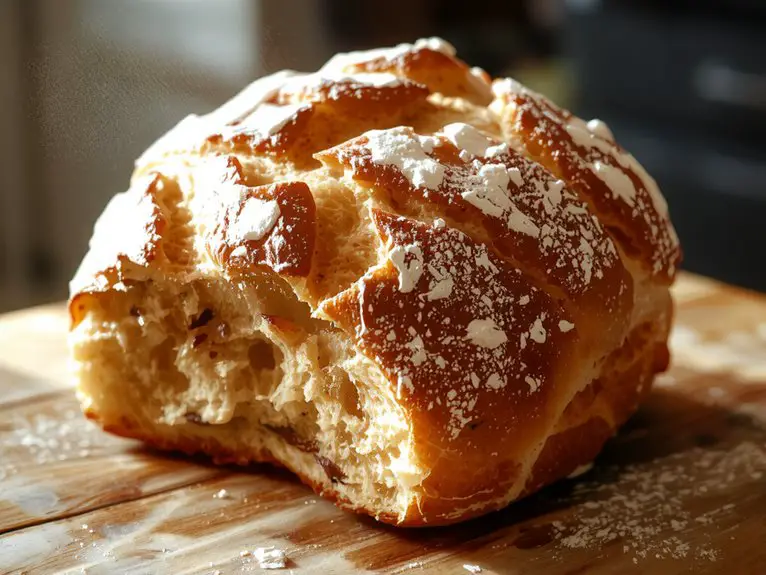
- Prep Your Ingredients Ahead: Measure out all your ingredients before starting. This includes 3 cups of all-purpose flour, 1 ½ teaspoons of salt, ¼ teaspoon of active dry yeast, and 1 ½ cups of warm water. Having everything ready guarantees a smooth process.
- Mix Dry Ingredients: In a large bowl, whisk together the flour, salt, and yeast. This guarantees even distribution of the yeast and salt throughout the dough, which is vital for consistent fermentation and flavor.
- Add Warm Water: Pour the warm water into the dry ingredients. The water should be warm but not hot (around 100°F) to activate the yeast without killing it. Stir until a shaggy dough forms. It won’t look smooth—that’s okay!
- Let It Rest (First Proof): Cover the bowl with plastic wrap or a damp cloth and let it sit at room temperature for 12 to 18 hours. This long fermentation allows the yeast to work its magic, developing flavor and texture.
The dough will double in size and become bubbly.
- Shape the Dough: After the first proof, turn the dough onto a floured surface. Fold it over itself a few times to create surface tension, then shape it into a ball. This step helps structure the bread.
- Second Proof: Place the shaped dough on parchment paper and cover it loosely with a towel. Let it rest for 1 to 2 hours. It should puff up slightly but won’t double again. This shorter proof guarantees the dough is ready for baking.
- Preheat the Oven: About 30 minutes before baking, preheat your oven to 450°F (230°C) with a Dutch oven inside. The preheated Dutch oven mimics a professional steam oven, creating a crispy crust.
- Score the Dough: Carefully transfer the dough (with parchment paper) into the hot Dutch oven. Use a sharp knife or razor to make a shallow cut on top of the dough. This allows the bread to expand evenly during baking.
- Bake Covered: Put the lid on the Dutch oven and bake for 30 minutes. The enclosed environment traps steam, which helps the bread rise and forms a shiny, crackly crust.
- Bake Uncovered: After 30 minutes, remove the lid and bake for another 15 to 20 minutes until the crust is deep golden brown. This final stage crisps up the crust beautifully.
- Cool Completely: Transfer the bread to a wire rack and let it cool completely before slicing. Cutting into it too soon can make the crumb gummy. Patience pays off with perfect slices!
Pro Tip: If you don’t have a Dutch oven, you can use a baking sheet and create steam by placing a pan of water on the lower rack.
Watch Out: Overproofing during the second stage can lead to a flat loaf. Keep an eye on the dough and don’t let it proof for too long.
Nutrition
This no knead bread is simple to make and packed with wholesome ingredients. Here’s the nutritional breakdown per serving:
| Calories | Carbs (g) | Protein (g) | Fat (g) | Fiber (g) | Sugar (g) |
|---|---|---|---|---|---|
| 160 | 30 | 5 | 1 | 2 | 0 |
Chef Tips
Mastering no knead bread is easier with a few simple tricks.
I always use a Dutch oven for baking—it traps steam and creates a crisp crust.
Letting the dough rise overnight enhances flavor and texture.
I dust my hands with flour to handle the sticky dough easily.
Don’t skip preheating the oven; it guarantees even baking.
Practice patience—it’s the key to perfect bread every time.
Frequently Asked Questions
Can I Use Whole Wheat Flour Instead of White?
I can use whole wheat flour instead of white, but I’ll need to adjust the recipe slightly. Whole wheat absorbs more liquid, so I’d add a bit more water and maybe let it rise longer.
What if My Dough Doesn’T Rise Properly?
If my dough doesn’t rise, I’ll check if my yeast’s active and confirm the room’s warm enough. Sometimes I’ll let it sit longer or add a pinch of sugar to help it along.
Can I Add Herbs or Other Flavors to the Bread?
I can definitely add herbs or flavors to my bread! I’ll mix in dried rosemary, garlic, or even cheese before the first rise. Fresh herbs work too, but I’ll use less since they’re more potent.
How Should I Store the Bread to Keep It Fresh?
I’ll store my bread in a paper bag or wrapped in a clean tea towel to keep it fresh. If I need it to last longer, I’ll use a bread box or freeze it in airtight bags.
What’s the Best Way to Revive Stale Bread?
To revive stale bread, I sprinkle it lightly with water, wrap it in foil, and bake at 350°F for 10-15 minutes. The steam softens it, making it taste fresh again—perfect for enjoying every last slice.