The Best Homemade Popover Recipe
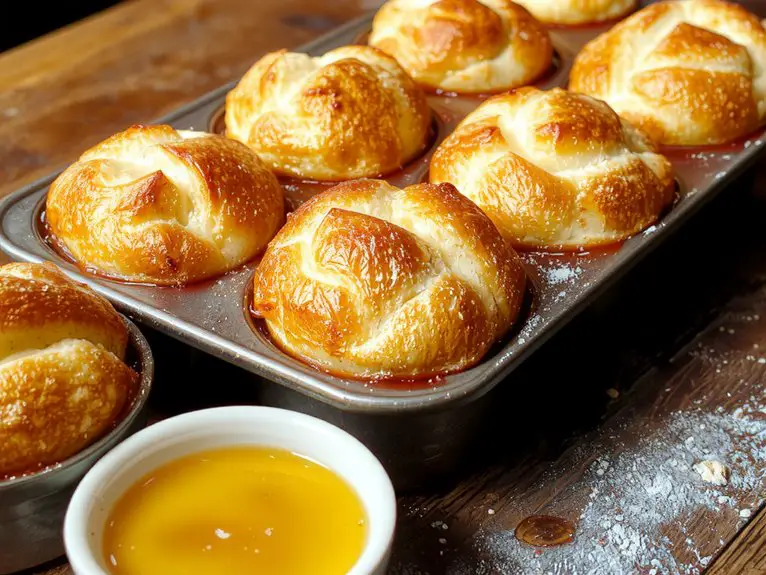
Recipe
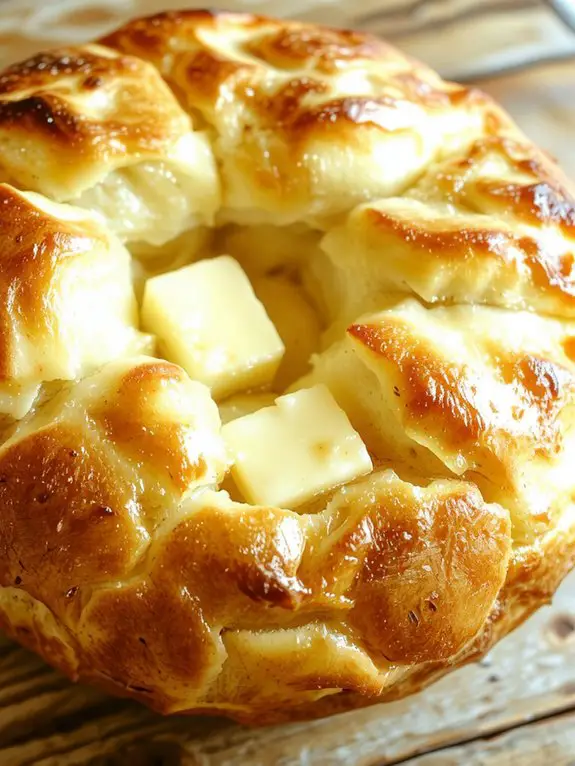
There’s something downright magical about homemade popovers—crispy on the outside, impossibly airy on the inside, and so simple you’ll wonder why you don’t make them every weekend. This recipe is my go-to for impressing brunch guests or treating myself to a buttery, golden bite of comfort.
The secret? A hot oven and a well-rested batter that puffs up like a dream.
One bite of these cloud-like delights, with their delicate eggy richness and satisfying crunch, and you’ll be hooked. Trust me, once you master this recipe (and you will), you’ll never settle for store-bought again.
Let’s get baking!
Ingredients
Discover the secret to perfect homemade popovers with this easy-to-follow recipe. The right ingredients and techniques will elevate your popovers to bakery-level perfection.
Ingredients:
Essential Ingredients:
- 1 cup all-purpose flour
- 1 cup whole milk
- 3 large eggs
- 1/2 teaspoon salt
- 1/2 teaspoon sugar
Optional Add-ins with Benefits:
- 1 tablespoon melted butter (for richness and flavor)
- 1 teaspoon fresh herbs (like thyme or rosemary for aroma)
Substitutions:
- For a dairy-free version, replace whole milk with unsweetened almond milk
- Coconut oil can be used instead of butter for a vegan option
Non-Negotiables:
- Fresh eggs (for ideal rise and texture)
- Room temperature ingredients (promotes even mixing and consistency)
Little Wins:
- Grated Parmesan cheese for a savory twist
- Freshly ground black pepper for added depth
Pro Tips:
- Measure all ingredients accurately to guarantee the right consistency
- Preheat the popover pan for even baking and rise
Non-Negotiables:
- Use fresh, room temperature ingredients for the best results
- Verify accurate measurements for consistent texture
Little Wins:
- Garnish with fresh herbs for a visually appealing finish
- Serve immediately for the best taste and texture
Pro Tips:
- Rest the batter for 30 minutes to allow the gluten to relax, promoting a better rise
- Preheat the popover pan to achieve the perfect golden-brown crust
This recipe guarantees bakery-quality popovers every time, with tips and tricks to make the process seamless and enjoyable.
How to Make the Best Classic Popover Instructions
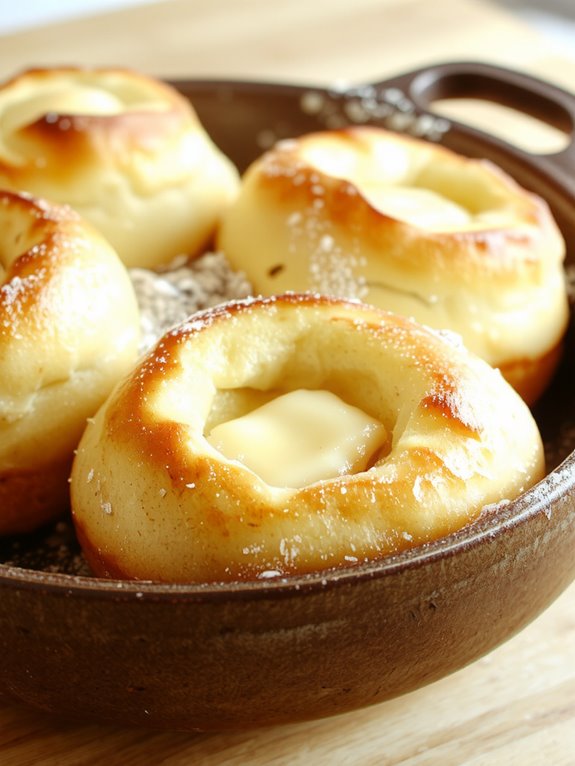
- Preheat your oven to 450°F (232°C) and place a popover pan or muffin tin inside to heat up. Warming the pan guarantees the batter starts cooking immediately, creating that signature tall, puffed shape.
- In a large mixing bowl, whisk together 1 cup of milk, 2 eggs, and 1 tablespoon of melted butter until fully combined. The mixture should be smooth and uniform—don’t overmix, as this can lead to denser popovers.
- Gradually add 1 cup of all-purpose flour and 1/4 teaspoon of salt to the wet ingredients, whisking just until incorporated. A few small lumps are okay; overmixing can develop gluten and prevent the popovers from rising properly.
- Carefully remove the hot pan from the oven and quickly spray each cup with nonstick cooking spray or brush with melted butter. This step confirms the popovers release easily after baking.
- Fill each cup about 3/4 full with the batter. For taller popovers, avoid overfilling the cups, as the batter needs room to rise dramatically.
- Place the pan back in the oven and bake at 450°F (232°C) for 15 minutes. During this time, the popovers will puff up and set their structure. Avoid opening the oven door—it can cause them to collapse.
- Reduce the oven temperature to 350°F (175°C) and bake for an additional 15-20 minutes, or until the popovers are golden brown and crisp on the outside. The internal steam should have cooked through, leaving a hollow, airy center.
- Remove the popovers from the oven and immediately poke a small hole in the top of each with a knife or skewer to release steam. This prevents them from becoming soggy as they cool.
- Serve warm with butter, jam, or honey for a delightful treat. Enjoy them fresh out of the oven for the best texture!
Nutrition
Popovers are a delicious baked treat that can be enjoyed as a breakfast item or a side dish. Their light and airy texture makes them a favorite for many.
| Nutrient | Amount per Serving |
|---|---|
| Calories | 120 |
| Total Fat | 4g |
| Saturated Fat | 2g |
| Cholesterol | 45mg |
| Sodium | 150mg |
| Total Carbs | 16g |
| Dietary Fiber | 1g |
| Sugars | 1g |
| Protein | 5g |
Chef Tips
When making popovers, I always make sure my ingredients are at room temperature to help them rise evenly.
I preheat the pan in the oven to create a hot base for the batter.
Using a blender guarantees a smooth mixture, and I don’t open the oven door during baking.
Finally, I pierce the popovers with a knife after baking to release steam and keep them crisp.
Frequently Asked Questions
Can I Use a Muffin Tin Instead of a Popover Pan?
I can use a muffin tin instead of a popover pan since it’s what I have on hand. The batter might not rise as dramatically, but it’ll still work fine for making something similar to popovers.
Why Did My Popovers Collapse After Baking?
Your popovers collapsed because they cooled too fast or weren’t baked long enough. I’d suggest leaving them in the oven a few extra minutes, then poking a small hole in each to release steam gently.
Can I Make Popovers Ahead of Time?
I wouldn’t recommend making popovers ahead—they’re best fresh. If I must, I’ll bake them, let them cool, then reheat in a hot oven for a few minutes to crisp them up again before serving.
Are Popovers Gluten-Free?
I’m afraid traditional popovers aren’t gluten-free since they’re made with wheat flour. But I’ve seen gluten-free versions using alternative flours—they might not rise as much, but they’ll still taste delicious if you’re avoiding gluten.
Can I Freeze Leftover Popovers?
Yes, I can freeze leftover popovers. I cool them completely, then wrap each one tightly in plastic or foil before placing them in a freezer-safe bag. When ready to eat, I reheat them in the oven for the best texture.