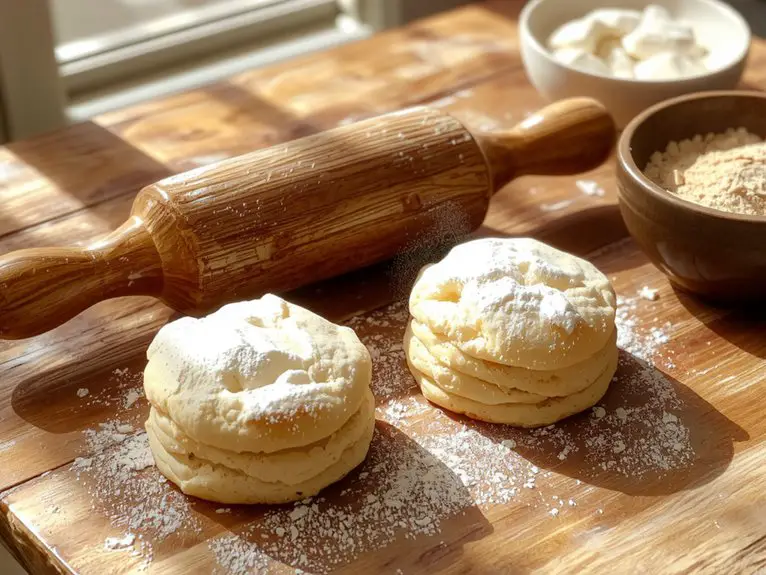
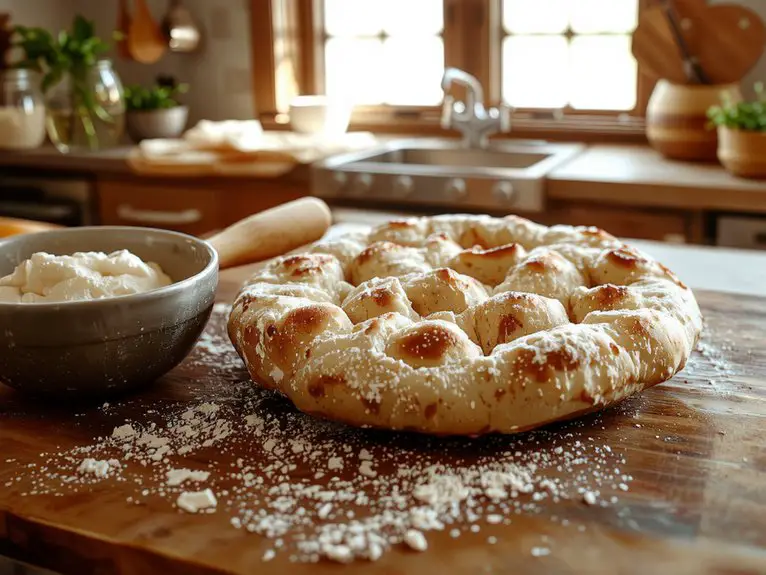
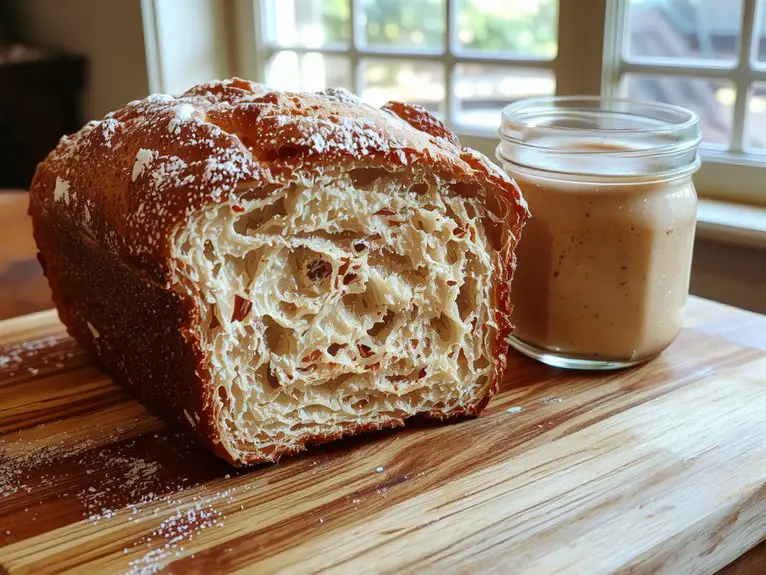
The Best Homemade Yeast Rolls Recipe
Recipe
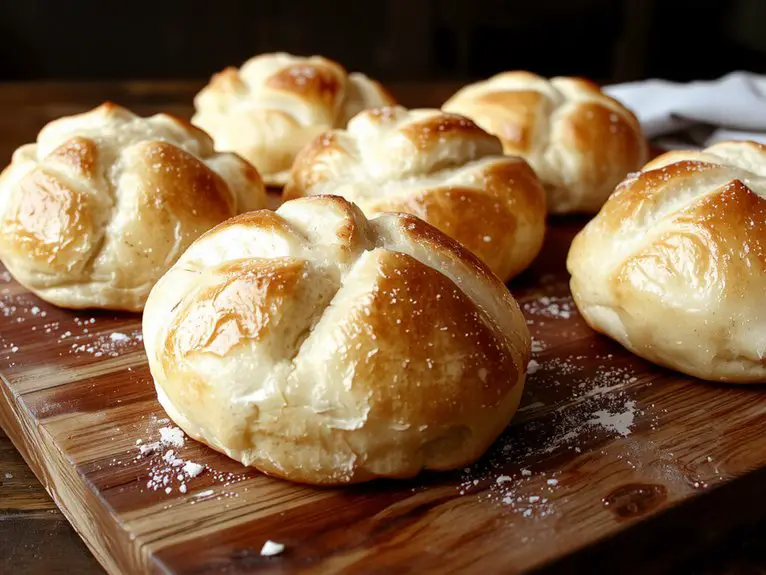
These homemade yeast rolls are the ultimate game changer for any meal—soft, pillowy, and dripping with buttery goodness. I’ve baked these countless times, and I can confidently say they’re foolproof and irresistible every single time.
The secret? A touch of honey for sweetness and patience with the dough to let the yeast work its magic. Growing up, these rolls were the star of every family gathering, and now they’re a staple in my own kitchen.
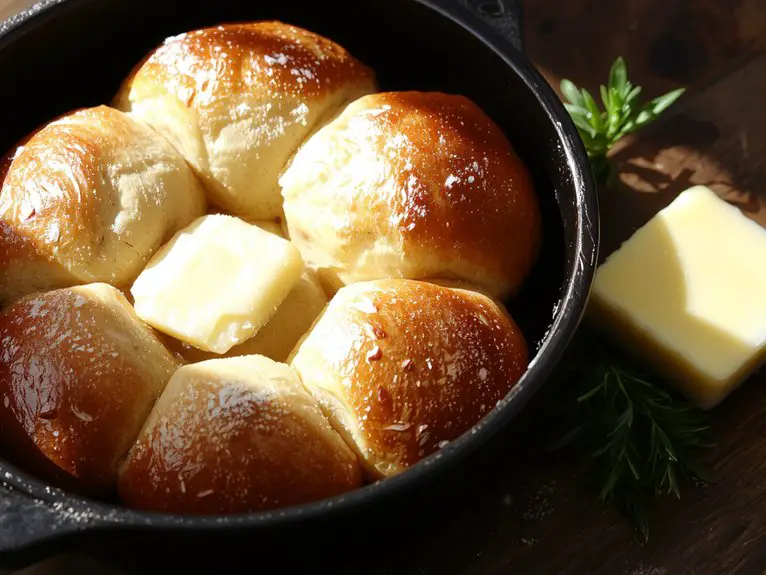
Imagine pulling them fresh out of the oven, golden and fragrant, their centers fluffy and tender enough to melt in your mouth. Whether you’re a seasoned baker or just starting out, this recipe will make you feel like a bread-making pro.
Trust me, once you’ve tried these, you’ll never go back to store-bought rolls again.
Ingredients
The secret to perfect yeast rolls lies in the ingredients—using the right ones guarantees a light, fluffy texture with that irresistible homemade taste. Here’s what you’ll need, plus a few insider tricks to make them unforgettable.
- Warm water (110°F–115°F) – Too hot kills the yeast; too cold won’t activate it. Use a thermometer for accuracy (or test by wrist—it should feel like warm bath water).
- Active dry yeast – Instant yeast works too (use the same amount, no proofing needed), but active dry gives classic flavor.
- Granulated sugar – Feeds the yeast and adds a hint of sweetness. Honey or maple syrup can sub in for a deeper flavor.
- Eggs (room temperature) – Binds the dough and enriches it. Cold eggs can slow rising—warm them in a bowl of lukewarm water if needed.
- Unsalted butter (melted and slightly cooled) – Adds richness and tenderness. Salted butter works, but reduce added salt by ¼ tsp.
– Kosher salt – Balances sweetness and enhances flavor. Table salt is finer, so use half the amount if substituting.
- All-purpose flour – Bread flour makes chewier rolls, but AP flour keeps them tender. For extra fluffiness, sift it first.
- Whole milk (or buttermilk) – Whole milk adds richness; buttermilk lends slight tang. For a dairy-free version, use unsweetened almond milk + 1 tsp vinegar.
Pro Tip: Brushing the baked rolls with melted butter right out of the oven gives them a glossy, irresistible finish. Save a tablespoon for this step!
How to Make the Best Perfectly Fluffy Yeast Rolls
– Activate the yeast: Dissolve the yeast in warm water (110°F) with a pinch of sugar. Let it sit for 5–10 minutes until frothy. This step confirms the yeast is alive and ready to leaven your dough.
Pro Tip: If the mixture doesn’t bubble, your yeast may be inactive—start fresh for the best results.
– Mix wet ingredients: In a large bowl, combine warm milk, melted butter, sugar, and eggs. The warmth of the milk and butter helps activate the yeast further, while the eggs add richness and structure.
Verify the milk isn’t too hot to avoid killing the yeast.
– Add dry ingredients: Gradually stir in flour and salt until a shaggy dough forms. Mixing gradually prevents clumps and guarantees even hydration.
Pro Tip: Reserve a bit of flour for kneading—it’s easier to add more than to fix sticky dough later.
– Knead the dough: Turn the dough onto a floured surface and knead for 8–10 minutes until smooth and elastic. This develops gluten, giving your rolls structure and chew.
Watch Out: Avoid adding too much flour while kneading, as it can make the rolls dense.
– First rise: Place the dough in a greased bowl, cover with a damp towel, and let it rise in a warm spot for 1–1.5 hours, or until doubled in size.
Visual Cue: The dough should spring back slowly when poked with a finger.
– Shape the rolls: Punch down the dough to release air bubbles, then divide it into equal portions (about 12–15 pieces). Roll each piece into a smooth ball and place them in a greased baking dish, leaving space to expand.
Pro Tip: Work quickly to prevent the dough from drying out.
– Second rise: Cover the rolls loosely with a towel and let them rise for another 30–45 minutes until puffy. This confirms they’ll bake up light and airy.
Watch Out: Don’t skip this step—it’s key to achieving fluffy rolls.
– Bake: Preheat the oven to 375°F (190°C). Brush the rolls with melted butter or egg wash for a golden crust, then bake for 15–20 minutes until golden brown.
Visual Cue: The rolls should sound hollow when tapped on the bottom.
– Finish and serve: Remove the rolls from the oven and brush with more melted butter for extra flavor and softness. Let them cool slightly before serving—they’re best enjoyed warm.
Flexibility: These rolls freeze well; store them in an airtight container for up to 3 months.
Nutrition
These homemade yeast rolls are soft and fluffy, perfect for any meal. Below is the nutritional information per serving.
| Nutrient | Amount per Serving |
|---|---|
| Calories | 120 |
| Total Fat | 3g |
| Cholesterol | 5mg |
| Sodium | 150mg |
| Total Carbs | 20g |
| Protein | 4g |
Chef Tips
When making yeast rolls, I’ve found that activating the yeast correctly makes all the difference. Use warm water (110°F) and let it foam for 5-10 minutes.
Don’t rush the dough; let it rise in a warm spot until doubled in size. Shape gently to avoid deflating it.
Brush with melted butter before baking for a golden crust. Serve warm—fresh out of the oven is unbeatable.
Frequently Asked Questions
Can I Use Instant Yeast Instead of Active Dry Yeast?
Yes, you can use instant yeast instead of active dry yeast. I’d skip the proofing step since it doesn’t need dissolving. Just mix it directly with the dry ingredients. You might need slightly less, though.
How Do I Store Leftover Yeast Rolls?
I always store leftover yeast rolls in an airtight container or resealable bag at room temperature for a day. If I keep them longer, I either freeze them or refrigerate and reheat when ready to eat.
Can I Freeze the Dough Before Baking?
Yes, I can freeze the dough before baking. I’ll shape it into rolls, place them on a baking sheet to freeze, then transfer them to a bag. When ready, I’ll let them thaw and rise before baking.
Why Did My Rolls Turn Out Dense?
Your rolls turned out dense because I might’ve overworked the dough or didn’t let it rise long enough. I’ll knead gently and give it enough time to double in size before baking next time.
Can I Make the Dough Ahead of Time?
Yes, you can make the dough ahead of time—I refrigerate mine overnight after the first rise. Just punch it down, cover tightly, and let it warm up slightly before shaping and baking. Works perfectly for me!